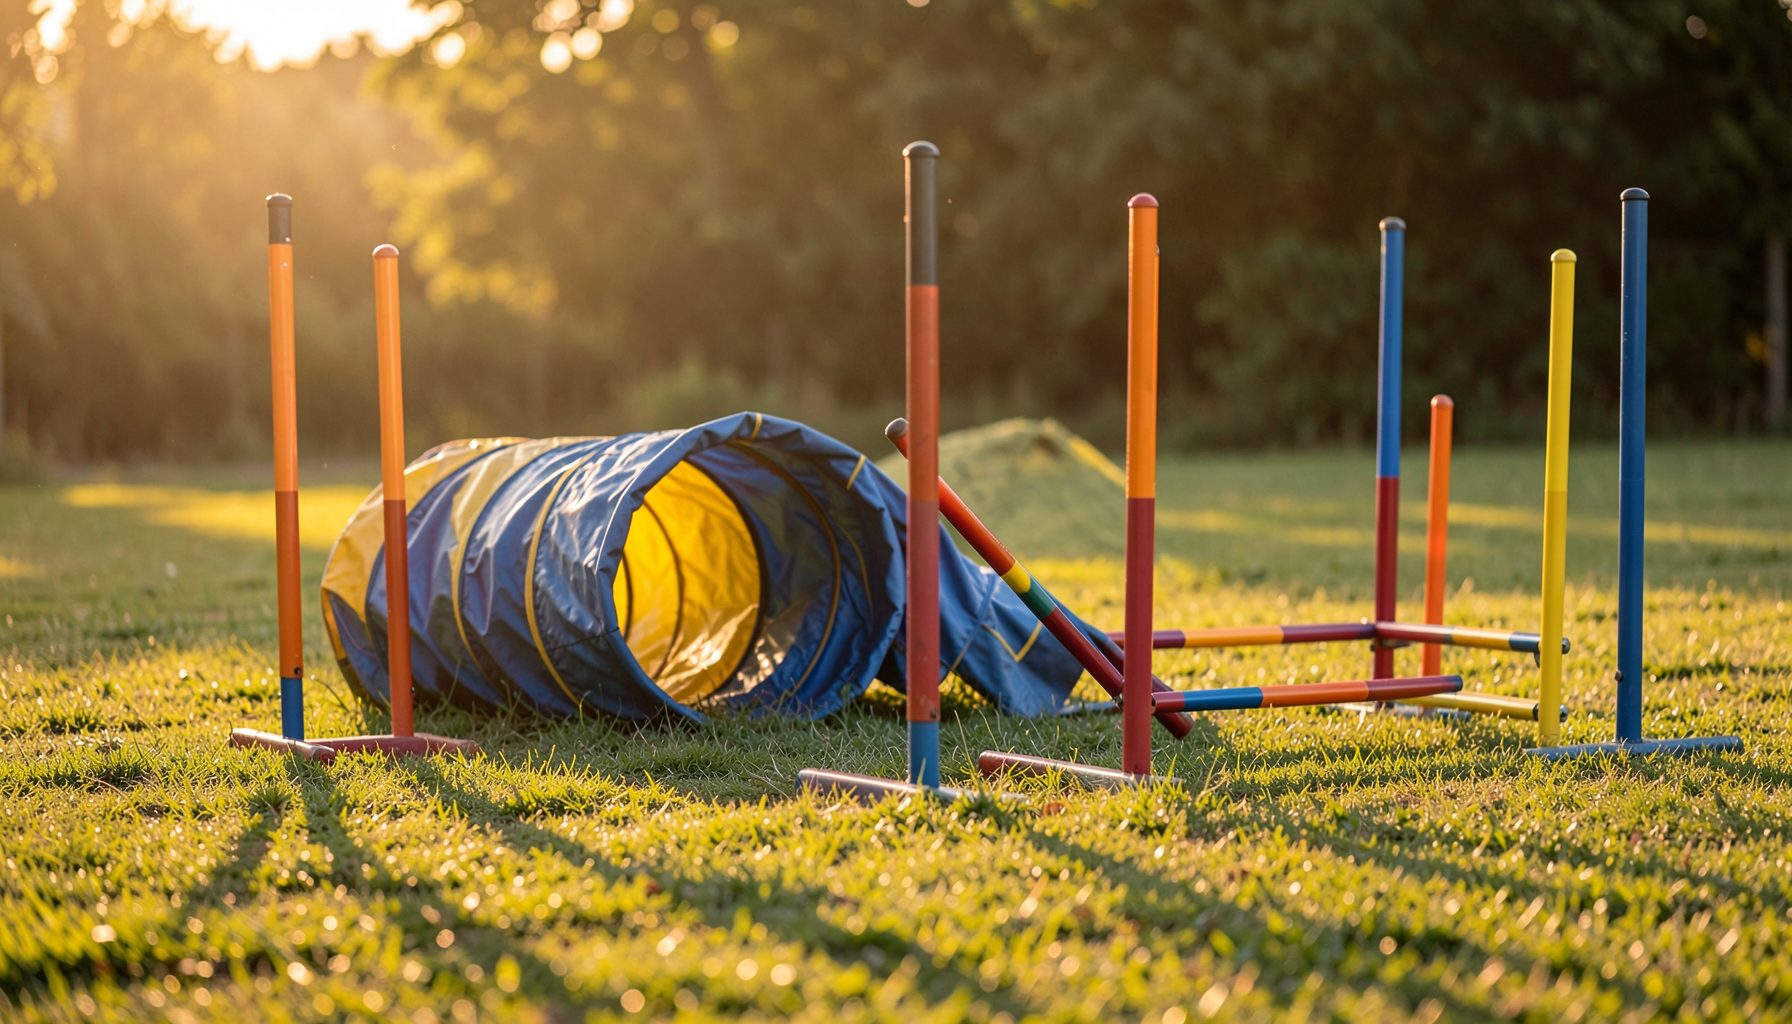
Capturing Dog Agility Contact Zones for Training Analysis
A well-timed photograph can reveal details that disappear during a fast dog agility run. It may show whether a paw touched the painted contact area, how the dog shifted its weight, or whether the handler’s position influenced the approach. Used carefully, contact-zone photography becomes a practical aid for reviewing performance and planning future training.
The challenge is that dogs move quickly, obstacles vary in height and angle, and a single frame can create a misleading impression. A successful image therefore depends on more than pressing the shutter at the right moment. Camera position, focus, lighting, timing, and knowledge of the obstacle all contribute to useful visual evidence.
Photographs from club shows, trials, and training sessions can also preserve progress over time. When images are organized by event, handler, and dog, it becomes easier to compare contact behavior across different surfaces, venues, and competition environments.
Define What The Image Must Show
Before choosing a camera position, decide which training question the photograph should answer. You may want to verify a front-foot contact, inspect rear-foot placement, study the dog’s running stride, or evaluate whether the dog is stopping too early. Each purpose calls for a slightly different view.
A side view is usually the clearest option for judging where the paws meet the contact paint. A three-quarter angle can add information about body balance and the handler’s movement, but it may make the exact point of contact harder to interpret. Avoid relying on a front-facing image when the dog’s legs overlap or the obstacle hides the feet.
The obstacle should remain recognizable in the frame. Include enough of the ramp or board to show the contact-zone boundaries, while leaving room for the dog’s approach and exit. A tightly cropped image may look dramatic but omit the context needed for sound training analysis.
Choose The Right Camera Position
For an A-frame or dog walk, position yourself near the side of the obstacle rather than directly at its end. Keep the lens approximately level with the contact zone when possible. This reduces distortion and makes the painted area appear closer to its true shape.
A low viewpoint can emphasize paw placement, but it should never interfere with the dog, handler, judge, or course workers. Stay outside the ring and follow venue rules. At a busy trial, a designated photographer or an experienced ringside observer may have a safer and more consistent location than a spectator moving between obstacles.
Consider the direction of light before the run begins. Backlighting can turn the dog into a dark silhouette, while harsh side light may create distracting shadows over the contact area. If you can move, choose a position with even illumination and a clean background that separates the dog from the equipment.
Pawprint Pictures organizes coverage across many event types and organizations, making its event calendar useful when planning opportunities to document a team at a show or trial. Knowing the venue and likely course layout in advance helps you select a position before the action starts.
Set Exposure For Fast Movement
A fast shutter speed is the foundation of a readable action image. Start around 1/1000 second in bright conditions and adjust according to the dog’s speed, lens, and available light. A slower shutter can introduce blur in the legs, which may make a genuine contact impossible to distinguish from a missed one.
Use continuous autofocus and a small tracking area when your camera handles moving subjects well. Continuous shooting can provide several frames around the crucial instant, but it should support observation rather than replace it. A large burst may produce many nearly identical images without improving the odds of a useful frame.
Raise ISO when necessary instead of sacrificing shutter speed. Modern cameras can often handle moderate ISO grain better than they can recover a blurred paw. Shoot in RAW if you plan to adjust exposure, shadows, or highlights, and avoid edits that alter the appearance of the contact area.
| Training Detail | Useful View | Capture Priority | Common Limitation |
|---|---|---|---|
| Front-foot contact | Side profile | Feet and painted zone | Rear legs may be hidden |
| Rear-foot contact | Slight rear three-quarter angle | Exit stride and paw placement | Perspective can compress the zone |
| Running contact behavior | Wider side view | Body position and speed | Exact paw location may be less clear |
| Stopping behavior | Side or diagonal view | Weight shift and pause | Handler may obscure the dog |
| Seesaw performance | Side view with full board | Board movement and feet | Timing is difficult during motion |
Time The Critical Frame
The ideal image often occurs just before or just after the instant that spectators notice. Anticipate the dog’s path and begin tracking before the front feet enter the contact zone. Waiting until the paws appear in the viewfinder can leave too little time for autofocus and shutter response.
Burst mode is particularly useful when the dog’s stride varies from run to run. Review the sequence at full size and compare adjacent frames rather than selecting the first sharp image. One frame may show the front paws clearly, while the next reveals the rear paws or the handler’s position.
Keep in mind that a photograph is a two-dimensional sample of a three-dimensional movement. A paw hidden behind another leg may be touching the surface even if the image does not prove it. Treat uncertain frames as prompts for further review, not as definitive judging decisions.
Read The Image With Context
When analyzing a contact-zone photograph, begin with the obstacle markings. Confirm that the painted area is visible and that the camera angle has not made the boundary appear displaced. Then inspect each paw, the dog’s center of gravity, and the direction of travel.
Look for patterns across multiple runs. A single missed contact may result from fatigue, distraction, a slippery surface, or an unusual approach. Repeated early touches may indicate that the dog is shortening its stride, while repeated misses at the bottom of a running contact could point to speed, criteria confusion, or an unsuitable training setup.
The handler’s position also deserves attention. A shoulder turned away, a late cue, or pressure toward the obstacle can change the dog’s line. Including the handler in some images makes it possible to connect foot placement with handling mechanics instead of treating the dog’s movement as an isolated problem.
Build A Useful Training Archive
Save original files with the date, obstacle, dog, venue, and run number. Add notes about surface conditions, training criteria, speed, and whether the image came from a competition or practice session. Consistent labels make comparisons much easier months later.
Create paired records when possible: one image showing the full approach and another showing the contact zone in detail. The wider frame explains the setup, while the close frame supports careful inspection. Avoid excessive cropping that removes information about stride length or handler movement.
Professional event photography can supplement personal training records, especially when a photographer has a clear ringside view and equipment designed for fast action. Purchasing images from local events can also help sustain the clubs and competitions that provide practice opportunities; Pawprint Pictures explains ways to support local clubs through photo purchases.
A Practical Capture Checklist
Use the following routine before photographing a training session or agility run:
- Identify the exact contact behavior you need to evaluate.
- Select a safe side or three-quarter position with an unobstructed view.
- Set a fast shutter speed, continuous autofocus, and a suitable burst rate.
- Include enough obstacle and handler context to explain the movement.
- Review several neighboring frames and label useful images immediately.
After the session, compare photographs with video, training notes, and the instructor’s observations. The strongest analysis combines these sources rather than treating any single picture as absolute proof. Photographs are especially valuable when they reveal a recurring pattern that is difficult to see in real time.
Use your next set of images to refine one measurable training goal, such as consistent rear-foot contact or a more controlled approach. Photograph the same behavior again under similar conditions, then compare the results. With thoughtful positioning and organized records, each frame can become a clear piece of evidence for better agility training.
Browse upcoming events, plan a safe shooting position, and preserve the moments that show your dog’s progress. When competition photographs are available, search the relevant gallery by event, handler, or dog name and select images that help document the team’s development.