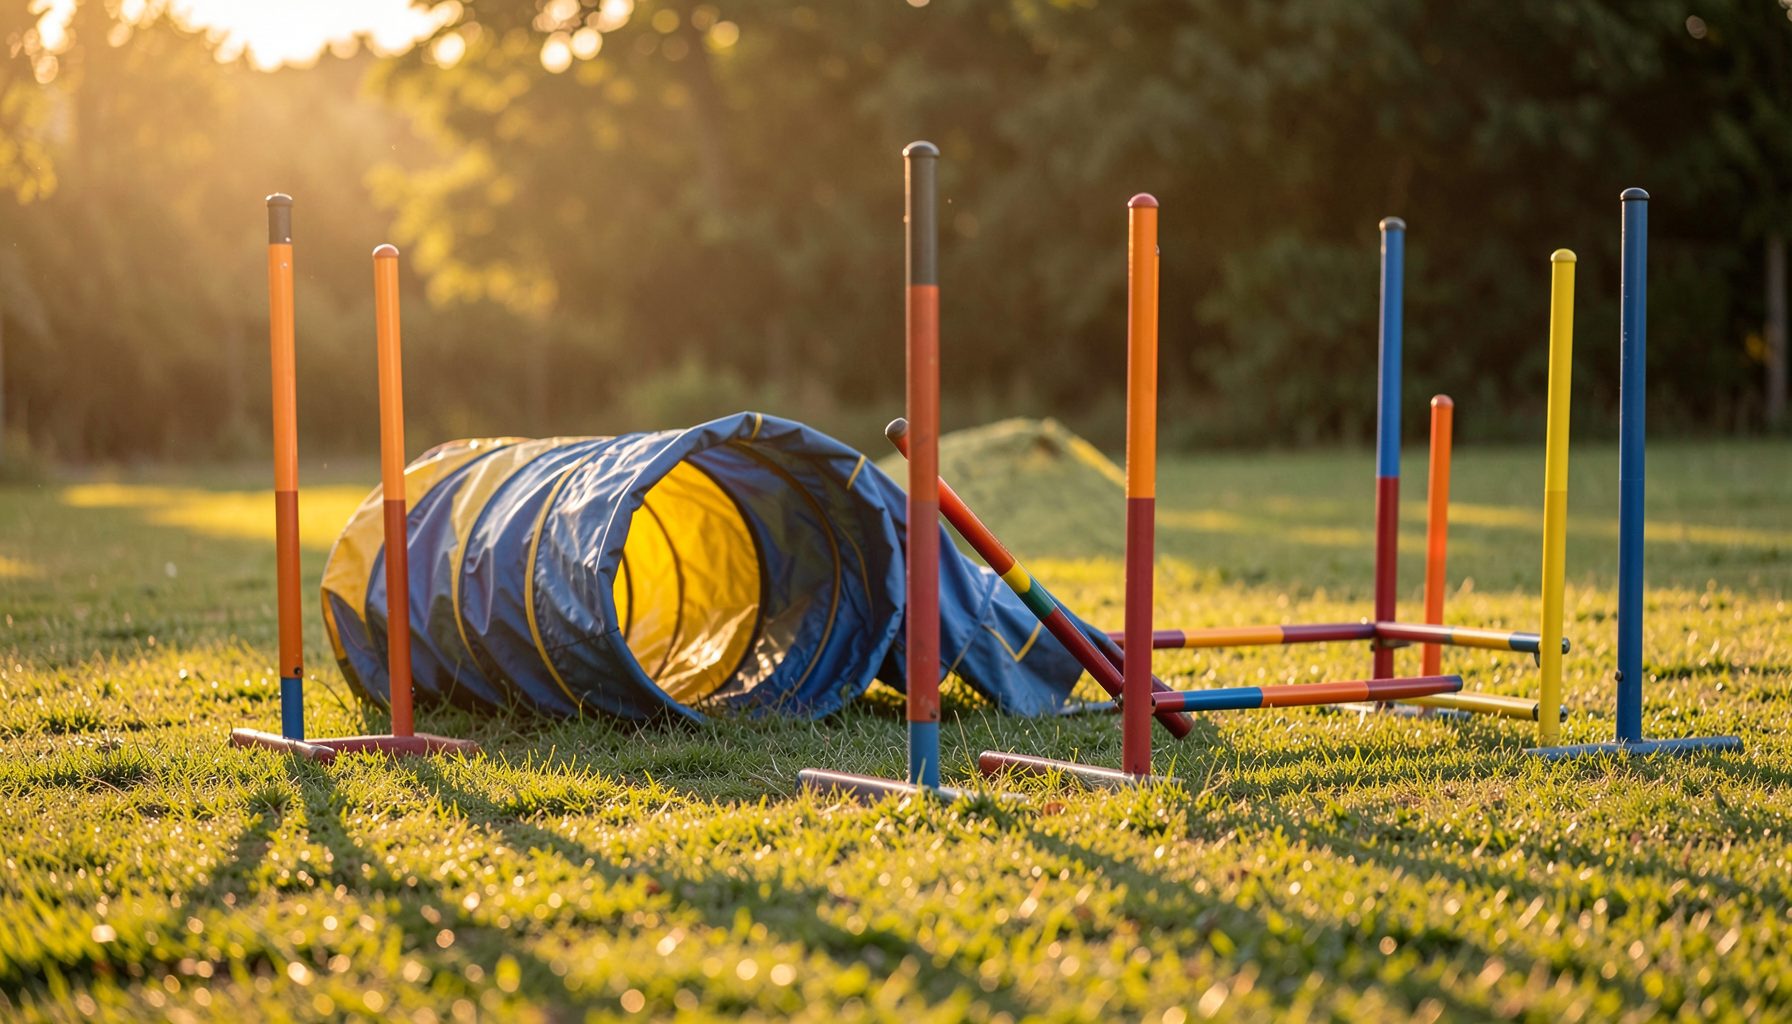
How to spot perfect stride regulation over a spread jump
A spread jump creates one of the clearest opportunities to judge a dog’s jumping technique in a competition photograph. Because the obstacle has width as well as height, the image can reveal whether the dog has adjusted its stride, take-off point, body shape and landing direction with control.
The strongest frame is rarely the one with the biggest-looking jump. It is the photograph that captures a balanced effort: the dog is committed to the centre of the spread, the handler’s line supports the approach, and the dog’s body shows a deliberate adjustment rather than a rushed or awkward leap.
For handlers competing around Australia, from a busy Sydney trial to a winter weekend at K9 Nose Work or an outdoor event near Melbourne, these details matter. A well-timed image can preserve the technical quality of a run and show why a particular approach worked.
What stride regulation looks like in the air
Stride regulation is the dog’s ability to alter its pace and step pattern to arrive at an obstacle from a useful take-off distance. Before a spread jump, the dog may shorten slightly, hold its line, or lengthen the final stride. The correct choice depends on the approach angle, the obstacle’s width, the dog’s size and the handler’s positioning.
In a photograph, look first at the dog’s relationship to the spread rather than the height of its body. The front feet should be reaching towards a clear landing area beyond the back element, while the chest and shoulders remain aligned with the centre of the obstacle. A dog that is drifting sideways may still clear the jump, but the frame will show less efficient regulation.
The dog’s back can provide another clue. A smooth, organised bascule usually shows a rounded topline, a steady head and a coordinated tuck of the hind legs. A flat, stretched body may indicate that the dog has launched too early or is trying to cover the width with speed alone. A tightly bunched body may suggest a late take-off or an abrupt adjustment.
Reading the approach and take-off point
The approach stride is often the most revealing part of the image. If the dog has shortened effectively, there may be a compact final step before take-off, with the weight gathered under the body and the nose directed towards the intended landing line. The dog should look prepared, not stalled.
A photograph taken just before take-off can show whether the handler has given the dog enough information. The handler’s shoulders, arm and movement should generally support the route without pulling the dog across the face of the spread. In a trial ring, a clean line between handler, dog and obstacle often indicates that the dog has regulated naturally rather than being forced into the jump.
Timing affects how these features appear. A frame captured too early may make the dog look planted, while one captured after the peak of the jump can hide the preparation. For this reason, a gallery image that shows the final approach, take-off and landing direction across a sequence may be more useful than a single dramatic mid-air shot. Pawprint Pictures organises event galleries by club, handler and dog, which helps locate the relevant run when checking several frames.
Features worth checking in a gallery
- A straight line from the dog’s spine through the spread
- A clear take-off point with enough room before the first element
- Hind legs tucked without twisting through the pelvis
- Front feet reaching towards a controlled landing
- The handler’s body supporting the next line
Comparing useful evidence in a single frame
A technically strong photograph balances several clues. The dog should have enough horizontal travel to clear the spread, yet not so much forward momentum that it lands long or loses the next obstacle. The centre of mass should appear organised over the jump, and the head should remain engaged with the route rather than thrown sharply away.
The table below can help separate a polished image from one that is simply eye-catching.
| Feature in the photograph | What it may indicate | Less convincing sign |
|---|---|---|
| Compact final stride | The dog has adjusted pace before take-off | A rushed launch from too close or too far away |
| Square shoulders | The dog is committed to the spread’s centre | Shoulders opening towards a wing or side |
| Rounded back | Coordinated bascule and efficient shape | Flat back with legs trailing behind |
| Balanced hind-leg tuck | Controlled lift and body awareness | One-sided twist or uneven tuck |
| Head aligned with the next line | Forward focus and route clarity | Head thrown sideways or upwards |
| Landing space beyond the spread | Adequate width judgement | Feet reaching for the front element |
A still image cannot prove everything about a run. Camera angle, lens compression and the exact fraction of a second selected can alter how distance appears. It is sensible to use the photograph as evidence of body position and line, not as a complete assessment of training or soundness.
This is also where comparisons between event photography packages can help Australian competitors plan purchases. Different organisations and photographers may offer digital files, prints, bundles or full-run options, so reviewing photo package pricing is useful before choosing the images that best document a season.
Separating a clean effort from a lucky clearance
A dog can clear a spread jump while showing poor stride management. A lucky effort may feature a late take-off, a twisting torso or a landing that sends the dog away from the next obstacle. If the photo is intended for training review, look beyond whether the bar is still in place.
The landing direction is particularly important. The front feet should descend towards the next section of the course, with the dog’s body able to absorb the landing without a sharp sideways collapse. A photograph showing the dog already rotating towards the next obstacle may reveal excellent preparation, especially when the handler has committed early to the following line.
The handler’s position can add useful context. At events such as Dogs Queensland competitions in Brisbane or agility weekends around Canberra, course layouts often demand quick changes after a spread. A good frame may show the handler moving decisively while keeping enough connection for the dog to understand the next task. The image tells more when the dog’s body language and the team’s shared direction agree.
Signs that deserve a closer look
- The dog takes off from an unusually short distance
- The forelegs are extended but the hindquarters trail
- The ribcage is rotated away from the landing line
- The dog lands with its head already turned sharply
- The bar appears clear only because the dog has twisted around it
These signs are not automatic evidence of a problem. A large dog may need a different jumping shape from a small terrier, and an angled approach can make a balanced effort look asymmetrical. Compare photographs from the same dog over several trials rather than judging one frame in isolation.
Choosing and preserving the best event image
When browsing a Pawprint Pictures gallery, use the event name, club, handler and dog name to narrow the search. This is handy after a large Royal Melbourne Show programme or a multi-ring weekend where hundreds of images may be available. If the run is difficult to locate, customer-gallery support can help identify the correct collection.
For a training record, select a frame with enough surrounding context to show the obstacle and approach. For a wall print, a peak mid-air image may have stronger visual impact. A handler may reasonably choose both: one photograph for technical review and another for the memory of a successful run.
Before ordering, consider the intended use and the clarity of the file. A digital image can be added to a training log, while a print can mark a qualification, championship result or memorable trip to an interstate trial. Read the privacy policy when uploading details or using account features, particularly if several handlers share access to event information.
Building a reliable visual record of progress
The most useful collection of agility photographs shows change over time. Save examples from different surfaces, obstacle approaches and competition venues, then compare the dog’s final stride, take-off distance, aerial shape and landing direction. A sequence from a club training day near Perth may show a different response from a high-pressure run at a Melbourne or Sydney event.
It can also be helpful to study experienced teams without copying their style mechanically. Handler timing, dog structure and course design vary, but photographs can reveal recurring principles such as a quiet head, a centred line and a measured final stride. For visual reference, these handler examples can provide useful ideas about commitment and positioning.
A practical record might include the date, organisation, obstacle approach, surface, result and a short note about the dog’s regulation. Over several months, patterns become easier to see: perhaps the dog needs more space from a straight approach, or holds a better shape when the handler moves earlier. The photograph then becomes more than a keepsake; it becomes a precise snapshot of performance.
Open the relevant Pawprint Pictures event gallery, find three frames from the same spread-jump effort, and compare the approach, aerial shape and landing line before selecting the clearest image.