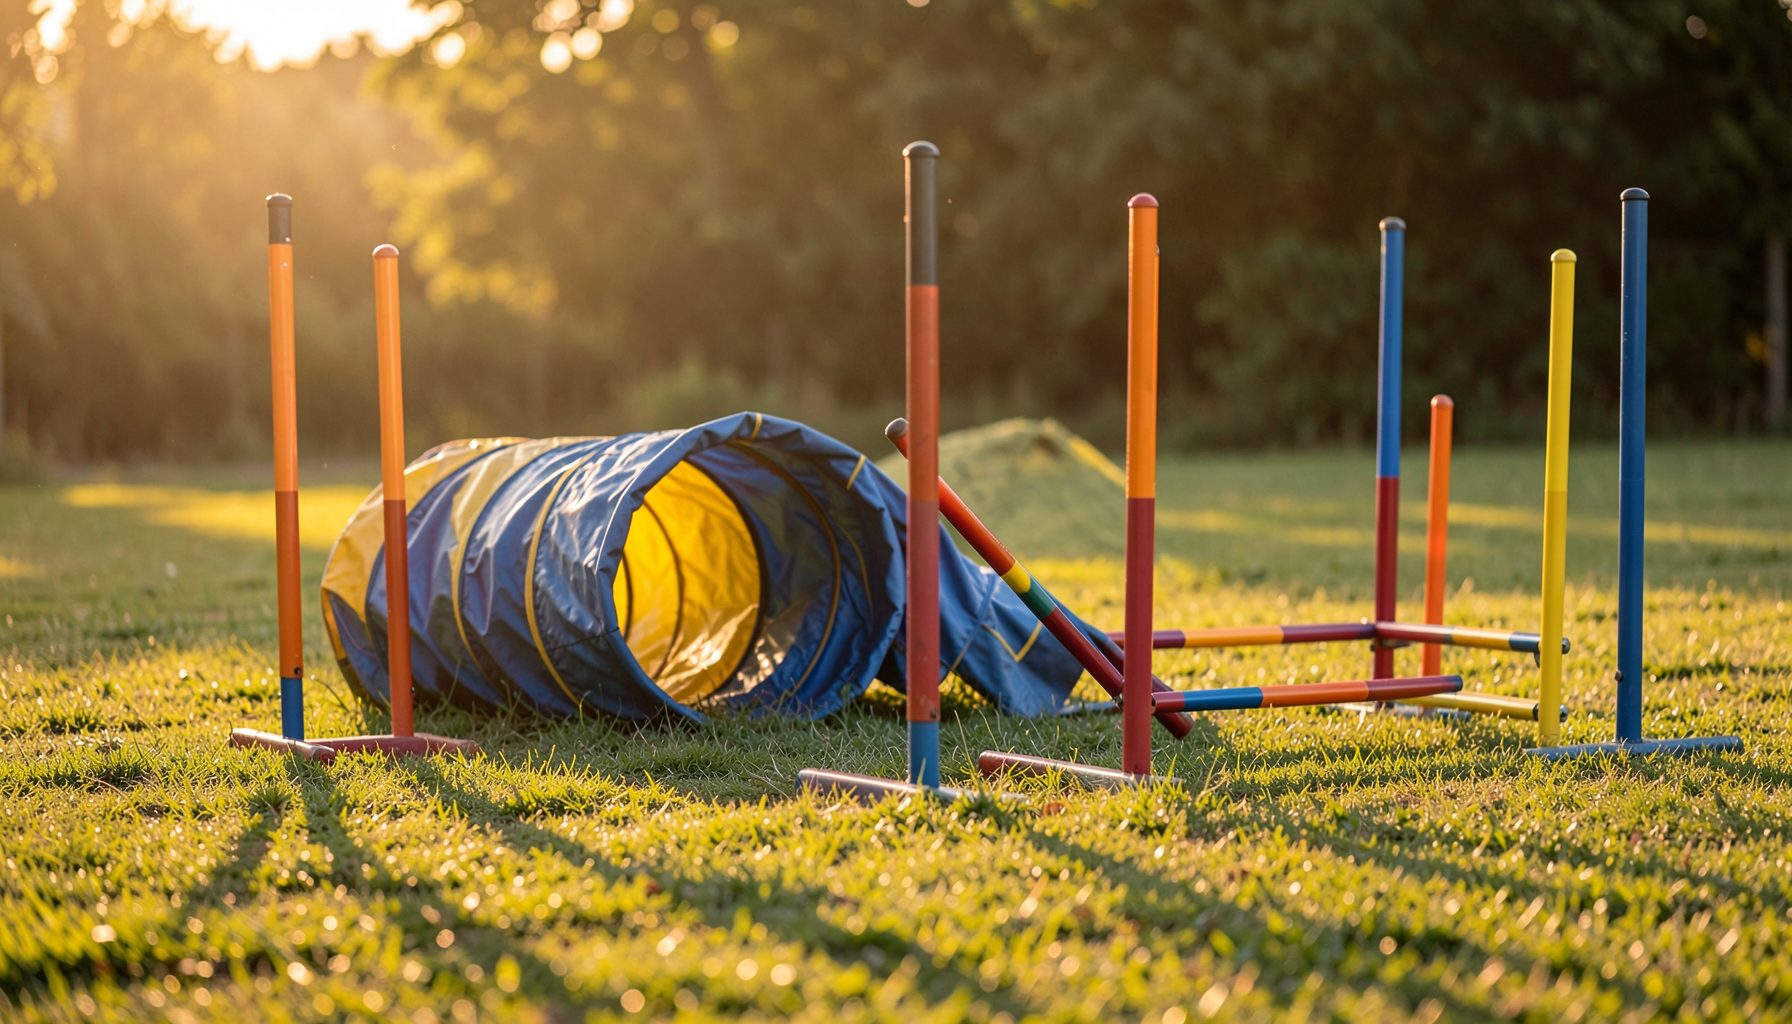
Capturing the Dog’s Tunnel Exit with Ears Flying
A dog bursting from a tunnel is one of the most expressive moments in agility photography. The body is accelerating, paws may be suspended above the turf, and the ears often create a vivid sense of motion. A successful frame shows more than a fast exit; it reveals the dog’s focus, confidence, and relationship with the handler waiting outside the obstacle.
This moment is also difficult to predict. Dogs emerge at different angles and speeds, tunnel entrances can face changing light, and the handler may briefly cross the background. With thoughtful positioning, a responsive autofocus setup, and careful attention to the dog’s line, you can turn a split-second burst into a sharp, energetic image.
Read The Tunnel Before The Run
Begin by studying the tunnel’s exit rather than watching the entire course through the viewfinder. Identify the direction the dog is likely to take after emerging, the point where its face will become visible, and any distracting elements behind it. A clean background gives flying ears and bright eyes greater visual impact.
Watch several competitors before photographing your target dog. Their runs reveal whether dogs tend to pop out low and fast, rise slightly as they accelerate, or turn immediately toward the next obstacle. This advance observation helps you choose a focus point and anticipate the dog’s head position instead of reacting after the action has already passed.
The exit angle also depends on the course layout. A straight tunnel may produce a centered, symmetrical image, while a curved tunnel often sends the dog toward one side of the frame. Leave space in the direction of travel so the photograph feels open rather than cramped.
Choose A Position That Shows Motion
A low shooting position makes the dog appear powerful and brings the camera closer to the level of its eyes. Kneeling or sitting beside the course can emphasize the tunnel’s dark opening behind the dog and make the ears stand out against the background. Stay outside the marked competition area and follow the event’s photography rules at all times.
Try to position yourself slightly to the side of the exit instead of directly in front of it. A three-quarter angle can show the dog’s face, shoulders, front paws, and the curve of its body as it launches forward. This perspective often captures more personality than a straight-on frame.
Avoid standing where the handler will become a safety concern or where your presence could alter the dog’s focus. At organized club shows and trials, photographers must work within the event environment, so a safe, unobtrusive position is more important than an ambitious angle.
Build A Camera Setup For Speed
Use a fast shutter speed to freeze the dog’s expression and the fine strands of fur around its ears. A starting point between 1/1000 and 1/2000 second works well for rapid tunnel exits, although the ideal setting depends on available light and the dog’s speed. If the light is poor, raise ISO before allowing shutter speed to fall too low.
A wide aperture can separate the dog from a busy arena, but excessive blur may make it harder to keep the entire head sharp. An aperture around f/4 to f/5.6 can provide a useful balance between subject isolation and depth of field. Select continuous autofocus and a high burst rate, while remembering that a long burst can fill the buffer before the next run.
Use back-button focus if it helps you separate focusing from shutter release. Pre-focus near the expected exit point, then track the dog as its face appears. Mirrorless cameras with animal-eye detection can be especially effective, but they still benefit from a predictable shooting position and a clear view of the subject.
Time The Ears And Expression
The most compelling frame often arrives just after the nose clears the tunnel. At that instant, the dog’s ears may lift, fan outward, or stream backward, while the eyes remain fixed on the next obstacle or the handler’s cue. Start shooting before the dog appears and maintain focus through the exit rather than waiting for a fully visible head.
Pay attention to each dog’s individual rhythm. Some dogs emerge with ears pinned back from speed; others produce a dramatic upward flick as their head rises. A floppy-eared breed may show a wide, uneven sweep, while a prick-eared dog may create a sharp silhouette. Several consecutive frames can preserve these subtle differences.
Keep checking your images for eye sharpness, not just overall body position. A dog with flying ears can look dynamic, but a soft face weakens the photograph. Review magnified previews between runs when possible, and adjust your focus area if the camera repeatedly locks onto the tunnel rim or nearby equipment.
Balance Freeze-Frame Detail And Motion Blur
A completely frozen image communicates explosive speed through posture, expression, and flying fur. This approach is ideal when you want to preserve every detail of the dog’s face and ears. Clean timing is especially valuable for owners who want a crisp competition portrait from a favorite run.
Controlled motion blur can also make a tunnel exit feel fast. A slower shutter speed, combined with panning, may blur the legs or background while keeping the head reasonably sharp. This technique is less predictable, so use it as an additional approach rather than replacing high-speed frames.
| Creative approach | Useful starting point | Visual result | Main challenge |
|---|---|---|---|
| Full action freeze | 1/1000–1/2000 sec | Sharp ears, eyes, and paws | Requires sufficient light |
| Moderate motion effect | 1/500–1/800 sec | Some energy in legs and fur | Focus accuracy becomes harder |
| Panning frame | 1/125–1/320 sec | Streaked background and speed | Needs smooth camera movement |
| Wider environmental view | 1/640–1/1000 sec | Dog, tunnel, and arena context | Subject appears smaller |
Choose the technique according to the event and the story you want to tell. A championship run may deserve a precise, frozen image, while a training session can give you freedom to experiment with panning and unconventional compositions.
Handle Light And Background Distractions
Tunnel exits can place the dog between shade and bright outdoor light, especially at mixed indoor-outdoor venues. Watch for sudden changes in exposure as the dog moves from the tunnel interior into the arena. Manual exposure can provide consistency when the lighting remains stable, while auto ISO can help manage changing conditions.
Look for bright signs, equipment bags, fencing, and spectators behind the exit. Even small distractions can compete with the dog’s face. A lower viewpoint, a longer focal length, or a slight change in position may simplify the frame without interfering with the course.
When photographing across many events and organizations, consistent file management matters as much as camera technique. Pawprint Pictures organizes agility images by event, club, handler, and dog, making it easier to locate a particular tunnel sequence later. The customer gallery search can help owners find photographs from a specific competition or run.
Refine Your Field Checklist
A repeatable process keeps attention on the dog rather than on last-minute camera adjustments. Before the class begins, confirm your focus mode, shutter speed, burst setting, battery level, and available card space. Then watch enough runs to understand the tunnel’s exit pattern.
Use these practical reminders:
- Position yourself low and slightly off the dog’s expected line.
- Leave room in front of the dog for its direction of travel.
- Begin the burst before the face clears the tunnel opening.
- Prioritize sharp eyes while watching for expressive ear movement.
- Review a few frames and adjust focus or exposure between runs.
Respect for the event environment should remain part of the workflow. Keep walkways clear, avoid sudden movement near the ring, and never step into a competitor’s path. A technically impressive photograph is never worth creating a distraction or safety risk.
Preserve The Story Beyond The Frame
A strong tunnel-exit photograph can function as an action portrait, a record of progress, or a lasting reminder of a particular course. Look for frames where the dog’s ears, eyes, paws, and body direction work together. Small details, such as dirt lifted by a landing or the handler’s blurred cueing hand, can add context without overwhelming the subject.
After the event, apply consistent filenames and metadata so the images remain easy to search. Include the event, date, organization, handler, and dog name where available. If you are selecting images for purchase or sharing, compare several consecutive frames rather than choosing the first sharp photograph; the best image often has the strongest expression and most balanced composition.
For professional event photography, clear privacy practices also matter when galleries include handlers, spectators, and identifiable participants. Review the privacy policy before publishing or ordering images so your gallery activity and customer information are handled with care.
The next time a dog disappears into a tunnel, prepare for the instant it reappears with ears streaming and eyes locked on the course. Set your position early, follow the face, and capture a sequence that shows both speed and character. Then browse the finished event gallery to find the frame that preserves that split-second achievement in lasting detail.