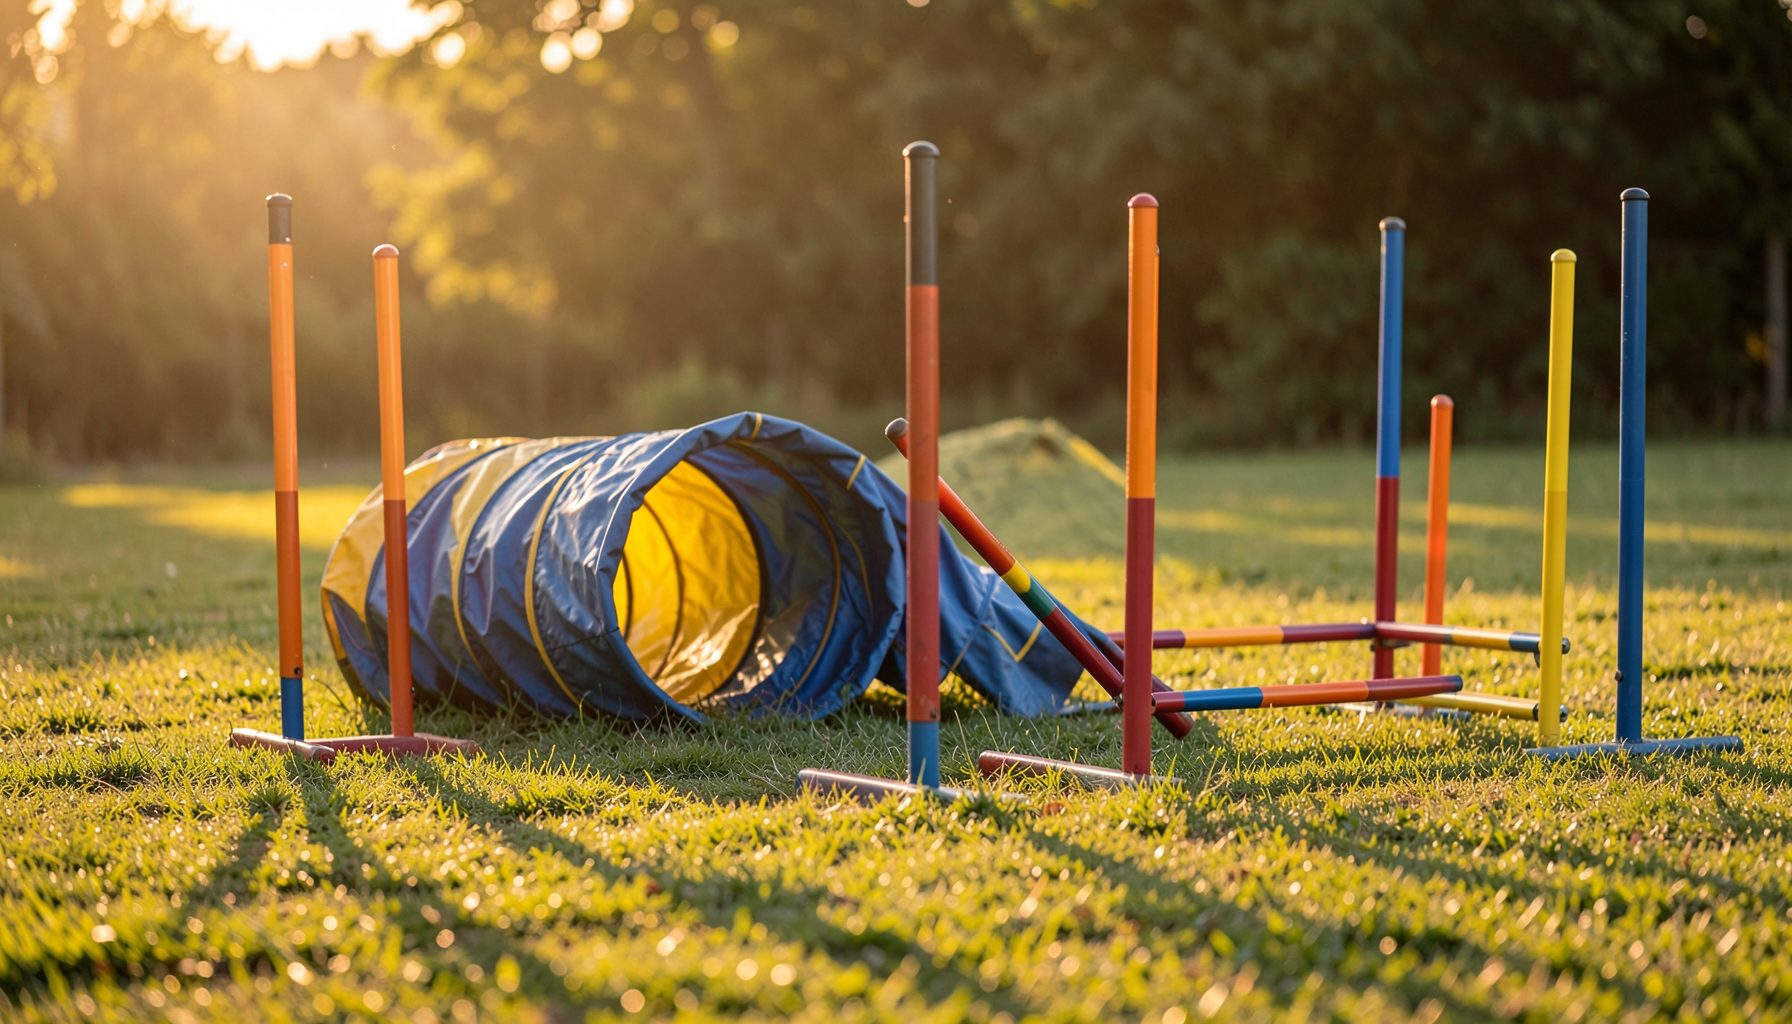
Photographing a Dog’s Nose-to-Bar Jumping Form
A dog clearing a jump can look effortless, but capturing the precise relationship between the nose, bar, paws, and body requires timing and preparation. The most informative frame often shows the dog’s nose reaching toward the next obstacle while the body folds neatly over the bar.
This kind of action photograph is valuable to handlers because it records more than speed. It can reveal jumping style, takeoff distance, head position, tuck, extension, and whether the dog appears balanced in the air. A strong image also preserves the concentration and partnership that make agility so compelling.
Photographers at club shows, trials, and training sessions need to combine a fast shutter speed with careful positioning. The goal is to freeze the instant when the dog’s form is clearest without distracting the team or interfering with ring activity.
Choose the right position beside the jump
The ideal camera position depends on the course layout, lighting, and the direction of travel. A position slightly ahead of the bar often gives the clearest view of the dog’s nose reaching forward, while a side angle reveals the relationship between the spine and the jump. Avoid standing so far in front that the dog appears to be jumping directly at the lens.
For a clean profile, keep the sensor as close to perpendicular to the bar as practical. This reduces distortion and makes it easier to judge whether the dog is rounding over the obstacle or stretching across it. If the course allows only an oblique angle, wait for a jump where the dog’s path naturally opens toward your position.
Background control matters just as much. A busy ring gate, sponsor banner, or cluster of spectators can pull attention away from the dog’s face. Lowering the camera slightly can place the body against a more distant background, while moving a few feet laterally may eliminate distracting poles or equipment.
Set the camera for decisive motion
A fast shutter speed is the foundation of a sharp agility image. Start around 1/1600 second in bright conditions, then increase the speed when the dog is especially fast or when the lens is long. Shutter priority can be useful, but check that the camera is not choosing an aperture so wide that the nose is sharp while the shoulders and bar fall outside the useful focus area.
Continuous autofocus with animal or subject tracking can help, although it should not be trusted blindly. Select a focus area broad enough to follow the dog but narrow enough to avoid locking onto the jump standard. Back-button focus is helpful for photographers who want to separate focusing from the shutter release.
Use burst shooting with restraint. A short sequence taken as the dog approaches, reaches the bar, and lands gives you several body positions without creating an overwhelming number of nearly identical files. Electronic shutter modes may be useful, but check for rolling-shutter distortion if the dog’s body or the bar appears unnaturally bent.
Anticipate the nose, bar, and takeoff
The most successful action frames come from prediction rather than reaction. Watch the handler’s line, the dog’s stride pattern, and the point where the team commits to the obstacle. Triggering only after the dog is fully airborne is often too late; begin the burst shortly before takeoff so the sequence includes the compact and extended phases of the jump.
The dog’s nose is a particularly useful visual reference. When it reaches forward toward the next line, the image communicates intention and direction. A frame with the nose tucked tightly toward the bar may show concentration, but it can also hide the expression. Several frames from the same attempt may be needed to capture both athletic form and personality.
Keep the entire jump in the frame with enough space in front of the nose. That breathing room suggests motion and prevents the dog from looking boxed in. Leave additional space in the direction of travel rather than behind the dog, especially when photographing a sequence intended for a print or banner.
Balance exposure with the arena light
Outdoor agility fields can shift from full sun to cloud shade within seconds. Indoor arenas are more challenging because light levels are low and artificial sources can produce uneven color. Raise ISO as needed to preserve shutter speed; a slightly noisy sharp image is usually more useful than a clean but blurred one.
Use a wide aperture when the background is distracting, but consider stopping down slightly if the dog’s nose and shoulders need to remain within the same focus plane. With a side-on jump, f/4 to f/5.6 may provide a practical balance between subject separation and depth of field, depending on the lens and distance.
Shoot in RAW when possible and correct exposure carefully. White balance should keep the dog’s coat natural, particularly with black, white, or highly patterned dogs. Highlights on pale fur can disappear quickly in bright sunlight, so watch the histogram and protect detail in the face and chest.
| Shooting priority | Useful approach | Common problem |
|---|---|---|
| Nose and facial expression | Begin the burst before takeoff and leave space ahead of the muzzle | Triggering after the best expression has passed |
| Full jumping form | Use a side or three-quarter angle with moderate depth of field | A very wide aperture leaves the body unevenly focused |
| Sharpness | Start near 1/1600 second and adjust for speed and light | Lowering shutter speed to preserve ISO creates blur |
| Accurate focus | Use continuous autofocus and track the dog’s chest or head | The camera locks onto the jump standard |
| Clean composition | Watch the background and keep the bar visible | A busy ring distracts from the dog’s outline |
Preserve expression without disrupting the team
Athletic form and emotional character work together in a memorable photograph. The dog’s eyes, ears, and mouth can communicate confidence, effort, or anticipation even when the body is fully extended. A slightly longer lens can help isolate these details while allowing the handler and dog to work without interference.
Photographers should remain outside restricted areas, avoid sudden movement near the approach, and follow the event’s media rules. Consistent positioning is especially important for nervous or inexperienced dogs. A calm environment gives the team a better chance to perform naturally, and the resulting images tend to look more relaxed. Practical crate-training guidance can also help owners prepare dogs for the pauses, travel, and waiting involved in photo-rich event days.
At training sessions, ask the handler which jump or sequence best represents the dog’s style. A competition image may emphasize intensity and speed, while a coaching photograph may be more useful when it clearly shows takeoff mechanics, front-leg tuck, and landing position.
Review sequences with a handler’s eye
When editing, compare frames as a sequence rather than choosing the sharpest image automatically. Look for the moment when the dog’s nose is clear, the bar remains visible, the legs form an attractive or informative shape, and the body is not hidden by the standard. A technically sharp frame can still be weak if the dog’s face is turned away or the composition feels cramped.
Crop with care. Keep the full jump when the purpose is to document technique, and use a tighter crop when the expression or connection with the handler is the main subject. Straighten the bar and vertical standards, correct distracting color casts, and apply moderate sharpening to the eyes and coat.
For event coverage, consistent file names and gallery organization make images easier to find later. Sorting by event, club, handler, and dog name supports customers who may remember the trial but not the exact ring or jump. Pawprint Pictures provides customer gallery search for locating photographs from organized events and sessions.
Build a repeatable action workflow
Preparation makes a bigger difference than expensive equipment alone. Before the first run, test autofocus on a moving dog, confirm the shutter speed, check battery and card capacity, and identify two or three safe shooting positions. Note whether the course sends dogs toward bright light, shadow, or a reflective surface.
Use this compact checklist during a session:
- Watch one run before photographing so you can learn the handler’s line and the dog’s pace.
- Set a fast shutter speed, continuous autofocus, and a short controlled burst.
- Frame with space ahead of the nose and keep the bar visible.
- Review a few files for focus, exposure, and background distractions before the next class.
- Record event, ring, handler, and dog details for accurate gallery organization.
A reliable workflow also helps when covering AKC, USDAA, NADAC, CPE, or ASCA events, where course designs and jump styles may vary. Reviewing a representative agility event gallery can show how different angles, crops, and timing choices communicate a dog’s movement.
The strongest nose-to-bar jumping images combine technical precision with a clear sense of purpose. Photograph the approach, predict the commitment point, keep the face and bar readable, and allow the dog’s direction of travel to shape the composition. With practice, each sequence can document both the mechanics of the jump and the partnership behind it.
Photographers and handlers can preserve those moments as digital files, prints, and other photo products through Pawprint Pictures. Browse event galleries, locate a dog or handler by name, and select the images that best capture speed, form, and personality.