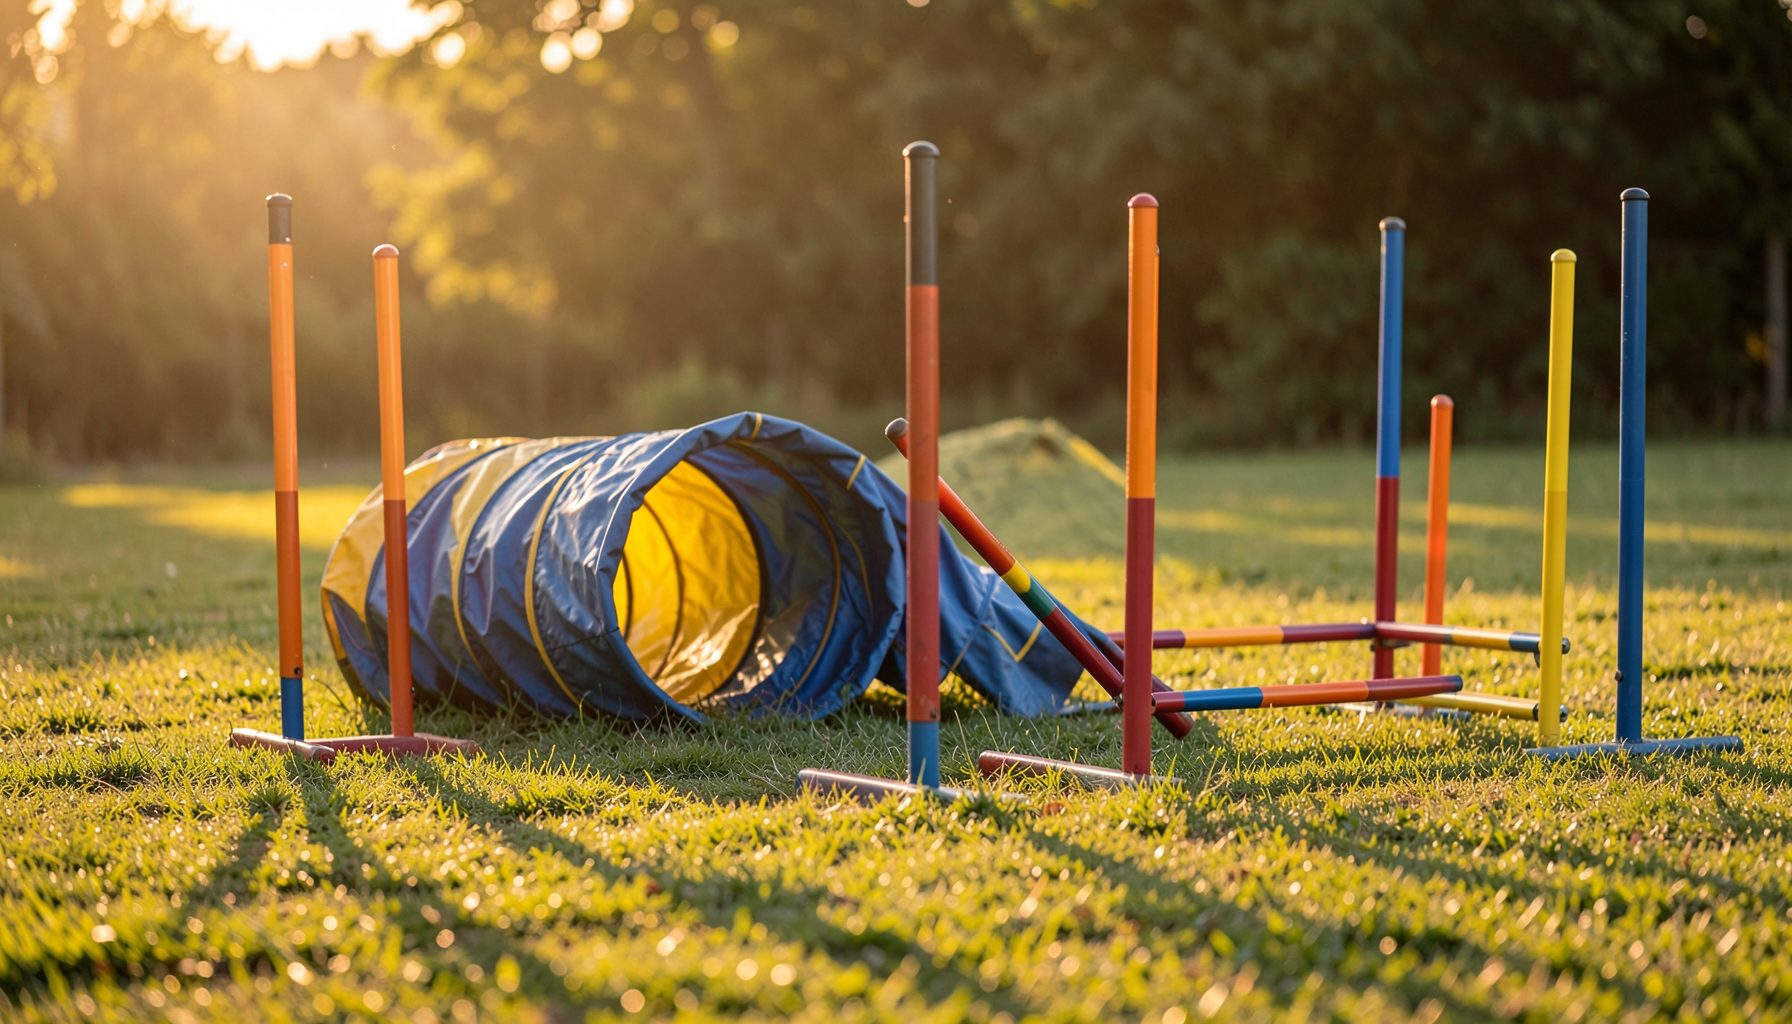
Photographing Airborne Paws in a Dog Agility Jump
Capturing a dog with all four paws off the ground turns an ordinary agility photograph into a record of speed, balance, and trust. The best frame may last only a fraction of a second, yet it can show the dog’s form over the bar, the handler’s timing, and the character of the team in motion.
Jump sequences are especially demanding because the photographer must anticipate the takeoff, follow the dog through the air, and release the shutter at the peak moment. Autofocus, shutter speed, positioning, and anticipation all matter, but technique should support observation rather than replace it.
Whether you are photographing a club trial, training session, or a major AKC, USDAA, NADAC, CPE, or ASCA event, a thoughtful approach produces images that handlers will want to save and share. The goal is a sharp, expressive frame that makes the airborne movement easy to feel.
Read the jump before raising the camera
Start by studying the obstacle and the dog’s approach. Notice the distance from the previous obstacle, the handler’s position, and whether the dog tends to take off early or close to the bar. A straight approach is easier to predict than a tight turn, but both can produce strong action photographs when you understand the course flow.
Watch a few competitors before committing to a shooting position. Their lines reveal where the dog usually gathers, how high the jump is, and when the handler gives the cue. If you photograph the first run without observing, you may frame the obstacle correctly but miss the actual suspension point.
The most useful moment is often just after takeoff, when the front paws have cleared the bar and the body is stretched forward. For some dogs, the peak of the arc comes later, with the knees tucked beneath the chest. Anticipating that individual style is more reliable than pressing the shutter whenever the dog appears near the obstacle.
Choose an angle that reveals the whole jump
A side-on position gives the clearest view of the dog’s body, paws, bar, and landing line. It is a dependable choice for documenting technique because the airborne shape is easy to read. Leave space in front of the dog so the image shows direction and momentum rather than making the subject appear boxed in.
A three-quarter angle can add depth and capture the handler’s relationship with the dog. From this position, the near-side paws may overlap the far-side legs, so careful timing becomes even more important. Keep the bar visible when possible; it provides scale and confirms that the dog is genuinely clearing the obstacle.
Avoid shooting from too low unless the venue and safety rules allow it. A low viewpoint can make the dog look powerful, but it may hide the paws behind the bar or create distracting backgrounds. Kneeling or crouching should never place you in the dog’s running line, and photographers should respect ring boundaries and officials’ instructions.
For gallery-based event coverage, consistent positioning also helps handlers find related images. A well-organized event gallery can show multiple jump sequences while preserving useful context about the competition.
Set the camera for brief moments of suspension
A fast shutter speed is the foundation of sharp agility action. Begin around 1/1600 second in bright conditions, then adjust based on light and lens aperture. Very fast dogs, rapid paw movement, or a long telephoto lens may benefit from 1/2000 second or faster. If light is limited, raise ISO rather than allowing motion blur to soften the paws.
Use continuous autofocus with a tracking mode suited to moving subjects. A small or dynamic focus area often gives better control than allowing the camera to select any high-contrast object. Aim at the dog’s head or chest as it approaches, then keep the focus point on the same area through takeoff and flight.
Continuous high-speed drive helps, but a burst is not a substitute for timing. Long bursts can fill the buffer, increase culling time, and produce many nearly identical frames. Short, deliberate bursts usually preserve more control and make it easier to identify the decisive image.
| Camera choice | Starting point | Why it helps |
|---|---|---|
| Shutter speed | 1/1600–1/2500 sec | Freezes paws, ears, and coat movement |
| Autofocus | Continuous tracking | Maintains focus as the dog advances |
| Drive mode | Short high-speed burst | Covers takeoff, peak, and landing |
| Aperture | f/2.8–f/5.6 | Separates the dog from the background |
| ISO | Adjust to preserve shutter speed | Keeps action sharp in changing light |
| File type | RAW or high-quality JPEG | Provides flexibility for cropping and exposure |
Time the peak instead of spraying the shutter
The ideal frame is usually predictable from the dog’s rhythm. Press the shutter shortly before the expected takeoff, continue through the jump, and stop after the landing has passed. With practice, you can recognize the gathering stride, when the dog compresses its body before launching.
Look for a clean separation between the paws and the bar. A frame can be technically sharp yet visually confusing if one paw overlaps the obstacle or if the dog’s body is hidden behind the handler. The strongest image often shows the front legs reaching forward, the rear legs tucked or extended, and the eyes focused on the next part of the course.
Keep tracking the dog after the peak rather than dropping the camera immediately. The landing may reveal an appealing expression or a graceful extension, and continuing the motion helps prevent abrupt framing. Panning smoothly also improves the chances of keeping the dog in the same portion of the frame throughout the sequence.
Control the background and available light
Busy ring-side backgrounds can compete with a small, fast-moving dog. Look for clean areas behind the jump, such as dark fencing, open turf, or evenly shaded seating. Changing your position by a few feet may remove a bright sign or distracting person without changing the action angle.
Natural light often changes across an outdoor course. Check highlights on white coats and dark shadows beneath the dog, then use exposure compensation or manual settings as needed. Underexposure can hide facial expression and paw position, while overexposure removes detail from pale fur.
Indoors, artificial lighting may create uneven color or banding at certain shutter speeds. Test several frames before the run if possible. A slight adjustment to shutter speed, ISO, or white balance can make the difference between a usable sequence and a batch of muddy or flickering images.
Refine the sequence after the event
During editing, select frames that combine sharpness, readable paw placement, balanced composition, and a clear expression. A dog with all four paws airborne is impressive, but the image should also show enough of the obstacle and surrounding movement to explain what happened.
Crop with restraint. Leave room in the direction of travel and avoid cutting off ears, tails, or landing space. Straighten the bar and correct distracting exposure differences, but preserve the authentic color and texture of the dog’s coat. Excessive sharpening can create halos around the jump and make fur look harsh.
File organization matters when hundreds of competitors are photographed. Sort images by event, club, handler, and dog name, then retain sequence information where useful. Clear naming and dependable customer support help owners locate the exact jump, weave-pole run, or training moment they remember. Familiarity with a service’s privacy policy is also useful when galleries include handlers, spectators, or identifiable event details.
Build a repeatable jump-photography routine
A consistent process reduces missed frames and keeps attention on the dog rather than the camera menu. Before each run, confirm the shutter speed, focus mode, available card space, and battery level. During the run, follow the dog’s line, anticipate the takeoff, and maintain smooth camera movement.
Use these practical habits when photographing airborne agility action:
- Observe several dogs first to learn the obstacle’s approach and likely takeoff point.
- Choose a safe side angle with a clean background and visible landing space.
- Keep shutter speed high enough to freeze paws, ears, and coat movement.
- Focus on the dog’s head or chest and begin tracking before the jump.
- Review a few frames for sharpness and exposure, then adjust before the next run.
Strong jump photographs come from preparation, timing, and respect for the sport. When the shutter catches the dog suspended above the bar, the image preserves more than a successful obstacle: it records concentration, athletic form, and the split-second partnership between dog and handler. Apply these techniques at the next trial or training session, and preserve the best airborne moments as photographs worthy of the team’s progress.