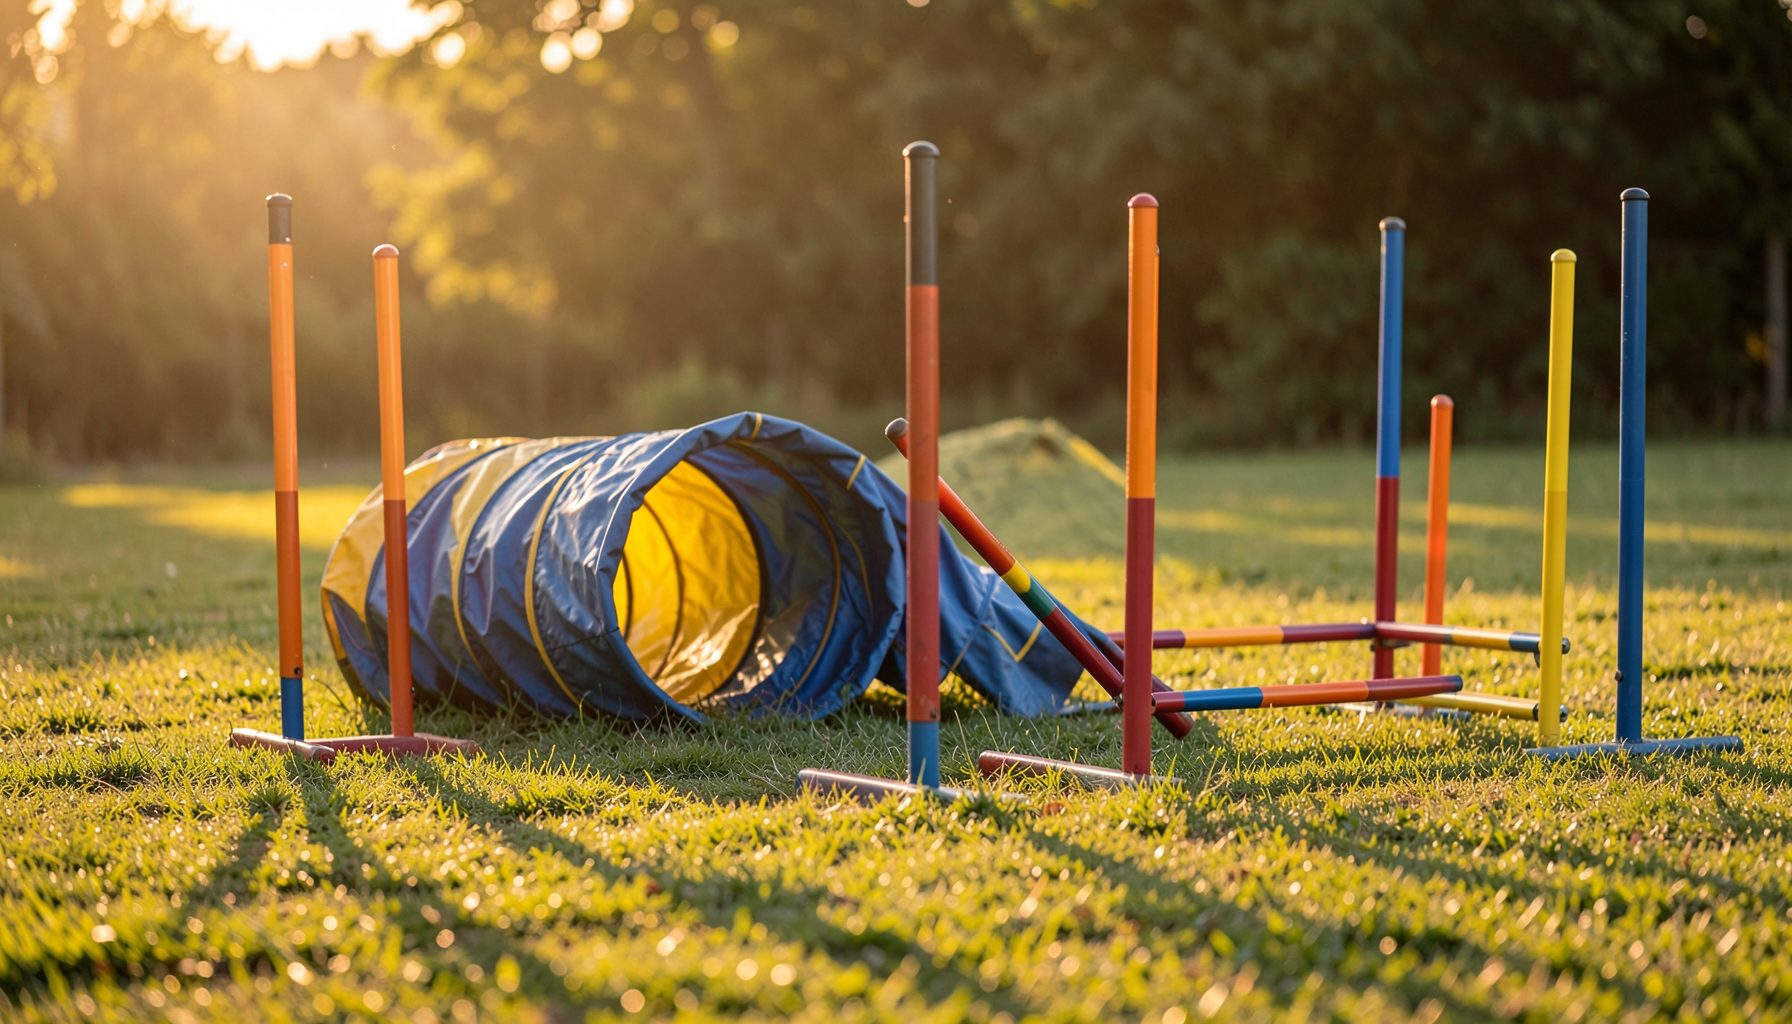
How to Photograph the Seesaw as It Tips and the Dog Leaps Off
The seesaw is one of the most expressive obstacles in dog agility photography. In a fraction of a second, the dog climbs, shifts its weight, waits for the board to drop, and launches toward the contact zone or the next obstacle. A strong image captures that complete story: concentration before the pivot, motion during the tip, and confidence at the dismount.
This obstacle also creates unusual photographic challenges. The dog may be moving diagonally across the frame, the board can obscure part of its body, and the decisive instant is often much shorter than expected. The photographer must anticipate the movement rather than simply react to it.
Preparation matters before the first run begins. A clean coat, visible eyes, and a well-chosen position all help create photographs that show the handler-dog partnership clearly. For presentation tips before an event, review this pre-competition grooming guide, then focus on reading the equipment and the team’s rhythm.
Read the Seesaw Before It Moves
Watch several competitors before committing to your camera position. Different dogs tip the board at different points, and their speed, size, and contact technique change the shape of the action. A fast, light dog may reach the pivot and leave almost immediately, while a larger dog may hold the board down for a longer beat.
The most useful visual cues are the dog’s front feet approaching the fulcrum, the board beginning to descend, and the head turning toward the exit. The ideal frame often arrives just after the seesaw touches the ground, when the dog’s body is extended and all four feet may be visible in a powerful launch.
Avoid photographing only the moment when the dog is standing still on the lowered board. That frame can be sharp, but it often lacks energy. Use the dog’s approach to predict the release, and begin tracking before the board tips so the camera is already aligned when the leap occurs.
Choose Position and Camera Settings
Your angle should show both the dog and the board’s movement. A position near the side of the seesaw usually provides the clearest profile, while a position near the exit can emphasize the leap and the dog’s forward direction. Stay outside the competition area and follow event rules regarding barriers, officials, and designated photographer spaces.
Keep the background in mind as carefully as the subject. A cluttered ring gate, bright sign, or group of spectators behind the dog can pull attention away from the action. Move a few steps when possible, or use a longer focal length to compress the background and isolate the team.
Fast shutter speeds are essential, but the exact setting depends on available light and the dog’s speed. Continuous autofocus with animal or subject tracking can help maintain focus, while burst shooting increases the chance of recording the peak moment. Use the widest practical aperture, but avoid making depth of field so narrow that the dog’s head is sharp while its landing feet disappear into blur.
| Shooting priority | Useful starting point | Why it helps |
|---|---|---|
| Shutter speed | 1/1600 to 1/2500 sec | Freezes the leap, board vibration, and flying paws |
| Autofocus mode | Continuous AF with tracking | Keeps focus engaged as the dog moves toward the exit |
| Drive mode | High-speed burst | Covers the brief tipping and takeoff sequence |
| Aperture | About f/2.8 to f/5.6 | Balances subject separation with enough body sharpness |
| Focal length | 70–200mm or similar | Maintains distance while filling the frame |
| ISO | Adjust for the venue | Preserves shutter speed when light changes |
Outdoor conditions can shift during a class, especially when clouds pass over the ring. These natural light techniques can help retain detail in dark coats and prevent highlights from washing out on pale fur.
Track the Dog Through the Pivot
Begin following the dog before it reaches the seesaw. Keep the camera at the dog’s eye level or slightly below when possible; this perspective makes the launch look more substantial and keeps the face prominent. A low viewpoint can also separate the dog from the ground, although safety and venue restrictions always come first.
Use smooth panning rather than abrupt camera movement. Keep both eyes open if you can, allowing your non-camera eye to monitor the dog’s progress and nearby activity. Maintain a loose framing margin in the direction of travel. Dogs accelerate out of the obstacle, and an overly tight composition can cut off the nose, paws, or landing path.
The handler’s body language is another useful tracking cue. A shoulder turn, arm extension, or change in running line often signals where the dog will go next. If you follow only the board, you may miss the dog’s expression. Follow the dog’s head and chest, then allow the seesaw to become part of the surrounding story.
Freeze the Release With Better Timing
The strongest release photograph usually includes three elements: the dog’s eyes, the seesaw angled toward the ground, and visible separation between the dog and the board. This combination tells viewers exactly what is happening. A frame captured too early may show hesitation; one captured too late may show only the dog’s back.
Burst mode is useful, but it does not replace timing. Start a short burst as the board begins to tip, then continue through the first stride after takeoff. Long bursts can fill the buffer, slow the camera, and produce many nearly identical images, so anticipate the action and shoot with purpose.
Review your sequence for body position as well as technical sharpness. Look for ears lifted or directed forward, bright eyes, an extended spine, and paws arranged naturally. A slightly imperfect frame can still be compelling if the expression is excellent, while a technically sharp image may feel lifeless if the dog’s face is hidden.
Compose the Full Agility Story
A seesaw image does not always need to be a tight portrait. Including enough of the obstacle can establish the dog’s challenge and show the board’s angle. Leave space in front of the dog so the viewer’s eye follows the intended direction of travel. This also makes the image more useful for event galleries, where owners often want a recognizable record of the run.
Horizontal framing usually suits a dog moving toward the next obstacle, while vertical framing can emphasize a rising or descending body. If you photograph several teams from the same position, vary your composition when the action allows. Include occasional wider frames that show the ring environment, handler, and obstacle sequence.
Check the edges of the frame before each run. Crop out distracting equipment, feet, or bright patches whenever possible at the shooting position. A small adjustment in your stance can produce a cleaner image than extensive editing later.
Edit for Clarity and Motion
Start editing by selecting the frame with the clearest expression and strongest body shape. Confirm that the eyes are sharp, then check the board and paws. Moderate exposure adjustments can reveal detail in a dark coat, while restrained highlights preserve white fur and bright outdoor surfaces.
Keep color believable. Agility photographs should show the dog’s actual coat, the obstacle’s paint, and the event environment without excessive saturation. Apply sharpening selectively, especially around the eyes and face, and use noise reduction carefully so the coat does not become unnaturally smooth.
Crop with the dog’s movement in mind. Preserve forward space, avoid cutting through joints, and keep enough context to identify the seesaw. For galleries organized by event, club, handler, and dog name, consistent editing and clear compositions make it easier for owners to find images that document the entire run.
Practical Recommendations for Stronger Seesaw Frames
Use these habits when photographing a trial, club show, or training session:
- Watch a few runs first and identify the exact point where most dogs leave the board.
- Choose a side angle that keeps the dog’s face, feet, and seesaw visible together.
- Set the shutter speed before the class begins, then raise ISO rather than allowing motion blur.
- Leave space in front of the dog and check the frame edges for distractions.
- Capture a short sequence from the tip through the first stride after takeoff.
After editing, organize files immediately with the event, class, handler, and dog information. When owners need help locating photographs from an agility event, the customer gallery search makes it easier to browse available images and select prints or other products through a secure shopping cart.
The seesaw rewards photographers who anticipate rather than chase the action. Arrive early, observe how each team approaches the obstacle, and let the dog’s movement guide your focus point and composition. With careful timing, the final photograph can preserve the instant when balance becomes flight.
Photograph the next seesaw sequence with these techniques in mind, then save the sharpest moments as a complete visual record of the run. Owners and handlers can browse their event gallery, find images by dog or handler name, and order photographs that keep the leap alive long after the competition ends.