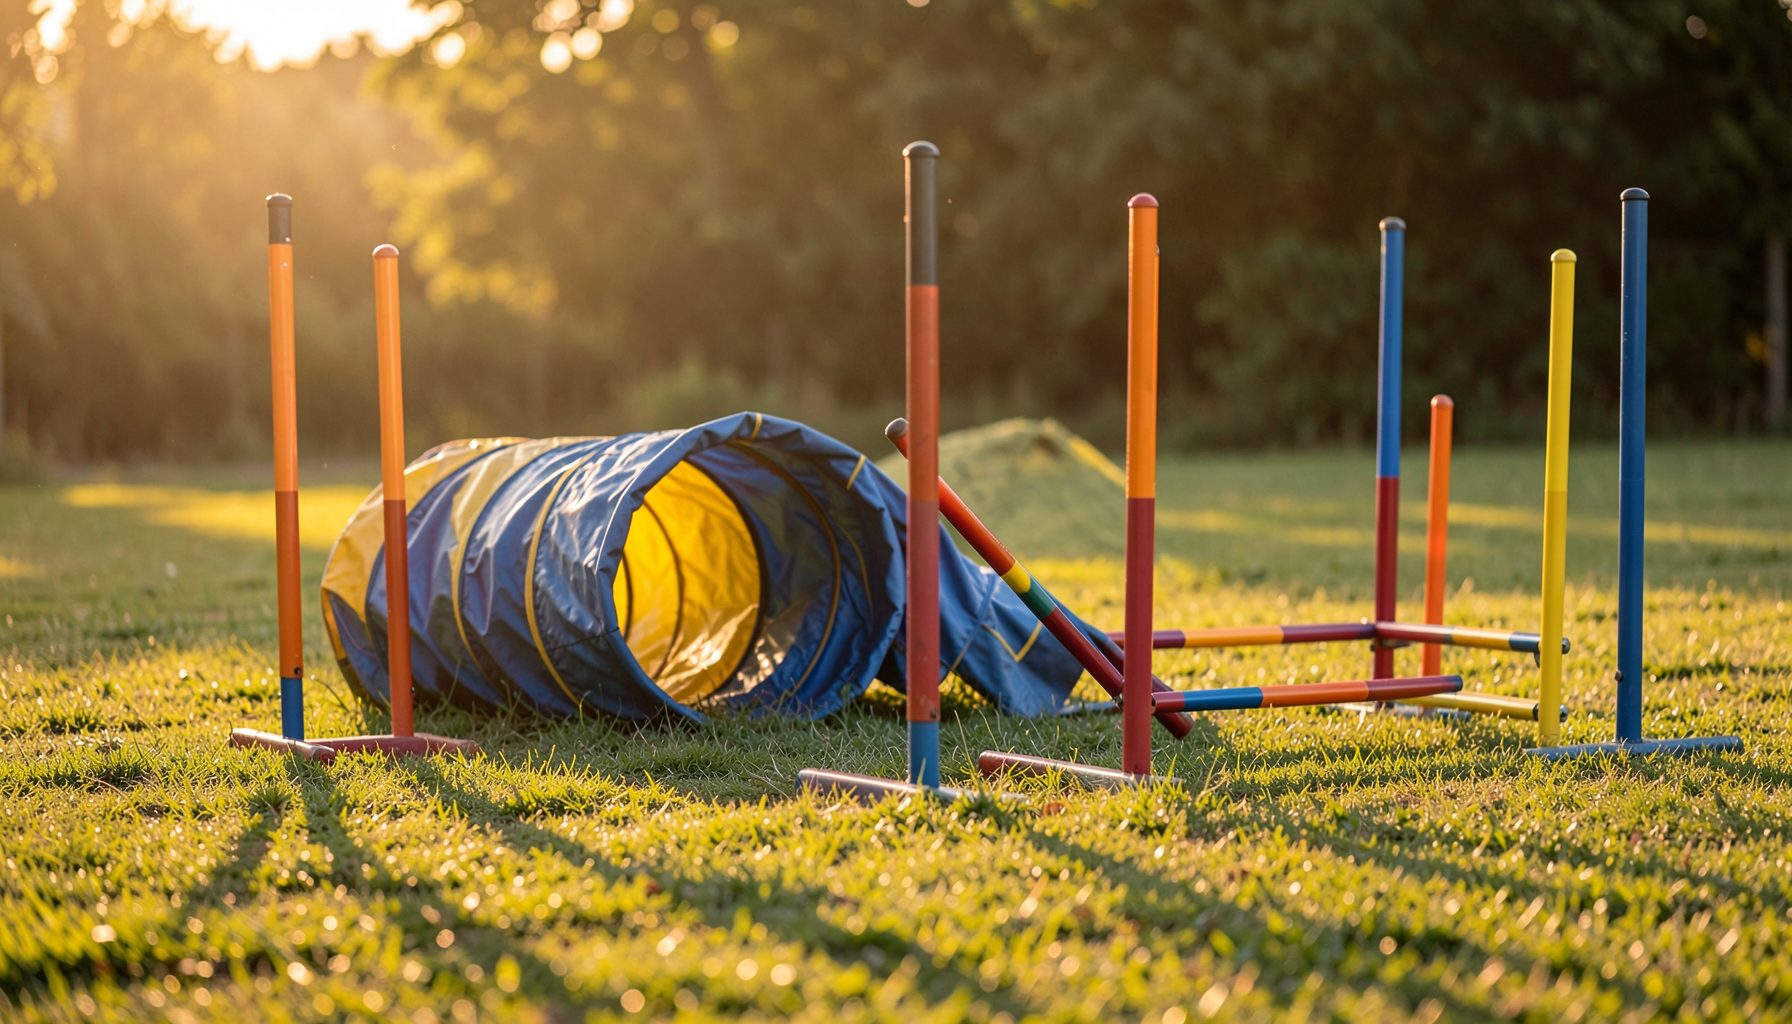
Helping Your Dog Stay Comfortable With Camera Flash
A well-timed photograph can capture the instant a dog clears a jump, holds a contact zone, or turns toward a handler. Yet the camera itself may be unfamiliar, and a sudden burst of light can interrupt a carefully trained behavior. Teaching your dog to wait calmly around photography equipment helps create better images and makes event sessions less stressful.
The goal is not to make every dog stare into a bright flash on command. It is to build a reliable pause, increase comfort with the camera, and teach the dog that a shutter sound or brief light is followed by something rewarding. This approach works for puppies, experienced competition dogs, and pets who become distracted during portraits.
At a trial or club show, a dog may already be processing crowds, barking, equipment, loudspeakers, and unfamiliar flooring. Calm preparation at home gives the wait cue a useful foundation before you add a photographer, a flash unit, or the excitement of a busy venue.
Build a dependable wait cue first
Before introducing a camera, teach “wait” in a quiet room. Ask your dog to stand, sit, or remain in a natural position, then pause for one second before offering a treat and saying a release word such as “free.” Gradually extend the duration while keeping the exercise easy enough that your dog succeeds frequently.
The release cue matters as much as the pause. Without it, a dog may guess when the exercise is finished and move as soon as the handler lowers a hand or shifts position. Practice stepping away, turning your body, and briefly looking at your phone while the dog remains still until released.
Keep the dog’s posture realistic for photography. A competition dog may need to wait in a stand, hold a start-line position, or remain beside the handler rather than sit. Reward quiet feet, a relaxed mouth, and attention that can return to the handler after a distraction.
Introduce camera equipment without the flash
Begin with the camera switched off or set aside. Let your dog investigate it from a comfortable distance, but do not push the lens toward the face. Reward a calm glance, a soft body, or a return of attention to you. If your dog backs away, freezes, pants heavily, or tries to leave, increase the distance and lower the difficulty.
Next, hold the camera while practicing the wait cue. Raise it slowly, take a picture without flash, and immediately reward the dog for staying composed. Short sessions of three to five repetitions are usually more productive than a long training block. You can also use a phone first, then progress to a larger camera with a longer lens.
Add ordinary camera sounds gradually. The shutter click, focusing beep, lens movement, and photographer’s changing position can each become separate distractions. Mute unnecessary sounds when possible, and avoid repeatedly photographing a dog that is showing signs of worry. The aim is confidence, not endurance.
Make the light predictable and gentle
Once your dog is relaxed around the camera, introduce the flash at a distance and at low intensity. Have a helper operate the camera while you deliver treats, so your timing stays consistent. The first flash can happen while the dog is simply standing near you rather than holding a long wait.
Pair the brief burst with something your dog values. A treat delivered immediately afterward teaches that the light predicts a pleasant outcome. If the dog startles but quickly recovers, make the next attempt easier by increasing distance, reducing the flash output, or returning to a non-flash photograph.
Avoid aiming a powerful flash directly into the eyes at close range. Use bounced or diffused light when appropriate, follow venue rules, and ask the event photographer about safe positioning. Dogs with known eye conditions, unusual light sensitivity, or a history of seizure-like episodes should be discussed with a veterinarian before deliberate flash training.
Practice in layers instead of rushing
A useful progression changes only one factor at a time. You might begin with a familiar room, then add a camera, then a flash, then a second person, and finally a more active location. If the dog struggles after a change, return to the last successful stage rather than correcting or restraining the dog.
The following framework can help you choose the next step:
| Training stage | What your dog experiences | Reward and success signal |
|---|---|---|
| Quiet room | Camera held at a distance | Relaxed body and brief wait |
| Familiar setting | Camera raised and shutter sound | Treat after staying still |
| Low-level flash | One flash from several feet away | Calm recovery and attention |
| Practice session | Several flashes with pauses | Waits until the release cue |
| Busy venue | People, dogs, and equipment nearby | Settles, checks in, and holds position |
Keep the pauses between flashes long enough for your dog to reset. Rapid-fire images may look efficient, but they can create frustration or sensory overload. A photographer who understands canine behavior will allow time for repositioning, rewards, and breaks.
Prepare for crowded event environments
A dog who waits beautifully in the living room may find a trial atmosphere much harder. Before the event, rehearse around mild distractions such as a friend walking past, a few chairs, or distant barking. Build toward busier parks and training grounds only when your dog remains able to eat treats and respond to familiar cues.
For additional preparation, review these ideas for calm at events, especially if your dog becomes tense around crowded walkways or unfamiliar dogs. A calm arrival, adequate distance from the action, and a quiet rest area can make photography practice far more successful.
At an actual show, do not train immediately after a demanding run if your dog is overheated, tired, or highly aroused. Let the dog drink, decompress, and move away from the ring before attempting portraits. Tell the photographer about your dog’s experience level, preferred rewards, trigger distance, and release cue.
Turn the wait into a useful photo routine
Create a simple routine that your dog can recognize: step into position, ask for the wait, raise the camera, allow one image, reward, and release. Predictability reduces uncertainty and helps the dog understand that the camera session has a clear beginning and end.
Use high-value treats for early flash practice, but fade the frequency only after the behavior is reliable. Some dogs work well for a toy, a brief sniff break, or praise, while others need food during a busy competition. Keep rewards low-volume and suitable for the dog’s diet, particularly during a long event day.
For action photography, the best “wait” may last only a fraction of a second. Ask for stillness before the jump, start line, or turn, then release into movement. For a posed portrait, reward tiny periods of stillness and capture images between treats rather than expecting an extended statue-like pose.
Practical habits for better sessions
- Practice for two to five minutes, ending while your dog is still comfortable.
- Keep the first flash several feet away and increase closeness gradually.
- Reward recovery, eye contact, and relaxed posture rather than forcing a fixed pose.
- Give your dog breaks from the camera, especially in warm or crowded venues.
- Share your training plan and release cue with the photographer before shooting.
Good preparation also helps you locate images after an event. When browsing an event photo gallery, look for moments that show your dog’s natural confidence as well as technically sharp action. Those images can reveal whether your timing, position, and reward routine are supporting the behavior you want.
A flash should remain a tool, never a test of obedience. If your dog repeatedly avoids the camera, shows persistent stress, or cannot recover after a light burst, stop the session and choose natural light or a longer-distance setup. With patient conditioning, clear cues, and a considerate photographer, your dog can learn to pause comfortably while the camera captures the moment. Begin with one calm practice session today, and let each successful frame build the next step.