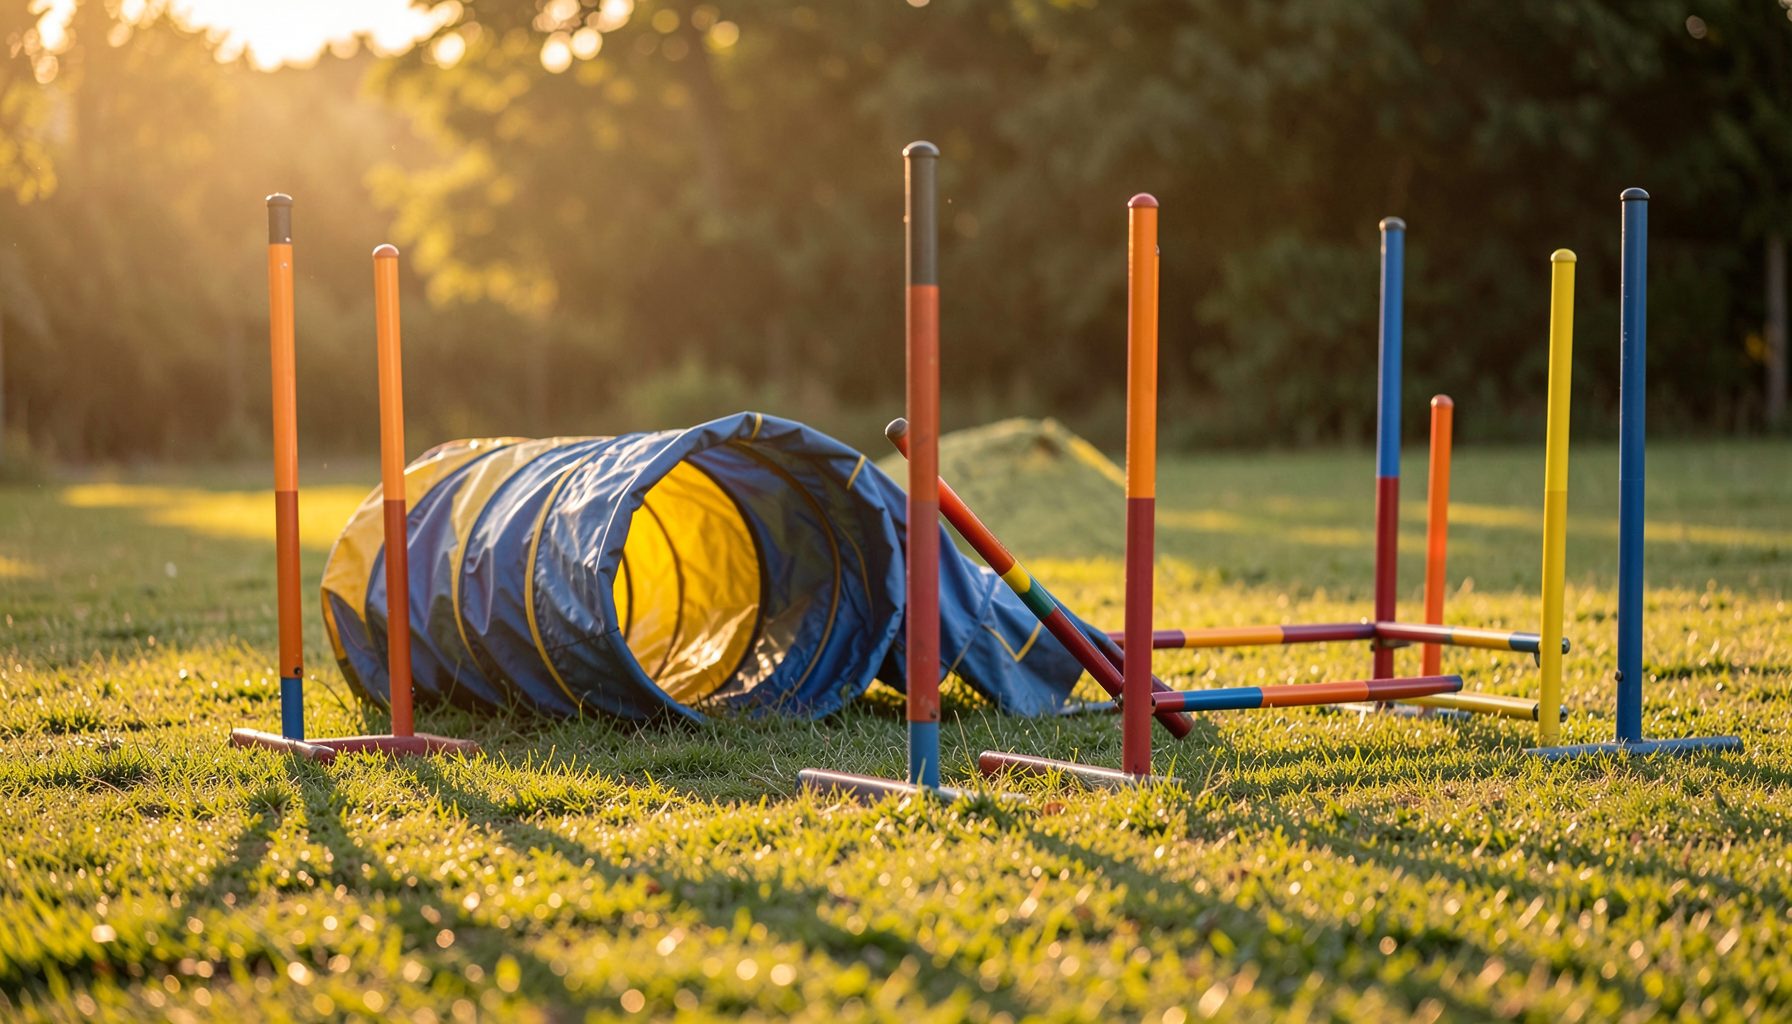
Capturing handler footwork on the front cross
Pawprint Pictures has spent years photographing agility teams across Australia, and one of the most requested features from coaches is a clear view of the handler's footwork during a front cross. The manoeuvre happens in a fraction of a second, which makes it notoriously hard to study in real time. Photographers who understand the mechanics of the move can freeze the exact moment a handler plants, pivots, and drives toward the next obstacle.
Handlers training under Australian National Kennel Council clubs often run sequences designed by coaches in Sydney, Melbourne, or Brisbane. Capturing those sessions for later review gives trainers a tool they can return to long after the mat is rolled up. The images also help handlers see the subtle weight transfers that are nearly impossible to feel during a fast run.
Equipment that keeps the action sharp
Front crosses demand a camera body that can keep up with a dog running at full speed while the handler redirects behind it. Mirrorless cameras with deep buffers allow continuous bursts without choking when the action heats up. A fast telephoto zoom, usually in the 70-200mm range, lets the photographer stay out of the running lane while still filling the frame with the handler's lower body.
A sturdy monopod or a hand-held rig with image stabilisation makes a real difference at busy club grounds. Many weekend trials at places like the Dogs Queensland training complex pull in large crowds, and a tripod is rarely practical. Lighter glass also reduces fatigue during long days of shooting across multiple rings.
- Camera body with at least 20 frames per second burst
- 70-200mm f/2.8 lens for tight footwork crops
- Monopod or stabilised hand-held setup
- Spare batteries and dual card slots
- Weather sealing for sudden coastal showers
Timing the shutter to the pivot
A front cross is built from three visible beats: the approach step, the pivot on the inside foot, and the drive step into the new line. Coaches usually want a sharp image of the pivot because that is where foot placement decides whether the dog gets a clean line. Photographers learn to pre-focus on the spot where the cross will happen and release the shutter as the inside foot loads weight.
Practising this at a local club, like the Agility Club of NSW at Clarendon, helps build the rhythm. When the same sequence repeats round after round, the photographer can refine which frame of the burst to keep. The result is a sequence that shows the handler moving from one line to the next in clear, separate images.
Bursts that tell the full story
Coaches rarely need just one image. A short burst of six to ten frames tells the story of the cross from the moment the inside foot lifts to the drive step out of the turn. Delivering that sequence as a set lets the trainer scrub through it frame by frame. Pairing the burst with a still of the dog's path adds context for handlers working on their handling plans.
Uploading these bursts through the customer gallery means handlers can review them at home on a tablet, zooming into the footwork without losing resolution. It also makes it easier to compare rounds across a trial weekend, which is especially useful during big events like the Sydney Royal Easter Show agility demonstrations.
Angles that show what the eye misses
Standing at the side of a jump gives a flat view of the handler but rarely shows the pivot clearly. Photographers chasing footwork usually position themselves slightly behind the line of the next obstacle, looking back toward the crossing point. That angle catches the inside foot planting and the outside foot sweeping across the body, which is the detail coaches want most.
Low angles work well too, particularly when the handler is changing leads through a threadle. Shooting from a knee puts the footwork closer to the lens and exaggerates the depth of the pivot. Many handlers at clubs around Perth and Adelaide have found these low-angle shots useful for spotting crossover steps that slow their dog's turn.
Light, weather, and the Australian outdoor season
Outdoor trials in Australia face strong summer sun, sudden coastal winds, and the long shadows of autumn afternoons in Victoria. Harsh midday light flattens the footwork, while overcast mornings offer soft, even tones that bring out the shape of each stride. Photographers who arrive early can scout the ring orientation and decide which side will catch the cleanest light across the crosses.
Some clubs schedule late starts once daylight saving pushes evening training into the cooler hours. That gives photographers a softer golden light and longer shadows that emphasise foot placement. A polarising filter helps cut glare from the matting that many clubs use in their show rings.
- Scout the ring for the cleanest light before the first run
- Avoid shooting directly into the afternoon sun
- Use a polariser to cut matting glare
- Keep ISO low when there is still plenty of daylight
- Pack a rain sleeve for spring coastal trials
Marking the reps that matter
Coaches and handlers often flag specific sequences they want captured, especially when a new handling plan is being introduced. A short chat before the run lets the photographer know which line to expect and where the cross will land. Some clubs write the course map on a whiteboard near the ring gate, and a quick photo of that map helps the photographer remember the lines.
At the Royal Melbourne Show agility ring, the walk-throughs are tight, so a printed course map shared on the day saves time. Marking the cross point with a small piece of tape on the lens hood, or simply noting the jump number, keeps the photographer locked onto the right spot. The result is a set of frames that match the coach's lesson plan rather than a random selection of pretty runs.
Many handlers like to pair these footwork shots with a written caption when posting to social media, and our agility photo caption guide offers a few starter ideas. The caption can be as simple as the course number, the judge, and a line about the lesson learned during that run.
Delivering the set for coaching review
Once the photos are edited, the most useful frames are grouped by sequence and tagged with the course and judge. Coaches often ask for a side-by-side pair of two different handlers running the same line so the team can compare footwork decisions. These paired sets make the gallery feel more like a coaching resource than a simple photo album.
Clubs that want their full trial weekend documented can browse our club shows and trials service page to see how galleries are built. Delivering the images through the secure cart also lets handlers order prints for their own training journals or for the club noticeboard. Good footwork photos become part of the training cycle, not just a record of the weekend.
Some handlers ask for a printable PDF contact sheet of every front cross from the weekend, which makes it easier to bring the images onto the training field. Others prefer a private online gallery sorted by dog and handler, so they can share selected frames with their coach before the next session. Either way, the goal is the same: turn the photos into a working tool, not just a keepsake.
The clearest lessons in handler footwork come from images taken by someone who understands the move being performed. A photographer who anticipates the pivot, times the burst, and chooses the right angle turns a fast sport into a study aid. For Australian handlers chasing those small improvements that shave seconds off a course, a well-shot front cross is one of the most valuable tools they can take home from a trial.