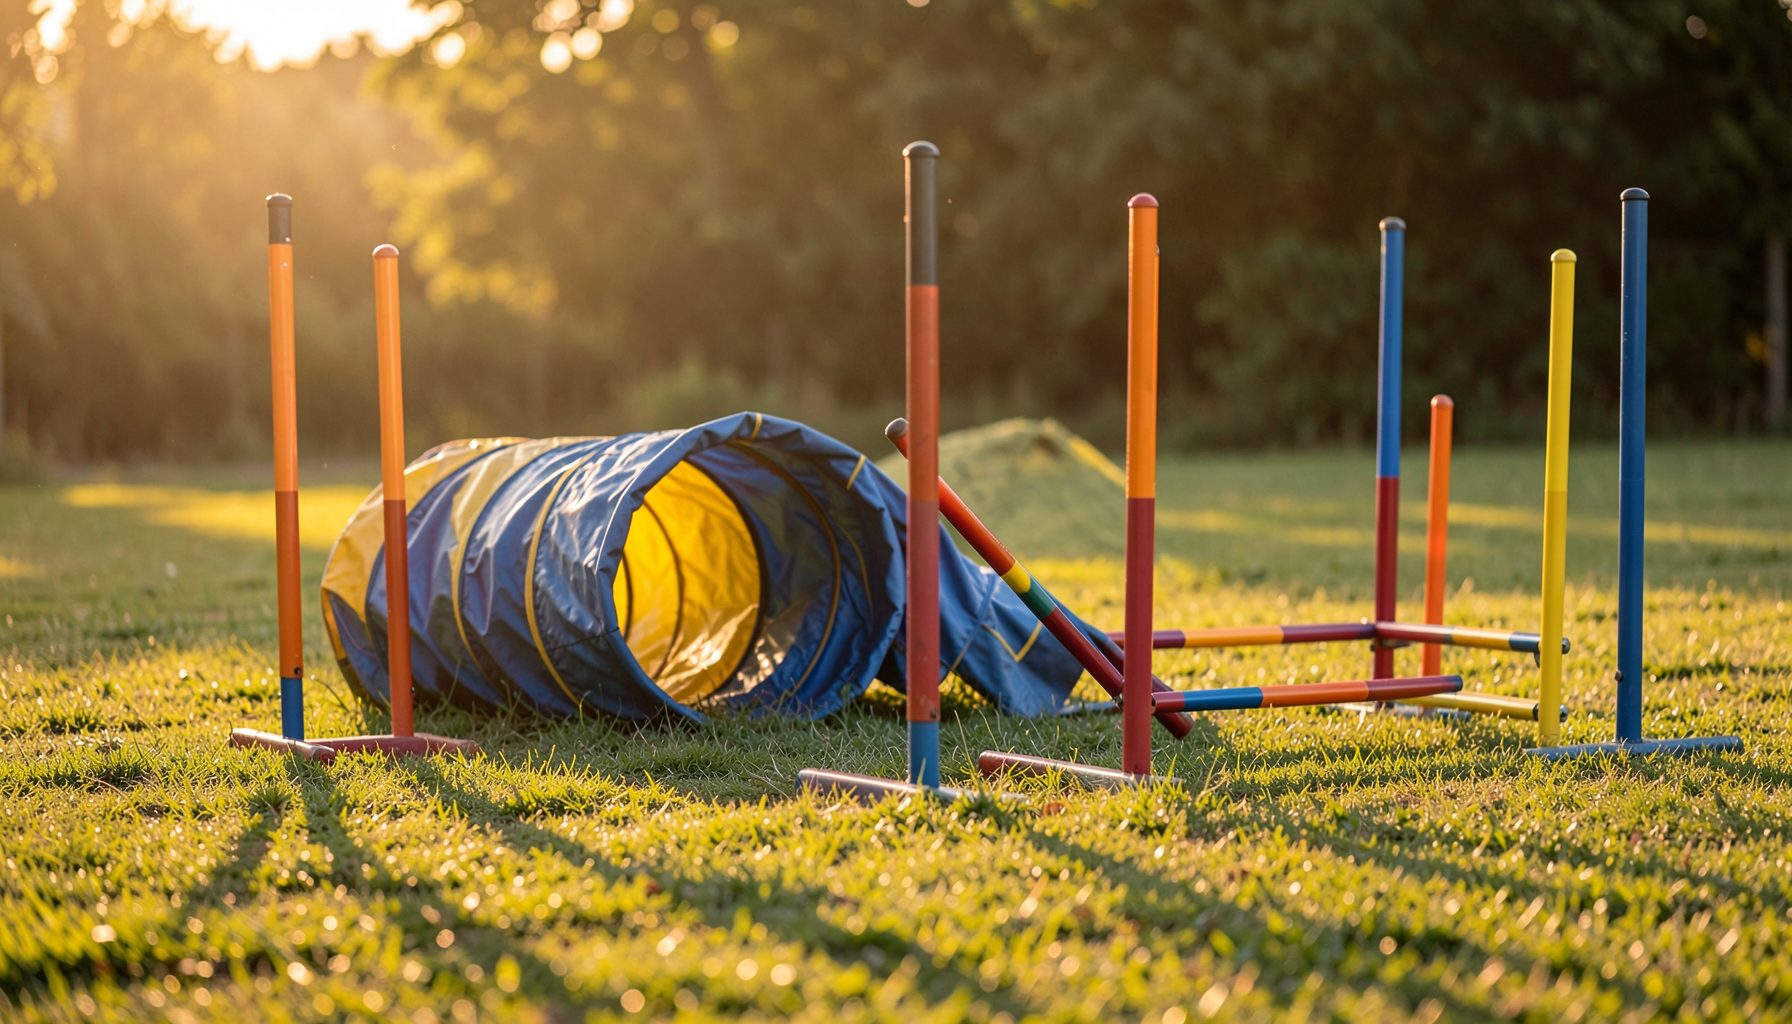
Choosing a Photo That Shows Rear-End Awareness on the Table
A good agility photograph can reveal much more than a happy expression or a clean outline. When your dog is working on the pause table, the image should show how the hindquarters are positioned, where the weight is carried and whether the dog is maintaining control through the stop.
Correct rear-end awareness is especially useful to assess in a still image because it can be easy to miss during a fast run. The best photograph captures the relationship between the dog’s front feet, pelvis, spine and handler, giving you a reliable visual reference for both training and memories.
For Australian handlers, event galleries may include images from a busy weekend at Katoomba, a windy oval in Adelaide or a warm evening trial near Brisbane. Lighting, camera angle and footing can change considerably, so choosing the right frame requires more than selecting the sharpest face.
Read The Table Position Clearly
Start by checking whether the entire dog is visible from nose to tail. A cropped rump, hidden back feet or handler standing across the table can make rear-end position impossible to judge. Look for a frame where the table surface, the dog’s topline and both hind legs are easy to see.
The photograph should show a stable relationship between the front and rear of the body. Depending on the exercise and the rules used at that event, the dog may be standing, sitting or lying on the table. The specific required position can vary between organisations and classes, so use the image to assess body control rather than applying one position to every competition.
Look for hind feet placed underneath or appropriately behind the pelvis, rather than stretched far out or sliding sideways. A dog with good body awareness usually appears balanced, with the rear end organised instead of trailing behind the shoulders.
Look Beyond The Dog’s Expression
A bright, alert face is appealing, but it should not be the main reason you choose the photograph. A smiling dog looking towards the camera may still have an unclear or poorly timed table position. Give priority to posture, balance and the moment the dog has settled.
Check whether the spine looks reasonably aligned and whether the pelvis is level. One hind leg may be hidden because of the angle, but a three-quarter view often gives enough information to see if the dog is leaning, twisting or loading one side. A side-on image can be useful for judging sit or down mechanics, while a front three-quarter view may better show symmetry.
Colour and presentation can help you enjoy the image later. If you like playful visual references for colour combinations or graphic style, bright design inspiration can be useful when choosing a print, frame or digital display that suits your dog’s coat and your home.
Choose The Moment With Care
Timing matters because a table sequence contains several different phases: approach, contact, settling, waiting and release. The most informative image is often taken just after the dog has assumed the required position, before excitement shifts the weight forward.
Avoid choosing a frame where the dog is still climbing, turning or looking back at the handler. Those moments can be valuable action photographs, but they do not clearly demonstrate a finished stop. Similarly, a blurred tail or lifted paw may indicate movement rather than a stable posture.
The handler’s position matters too. A low camera angle can make the dog look more compact, while a high angle may hide the feet. If you are reviewing a training concern or a recurring crooked sit, compare several frames from the same sequence. If pain, stiffness or reluctance appears repeatedly, photography should not replace professional advice; a veterinarian can help assess the dog, and this neutering options guide illustrates why procedure and recovery questions are best discussed with an appropriate veterinary service.
Compare The Useful Image Options
Different compositions answer different questions. A close portrait may be ideal for a framed keepsake, while a wider action frame may be much better for examining rear-end awareness. If two photographs are equally sharp, select the one that gives the clearest view of the table and the dog’s weight distribution.
| Photo view | What it shows well | Possible limitation |
|---|---|---|
| Side profile | Spine, pelvis and sit or down shape | One hind leg may be hidden |
| Front three-quarter view | Balance, front feet and body alignment | Rear feet can overlap visually |
| Rear three-quarter view | Hip position and hind-leg placement | Face and handler connection may be less visible |
| Wide action frame | Approach, table contact and context | The dog may appear smaller |
| Close portrait | Expression and detail | Posture may be difficult to assess |
A strong choice often combines technical usefulness with emotional value. For a training reference, favour the view that exposes the body position. For a wall print, you may prefer an image with clean composition, focused eyes and enough surrounding space for cropping.
Account For Australian Event Conditions
Outdoor agility photography in Australia has to contend with harsh sun, deep shade, dust, damp grass and sudden weather changes. A dog on a table at a wet trial may look lower or less stable because of a slippery surface, while glare can obscure the feet and flatten the body shape. Before making a judgement, consider what the ground and weather were doing at that moment.
A photograph from a rainy event may still be valuable, particularly if it captures a clear pause and the dog’s rear feet. The advice in rainy-day photography tips explains why moisture, reflections and muted contrast affect outdoor images. In practical terms, inspect the original gallery image rather than relying only on a small thumbnail.
Local trials can also have distinctive settings: a sunlit showground outside Melbourne, a compact club ground in Western Sydney or a windy coastal venue near Perth. These conditions influence coat movement, shadows and footing. A slightly less dramatic image may be the better reference if it shows the dog’s complete posture without distracting glare.
Use The Gallery To Review Your Choices
When browsing a Pawprint Pictures gallery, search by event, club, handler or dog name so you can compare multiple moments from the same run. This is useful when one frame shows a beautiful expression and another shows a clearer table position. Keep both possibilities open until you have checked sharpness, body visibility and timing.
Before ordering, inspect the available crop and product format. A digital file can be enlarged on a tablet during training review, while a print may make a more lasting record for a club room or home office. This explanation of digital downloads versus prints can help you decide which format suits your purpose.
A Practical Viewing Checklist
Use these visual checks when comparing images:
- Are the dog’s hindquarters, table surface and front feet visible?
- Is the dog settled, rather than still climbing or turning?
- Can you see whether the pelvis is level and the weight balanced?
- Does the camera angle avoid hiding the rear feet?
- Is the image sharp enough to inspect posture?
Then separate training value from display value:
- Choose a side or three-quarter view for body analysis.
- Choose a wider frame when table context matters.
- Choose a close image when expression and connection are the priority.
- Check the full-size image before selecting a print or download.
Keep The Best Training Reference
A single photograph cannot diagnose a handling issue, but it can help you spot patterns. Save images that show different table approaches, surface conditions and stages of the stop. Comparing photographs from a warm Queensland evening with those from a cool Canberra morning may reveal whether a change is linked to fatigue, footing or arousal.
It can also be worthwhile to revisit galleries after a major competition weekend. Pawprint Pictures’ annual events listings can help you locate recurring fixtures and find images from the same event across different years. Those comparisons create a visual record of progress without relying entirely on memory.
For the clearest example of correct rear-end awareness, choose the sharp frame taken after your dog has settled, with the whole body visible and the table unobstructed. The practical takeaway is simple: select the photograph that makes the hindquarters easiest to read, then use the most flattering format for preserving that useful moment.