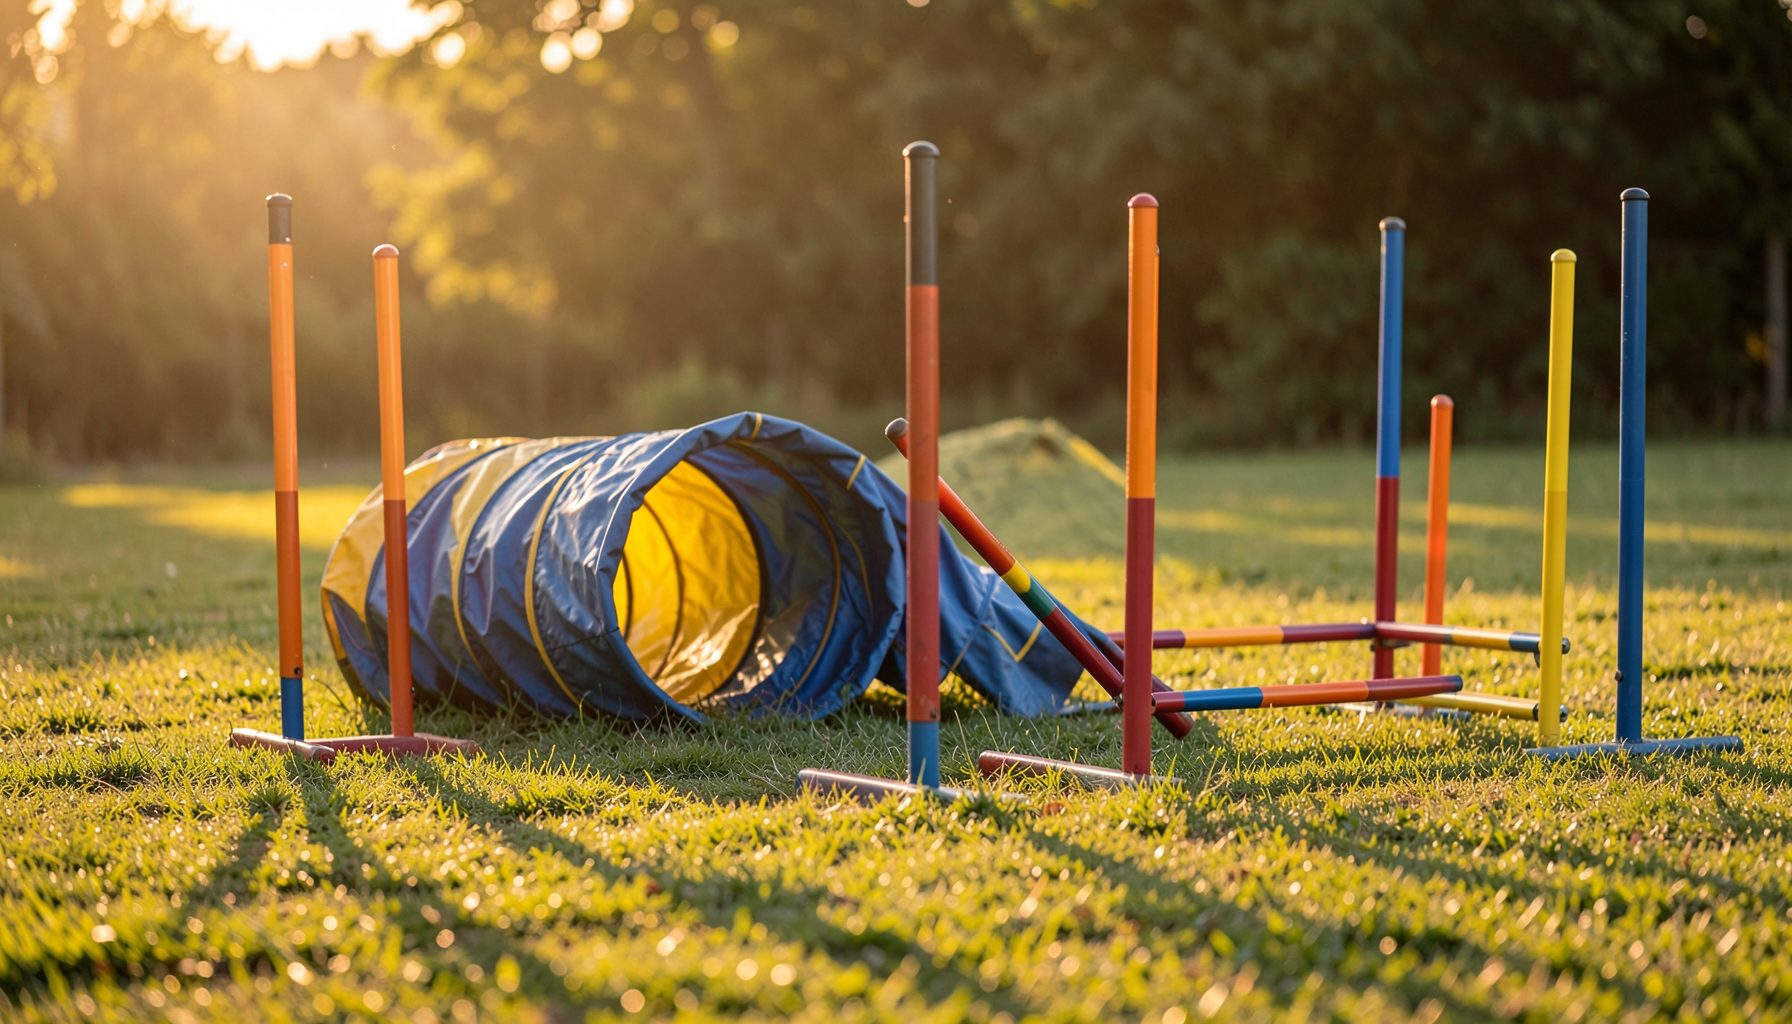
Tips for Photographing Dogs With Dark Coats in Bright Sunlight
Photographing a black or deep brown dog at an agility event can be surprisingly demanding. Bright sun creates strong contrast, hard shadows, and reflective highlights, while dark fur can lose its texture and appear as a single, featureless shape. Fast movement adds another layer of difficulty, especially when a dog is accelerating toward a jump or disappearing into a tunnel.
The goal is to preserve detail in the coat while keeping the action sharp and expressive. That requires more than simply raising exposure. Light direction, camera position, shutter speed, autofocus behavior, and the color of the surroundings all influence the final image.
A few deliberate adjustments can make a major difference. Whether you are photographing your own dog or reviewing professional agility event galleries, these techniques will help you recognize what makes a dark-coated dog stand out in bright conditions.
Read The Light Before The Run
Start by watching how sunlight falls on the course before you lift the camera. Front light can illuminate the dog’s face and chest, but it may flatten the coat if the sun is directly overhead. Side light is often more useful because it reveals the contours of the shoulders, ribs, ears, and legs.
Backlighting can create a beautiful rim of light around the ears and outline of the body. However, the camera may interpret the bright background as the main exposure and leave the dog too dark. If you use backlight, be prepared to add positive exposure compensation or adjust manually after checking a test frame.
Look for areas where the dog will pass through consistent light. A patch of open sun followed by a deep shadow makes exposure difficult in burst mode. If possible, stand where the dog remains evenly lit through the most important obstacle, such as the jump, seesaw, or weave poles.
Build Exposure Around Black Fur
Dark fur usually needs careful exposure because the camera’s meter can be influenced by pale dirt, white jumps, bright grass, or a sunlit sky. In manual exposure, take a test shot of a dog or handler in the same part of the course and inspect the histogram. Aim to protect bright areas while ensuring that the coat is not crushed into solid black.
Slightly overexposing a dark dog can reveal valuable texture, but blown highlights on the face or white markings are difficult to recover. Shoot in RAW when possible, then lift the shadows and reduce highlights during editing. The best exposure preserves information in both the coat and the brightest parts of the scene.
A starting point for sunny outdoor action photography might be a shutter speed around 1/1600 second, an aperture between f/4 and f/5.6, and an ISO adjusted to match the light. These settings are not fixed rules. A dog racing toward the camera may need a faster shutter, while a distant subject may allow a smaller aperture for more depth of field.
Choose Angles Backgrounds And Light
Camera height affects how the coat reflects sunlight. Shooting from a slightly lower position can place the dog against a cleaner background and make its body look powerful in motion. It also helps separate the silhouette from busy fencing, spectators, and equipment.
Pay attention to color behind the dog. A dark coat can disappear against shaded trees, black ring gates, or a deep green background. A lighter patch of grass, pale building, or open sky can provide separation, though very bright backgrounds may affect metering. Position yourself so the dog crosses a visually simple area at the moment of peak action.
Avoid relying on digital brightening to solve a poor angle. If the background is several stops brighter than the dog, lifting shadows later can introduce noise and reduce the richness of the fur. Moving a few steps to the side may improve the balance of light more effectively than any editing adjustment.
Freeze Action Without Losing Texture
Fast shutter speeds are essential for crisp paws, flying ears, and focused expressions. Dogs often move more quickly than expected, particularly when leaving a contact obstacle or landing from a jump. A shutter speed of 1/2000 second or faster can freeze explosive motion, although available light and lens aperture will determine whether the ISO must rise.
Continuous autofocus with subject tracking can help, but it works best when the dog is separated from the background. Use a small group of focus points or an animal-eye setting if your camera handles it reliably. For obstacles where the dog follows a predictable path, pre-focus on the takeoff or landing area and hold the shutter as the dog enters that zone.
Use burst mode with restraint. A long burst may produce many nearly identical frames and make it harder to find the strongest expression. Short bursts timed around the jump, turn, or contact point give you more control and preserve storage space.
| Shooting Situation | Useful Starting Point | Detail To Watch |
|---|---|---|
| Fast jump in direct sun | 1/2000 sec, f/4, ISO 200–400 | Bright muzzle and eye highlights |
| Side-lit weave poles | 1/1600 sec, f/4–f/5.6, ISO 400–800 | Texture along the shoulder and flank |
| Backlit tunnel exit | 1/2000 sec, f/2.8–f/4, exposure compensation +1 | Shadow detail and rim light |
| Cloudy transition | 1/1250 sec, f/4, ISO 800–1600 | Noise in dark fur |
| Portrait after the run | 1/800 sec, f/4–f/5.6, ISO 200–800 | Catchlights and facial expression |
These settings are starting points rather than prescriptions. Review the first few frames, adjust for the actual course, and keep checking whenever the sun moves behind a cloud or the dog enters a different section of the ring.
Refine Focus Timing And Composition
Dark eyes can be difficult for autofocus to identify when the face is in shadow. Focus on the nearest eye when possible, but accept that a full-body action frame may be successful even when the eye is not perfectly sharp. The paws, ears, and posture can communicate speed and concentration just as effectively.
Anticipate the moment instead of reacting after it happens. Watch the handler’s body language and learn the dog’s stride pattern. A dog often compresses its body just before a jump, extends at the peak, and lands with a distinctive expression. The peak may last only a fraction of a second, so timing your burst around that sequence is more reliable than holding the shutter continuously.
Leave enough space in front of a moving dog for the image to feel intentional. A frame with the dog pressed against the edge can look cramped, even when the focus and exposure are accurate. Include the obstacle when it helps explain the action, but remove distracting poles, chairs, and spectators from the most important part of the composition.
If a frame is slightly underexposed or misses the ideal pose, it may still be worth keeping. A different crop, monochrome treatment, or tighter detail of the face can give it a second life. For additional ideas about recovering from an imperfect moment, this guide on a missed perfect shot offers useful perspective for trial photographers.
A Field Checklist For Better Results
Preparation helps you spend less time correcting problems after the event. Before the first run, check the direction of the sun, select a safe shutter speed, and take several test frames in the area where the dog will perform.
Keep these reminders in mind:
- Watch the histogram and protect bright facial markings, teeth, and reflective tags.
- Use RAW capture when available so shadow detail can be recovered more naturally.
- Choose a clean, contrasting background for dark coats.
- Track the dog’s route and begin focusing before the key obstacle.
- Review a few frames between runs instead of waiting until the entire event is over.
After the event, careful editing can bring out the subtle brown, blue, silver, or charcoal tones hidden in a dark coat. Lift shadows moderately, reduce distracting highlights, and use selective sharpening around the eyes, ears, and edges of the body. Avoid excessive clarity, which can make fur look harsh and emphasize noise.
Strong photographs preserve more than technical sharpness. They show concentration before a jump, the lift of a paw over a bar, or the connection between handler and dog. Browse Pawprint Pictures galleries to locate your event, handler, or dog, then select and order the action frames that capture your team at its best.