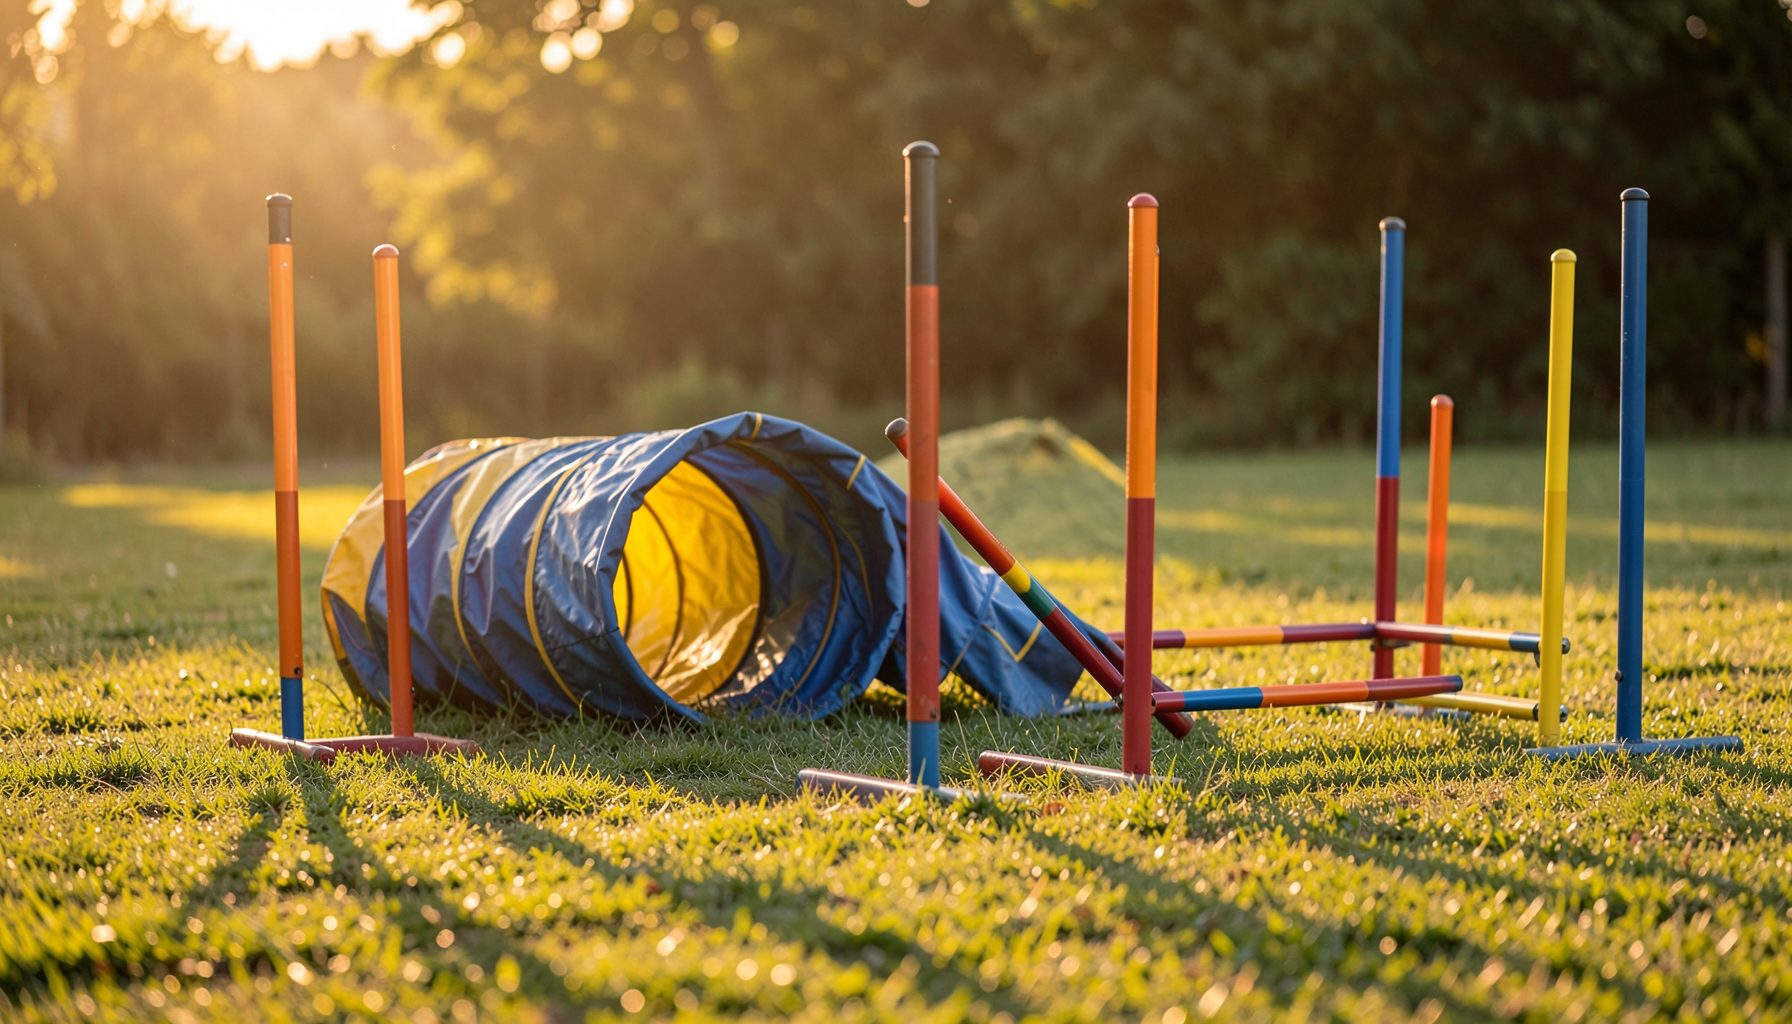
Why we always get a shot of the dog’s paws on the teeter pivot point
Dog agility is photographed at full speed, yet one revealing frame is often quiet: the moment a dog reaches the centre of a teeter. The board changes angle, the handler may be outside the frame, and the paws work across the fulcrum. That brief crossing records timing, balance and trust in a way a wide action shot can make easy to miss.
We keep that image because it tells viewers what happened around the click. It also gives print buyers a memorable detail: the part of the run that shows the dog’s control and courage. The aim is not to replace portraits of the dog and handler; it is to add evidence of the skill required at the obstacle.
The instant at the centre of the teeter
The teeter’s pivot point is the small mechanical centre around which the board tips. A dog reaching it is managing an unstable surface while its weight transfer, stride length and confidence continue to change. A paw-level frame makes those adjustments visible. It can show whether the dog stayed balanced through the crossing or hurried, corrected or avoided the centre.
That distinction matters in judging as well as photography. The material on Platov’s judging guidance provides useful background on clean movement, efficiency and commitment in obstacle work. The pivot frame gives a similar visual clue without pretending to be a judging sheet: we can see the dog’s body alignment, the position of each paw and the moment the board responds.
The picture also has a strong sense of place. The fulcrum sits at the centre of the teeter, so the dog’s body, the board’s diagonal and the photographer’s line of sight create a clean graphic. That geometry makes the shot identifiable even before the viewer knows the dog or handler.
Why the paw frame earns its place
Paws often provide the detail that an action sequence lacks. Faces can blur, collars can disappear into the background, and a distant jump may hide the handler’s cues. At the pivot, the contact is clear and readable. It is especially useful in galleries organised by event, club, handler and dog name, because owners can find the exact run and keep it within the wider story.
That search matters for Australian pet owners who want both a shareable digital memory and something tangible from the day. On Pawprint Pictures, photographs from organisations such as AKC, USDAA, NADAC, CPE and ASCA can be located through those names, then prints and other products can be chosen through a secure cart. The paw frame becomes both a record and a strong centrepiece for a print.
Australian conditions change the picture
Australian conditions make a consistent teeter frame harder to plan. Melbourne’s changeable skies can leave boards damp; Sydney’s summer humidity softens contrast; Brisbane’s subtropical storms can arrive quickly; and Perth or Adelaide can bring hard, sun-bleached ground. Canberra’s cold winter mornings may leave frost on the waiting area. Each detail changes exposure, colour and the clearest background.
Ground also affects the shot and the dog. Compacted soil can kick stones towards the obstacle, while wet grass hides the pivot hardware. We look for loose debris, standing water and sharp edges before the first class, then choose a position that keeps the foreground clear without placing the camera in a handler’s line or an active run-off.
Before visiting an unfamiliar venue, the annual event schedule helps confirm class and ring details, while previous galleries show recurring backgrounds and sun angles. Club culture then rewards this preparation. Many Australian agility clubs rely on volunteers, with handlers arriving early, helping marshal rings and moving between suburban venues and larger trials. Course marshals, established camera spots and a shared run order make the work safer for dogs, handlers and spectators.
Planning around timing, safety and welfare
On site, we ask the course marshal where movement will begin and finish, then establish a low or square side view before handlers are called. The pivot stays visible without the lens intruding into the course. We also watch several warm-up runs to judge the teeter’s speed, the dogs’ approaches and the most likely position for the fulcrum crossing.
Technical settings support that choice. A shutter speed around 1/1000 second or faster freezes paws, continuous autofocus follows the approaching dog, and a short burst captures the instant before, during and after the fulcrum crossing. We keep the camera on the approach side of the teeter, where the board’s angle reads clearly, and review frames for focus before the next class.
A strange step should never be diagnosed from one photograph. Hesitation can reflect distraction, timing or discomfort. Signs such as reluctance to eat, dropped food or rubbing the mouth deserve attention too; this dental pain guide explains what owners may notice. If pain or a lasting change in movement appears, a veterinary assessment is the appropriate response, not a flattering photograph.
A field checklist and next-step plan
A reliable teeter sequence needs planning before the first start. The goal is not to manufacture drama by missing the action, but to record the contact while keeping the full run available for context.
Before we shoot, we agree on names and class details, test the view, and decide which frame should be the paw-focused image. The following field checklist keeps the approach consistent across busy Australian event days.
- Record the dog’s name, handler, event, class and expected teeter direction before the first run.
- Inspect the approach and fulcrum for stones, water, frost or anything that could move underfoot.
- Agree on a camera position with the course marshal and remain outside the dog’s running line.
- Use continuous autofocus, a fast shutter speed and a short burst centred on the fulcrum.
- Capture a wider frame first, then a tighter paw image with the board angle still readable.
- Check focus and sharpness promptly, and label every keeper before the gallery is prepared.
The strongest frame balances narrative and precision. Wide images establish the course and partnership; the close pivot view supplies proof that the dog stayed with the obstacle. Keeping both lets clients understand the run and choose an image that still feels personal when enlarged.
For the next session, put the dog’s name, handler’s name, class number and teeter approach side on the photographer’s shot list before warm-up begins.