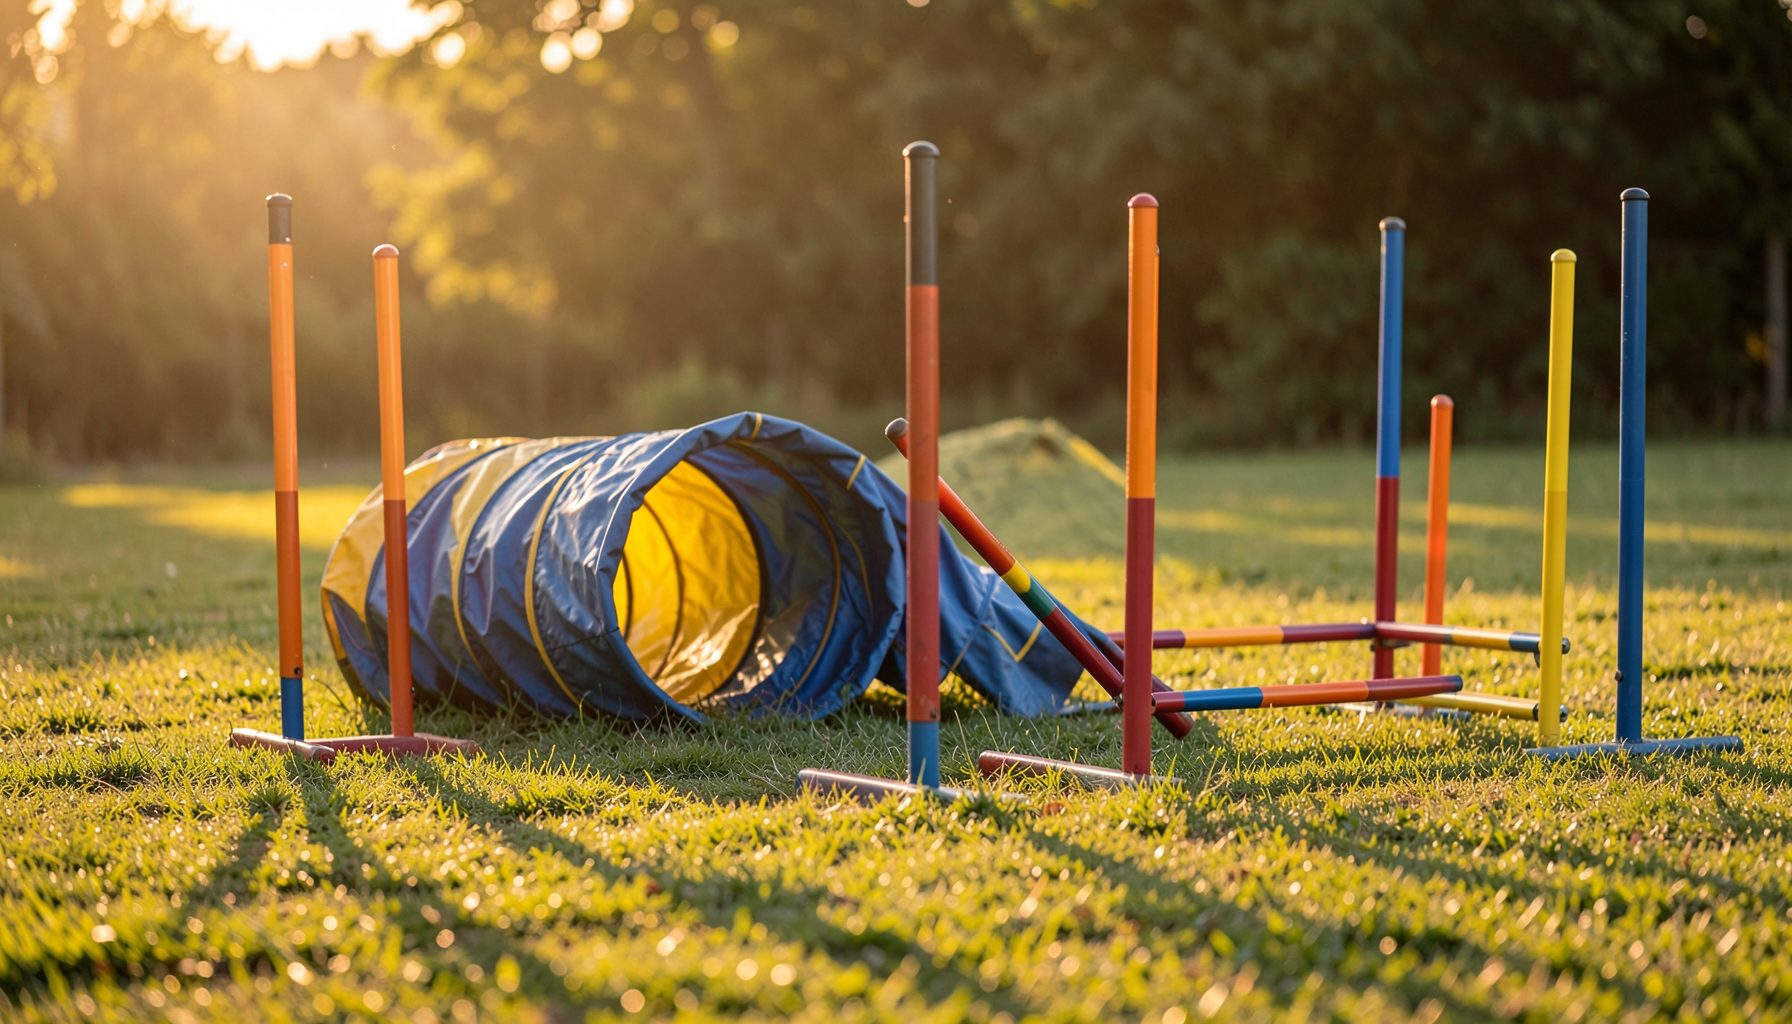
How to Photograph the Dog’s Turn at the End of a Straight Line
The turn at the end of a straight line is one of the most rewarding moments to photograph in dog agility. The dog has built speed, the handler is preparing the next cue, and the change of direction creates a compact burst of movement. A well-timed image can show athleticism, concentration, and the partnership that makes the run special.
This moment is also one of the easiest to miss. The dog may reach the obstacle sooner than expected, the handler may cross into the frame, or the turn may happen at the edge of your shooting angle. Successful agility photography depends on anticipating the line rather than reacting after the dog has already changed direction.
The best results come from combining course awareness, a carefully selected position, fast camera settings, and steady tracking. With practice, you can capture the instant when the dog finishes the straight, plants its feet, and commits to the next obstacle.
Read The Course Before The Run
Start by identifying the straight line and the obstacle that ends it. A tunnel, jump, weave-pole entry, or contact obstacle can produce very different body positions. A dog turning sharply after a jump may lift its front feet and twist in the air, while a dog exiting a tunnel may appear low, compressed, and immediately accelerating.
Watch a few early runs before committing to your final position. Notice whether handlers send their dogs wide, collect them tightly, or move toward the next obstacle before the dog arrives. The course map shows the intended route, but live runs reveal the actual timing and spacing.
Look for the moment that controls the photograph. It might be the dog’s head turning toward the handler, the front paws touching down, or the instant the handler gives a directional cue. Knowing which detail matters helps you press the shutter with purpose instead of taking a random burst.
Choose A Position With A Clear Exit
Your position should show the dog approaching the end of the line and beginning the turn. A three-quarter angle is often more effective than standing directly beside the final obstacle because it gives the dog room to move through the frame. You can include the approach, the change of direction, and a hint of the next obstacle.
Avoid placing yourself where the dog will run directly toward the camera unless you have a specific reason. Head-on images can be dramatic, but the turn may become visually flat, and the dog can fill the frame before you have time to adjust. A diagonal view usually reveals more of the body and makes the redirection easier to understand.
Keep safety and event rules in mind. Stay outside the ring boundary, avoid blocking officials or spectators, and never move suddenly while a dog is running. If the turn is close to a corner, leave extra space for the handler and the next part of the course.
Photographs that include the team often tell a stronger story than isolated dog portraits. For practical guidance on framing both subjects, consider how the handler’s position, arm, and gaze support the dog’s movement without hiding it.
Set The Camera For Sudden Movement
A fast shutter speed is essential for freezing the dog’s feet, ears, and coat as it changes direction. Start around 1/1000 second in bright outdoor conditions, then increase it if the dog is moving quickly or the image still shows motion blur. Indoor arenas may require a wider aperture or higher ISO to maintain that speed.
Continuous autofocus with a responsive tracking mode can help keep the dog sharp as it travels toward the turning point. Use a single point or a small zone when the background is busy, especially near colorful jumps, ring gates, or spectators. A large autofocus area may lock onto an obstacle instead of the dog.
Continuous drive mode is useful, but it should support timing rather than replace it. Short bursts preserve memory-card space and make it easier to find the decisive frame. Pre-focus near the expected landing or turning area, then begin tracking as the dog enters your chosen zone.
| Shooting Concern | Useful Starting Point | Why It Helps |
|---|---|---|
| Shutter speed | 1/1000 second or faster | Freezes paws and body rotation |
| Autofocus | Continuous tracking | Follows the dog through the approach |
| Drive mode | Short high-speed burst | Captures several stages of the turn |
| Aperture | Around f/2.8–f/4 | Separates the dog from distractions |
| ISO | Adjust as needed | Preserves shutter speed in dim arenas |
| Framing | Leave space toward the exit | Shows where the dog is going next |
Review a few images between runs, but do not spend so long checking the screen that you miss the next team. Look for sharpness around the eyes, sufficient room in front of the dog, and a visible relationship between the dog and the course.
Follow The Dog Through The Turn
Begin tracking before the dog reaches the end of the straight. Keep the camera moving smoothly with the dog and maintain the same relative position in the frame. If you wait until the dog starts turning, your lens may lag behind the fastest part of the action.
The eyes and head are usually the most important focus area. A dog’s body can be blurred slightly at the edges without ruining the image, but a soft face makes the moment feel less immediate. Keep both eyes visible when possible, particularly if the dog is looking toward the handler or the next obstacle.
Pan through the turn rather than stopping at the first frame that looks usable. The strongest image may come just after the dog’s front feet land, when the body is angled, the tail shows direction, and the face is alert. Continue following for a moment after pressing the shutter so the camera movement remains fluid.
Include The Handler And The Next Decision
The handler gives the turn meaning. A reaching arm, lowered shoulder, or focused expression can show how the team communicates at speed. Try to include the handler when doing so does not cover the dog or make the composition too crowded.
Allow some negative space in the direction of travel. Space in front of the dog makes the frame feel open and gives the viewer a clear sense of the next move. If the dog is turning back toward the handler, position the pair so their lines of sight lead into the image rather than out of it.
The upcoming obstacle can act as visual context. It does not need to be perfectly sharp or fully visible; a recognizable jump standard, tunnel opening, or contact ramp may be enough. That small detail helps distinguish a purposeful agility photograph from a generic action shot.
Adapt To Light, Background, And Dog Size
Outdoor trials often provide brighter, more consistent light, but shadows can appear beneath trees, tents, or ring fencing. Watch for patches of shade along the dog’s route and adjust exposure before the run begins. Exposing for the dog’s face is generally more valuable than preserving every highlight in a pale sky.
Indoor arenas call for careful attention to color and contrast. Artificial lighting may create unusual color casts, and dark footing can make black or sable dogs harder to separate from the background. A slightly higher ISO is usually preferable to a slow shutter speed that blurs the turn.
Breed size changes the visual timing. A small dog may complete the turn close to the ground and move through the frame quickly, while a larger dog may offer a longer moment of visible rotation. Adjust your framing and burst timing after watching several competitors rather than using identical expectations for every team.
Preparation also affects what you photograph. Handlers who understand the venue and dogs that are comfortable with trial conditions create more predictable opportunities, so reviewing advice on how to prepare for competition can provide useful context for photographing first-time teams.
Refine The Image After The Run
When editing, begin with the crop. Keep enough room for the dog’s movement, but remove distracting ring equipment, empty footing, or spectators that do not contribute to the story. A modest crop can strengthen the connection between the dog, handler, and next obstacle.
Check the eyes, paws, and turning body for clarity before applying heavy adjustments. Moderate sharpening, controlled highlights, and a small boost to contrast can emphasize motion without making the image look artificial. Correct color casts carefully, particularly in indoor arenas where white balance can shift from one section of the course to another.
Organizing images by event, club, handler, and dog name makes it easier for competitors to find the exact run they remember. At Pawprint Pictures, clear gallery organization helps owners browse action photographs and select prints or other products from a secure shopping cart.
A Practical Ringside Checklist
Use this short checklist before photographing a new class or course:
- Watch several runs and identify the exact turning point.
- Choose a diagonal position with a clear view of the dog’s exit.
- Set a shutter speed fast enough to freeze paws and facial detail.
- Track before the dog reaches the end of the straight.
- Leave space toward the next obstacle and include the handler when possible.
The goal is not to record every frame of the run. It is to recognize the instant when speed becomes direction, then place that instant inside a clean, expressive composition.
If you are searching for photographs from an event, club, handler, or dog and need help locating a gallery, the customer support team can assist with finding and ordering available images. Visit Pawprint Pictures to explore event galleries and preserve the turn that defined your team’s run.