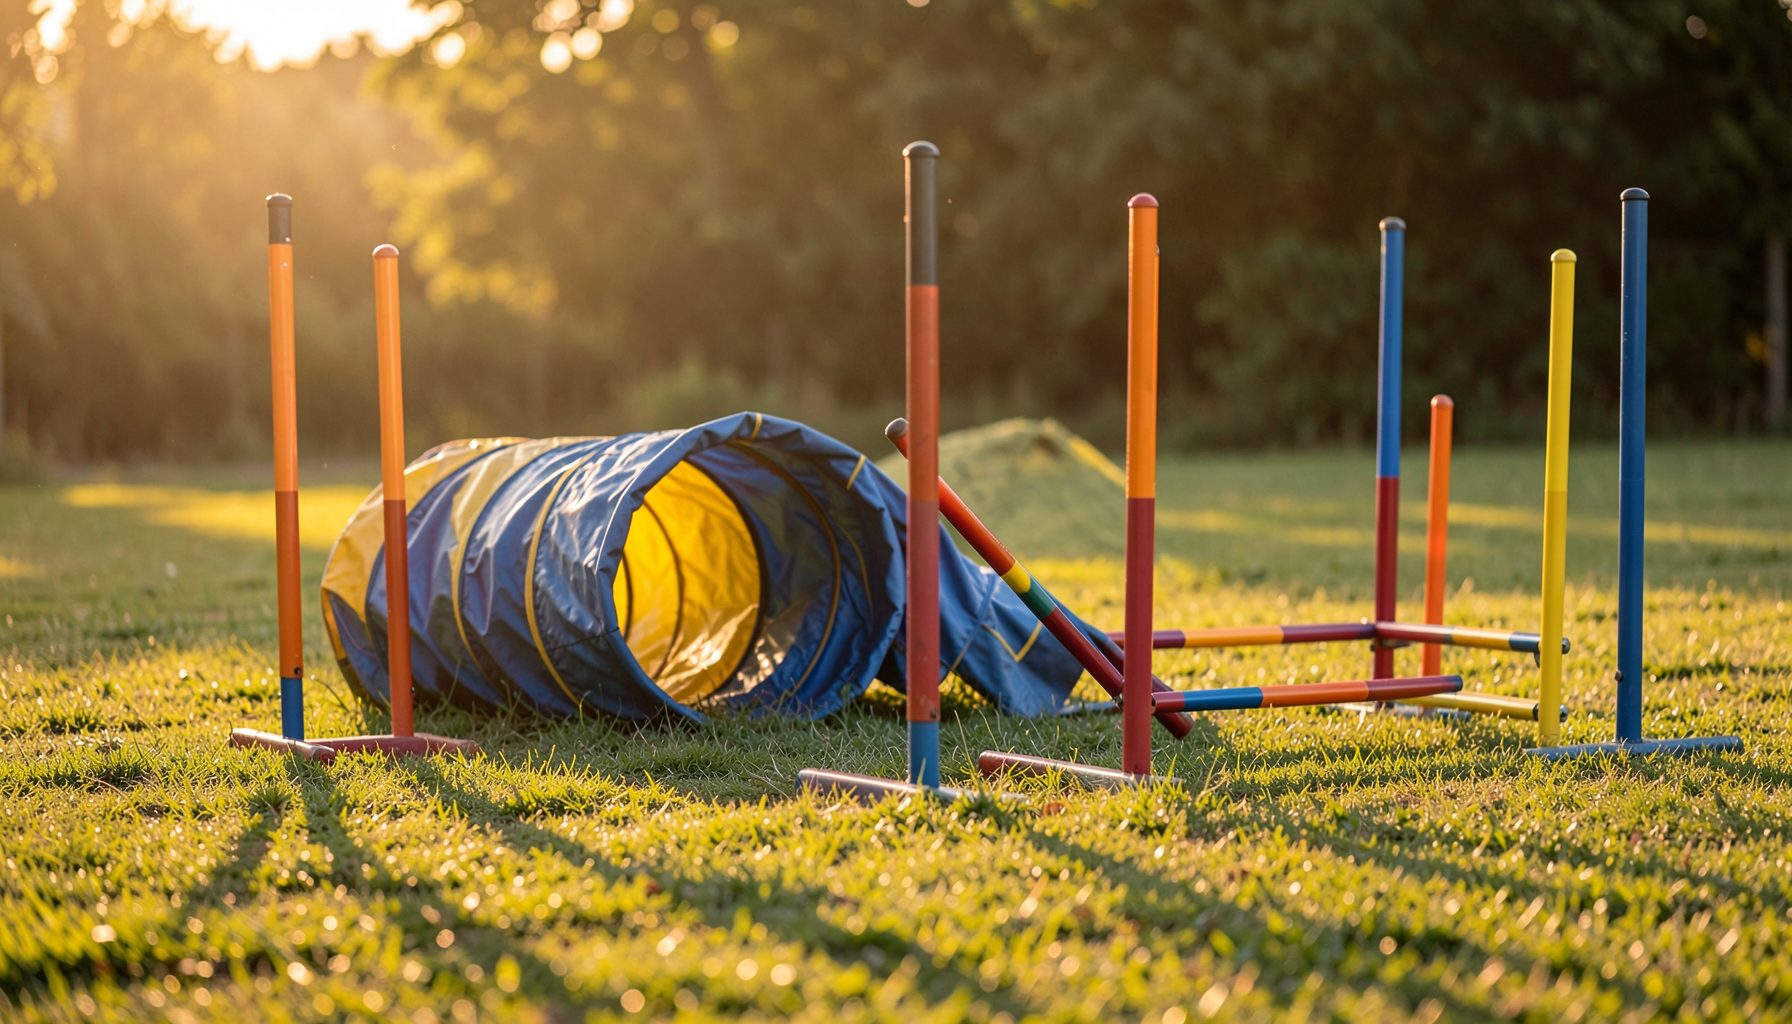
How to photograph the tire jump to show height and extension
The tire jump can produce some of the most expressive images in dog agility. A successful frame shows more than a dog passing through an obstacle; it captures confidence, clearance, body shape, and the partnership between dog and handler. Photographing that moment well requires preparation because the window between takeoff and landing is brief.
The goal is to make the jump’s height and extension easy to read. That means choosing an angle that separates the dog from the tire, using a fast enough shutter speed to preserve detail, and anticipating the point where the dog’s body is most open. A technically sharp image can still feel flat if the perspective hides the obstacle or compresses the action.
At a competition, photographers must also work around ring fencing, changing light, spectators, and handlers who need room to perform. A thoughtful setup helps you create stronger images without distracting the team or compromising safety.
Read the obstacle before shooting
Start by studying the tire’s relationship to the camera. A position near the side of the obstacle usually gives the clearest view of the dog’s body as it passes through. Shooting straight toward the opening can make the tire look narrow and reduce the visible distance between the dog and the frame.
Look for the direction of travel and the side from which the dog is likely to be most expressive. If the dog approaches from left to right, the outside of the turn may reveal the handler’s face, the dog’s eyes, and the full extension of the forelegs. The inside line may show more of the dog’s back and the handler’s connection. Both can work, but they tell different stories.
The tire should remain visible in the composition. Include enough of the frame to establish the obstacle while leaving space in front of the dog’s movement. A little negative space in the direction of travel makes the photograph feel intentional rather than cramped.
Build a position that reveals height
Photographing from a slightly lower viewpoint can make the dog appear to lift higher above the ground. Kneeling or lowering the camera a few inches often creates a stronger sense of elevation, especially when the landing surface is visible beneath the dog. Avoid placing the camera so low that the tire disappears behind the dog.
Distance matters as much as height. A longer focal length from outside the ring can isolate the team and compress the background, while a shorter lens from a safe, approved position can include more of the arena. Use the longest focal length that still allows you to frame the full jump consistently.
Keep the camera level whenever possible. Excessive tilting can make the tire look distorted and the jump appear uneven. If the ring has a distracting background, shift your position before changing to an extreme crop. A clean backdrop helps the dog’s outline, ears, paws, and tail remain readable.
Set exposure for motion and detail
Freeze the action with a shutter speed that matches the dog’s pace and the available light. Many agility photographers begin around 1/1600 second and adjust from there. Faster settings may be useful for powerful jumpers or bright outdoor conditions, while indoor arenas may require a compromise between shutter speed and image brightness.
Use a wide aperture when you want the dog separated from the background, but check the depth of field carefully. At close range, an aperture such as f/2.8 may leave the nose sharp while the rear of the body soft. Stopping down slightly can preserve more of the dog’s form without sacrificing too much background blur.
Auto ISO or manual exposure with an appropriate ISO range can help maintain consistency as the team moves through uneven light. Focus mode should be set for continuous tracking, with a focus area broad enough to follow the dog but controlled enough to avoid locking onto the tire or fencing.
| Shooting goal | Starting setting | Benefit | Watch for |
|---|---|---|---|
| Freeze a fast jumper outdoors | 1/1600–1/2500 sec | Crisp paws, coat, and facial detail | Very bright exposure or unnecessary high ISO |
| Work in a dim indoor arena | 1/1000–1/1600 sec | Balances motion control with available light | Motion blur in the legs or tail |
| Keep the entire dog sharp | f/4–f/5.6 | More depth across the body | Less background separation |
| Isolate the team from clutter | f/2.8–f/4 | Softens fencing and spectators | Parts of the dog may fall outside focus |
| Handle changing conditions | Auto ISO with a set minimum shutter | Maintains a usable exposure quickly | Noise at elevated ISO settings |
Time the peak of extension
The most readable frame often occurs just after the dog has entered the tire, when the front legs are reaching forward and the hind legs are still visibly lifted. This position communicates both height and forward drive. Waiting until the dog has nearly cleared the obstacle may produce a clean image, but it can lose the shape that makes the jump dynamic.
Use a short burst rather than relying on a single frame. Start tracking before the dog reaches the takeoff point, keep the focus point on the head or upper chest, and continue shooting through the landing. Review the sequence later for the frame with the best combination of eye contact, ear position, leg extension, and tire visibility.
Timing improves when you learn each dog’s rhythm. Some dogs launch early and float through the opening; others stay compact until the last instant. Watch one attempt without pressing the shutter, then adjust your timing for the next run. This is especially helpful during practice sessions, where you can learn the team’s line without the pressure of a scored performance.
Panning can add movement to a series of images, but it is less reliable when the goal is to show crisp height. Use it selectively, perhaps for a companion frame that emphasizes speed. For the main action shot, stable tracking and a fast shutter usually communicate the jump more clearly.
Work with dogs and event conditions
The dog’s comfort affects the photograph. Avoid sudden movements, loud directions, or standing in a place that changes the team’s line. If you are photographing a training session, coordinate with the instructor and handler before moving around the ring. At trials and club shows, remain outside restricted areas and follow the event’s media rules.
Some dogs may notice the camera, particularly when a large lens is raised near the ring. Quiet operation, predictable movement, and a respectful distance can help. Pawprint Pictures’ guidance on camera-shy dogs is useful when a dog becomes distracted by photography equipment or avoids looking toward the lens.
Light can change dramatically between a sunny outdoor ring and an indoor arena with mixed color temperatures. Check the dog’s coat for clipped highlights, especially on white fur, and use exposure compensation when the background causes the camera to underexpose or overexpose the subject. A quick test of the tire and landing area can reveal problems before the next run.
Choose frames that tell the whole story
A strong tire-jump gallery should include variety. Alongside the peak extension image, look for a focused approach, a handler’s cue, a close landing, and moments of celebration. These photographs give owners a fuller record of the run and help distinguish one team’s gallery from another.
When sorting images, prioritize sharp eyes, visible tire structure, natural body position, and enough space around the action. Crop carefully so the dog does not appear to collide with the edge of the frame. If the original composition is sound, modest adjustments to contrast, color, and shadow detail can preserve the realism of the event.
Digital photography has made it easier to record long bursts, review sequences, and deliver galleries quickly. The evolution of agility photography also shows why careful timing and storytelling still matter, even as cameras become faster and more capable.
Practical checks before publishing
- Confirm that the tire remains recognizable and is not hidden by the dog.
- Select images with sharp eyes and a clear sense of forward motion.
- Include both vertical and horizontal compositions when the original framing supports them.
- Check white fur, dark coats, and indoor shadows for lost detail.
- Organize final images by event, club, handler, and dog name so customers can find them easily.
For photographers covering agility, the tire jump rewards patience and precise observation. Set up where the obstacle reads clearly, track the team before takeoff, and select the instant that combines height, extension, and expression. When those elements come together, the resulting image preserves more than a successful obstacle—it captures the skill and trust behind the run.
Explore Pawprint Pictures galleries by event, handler, or dog name to find competition and training photographs, then use the secure shopping cart to order prints and other photo products that keep those airborne moments visible long after the day at the ring.