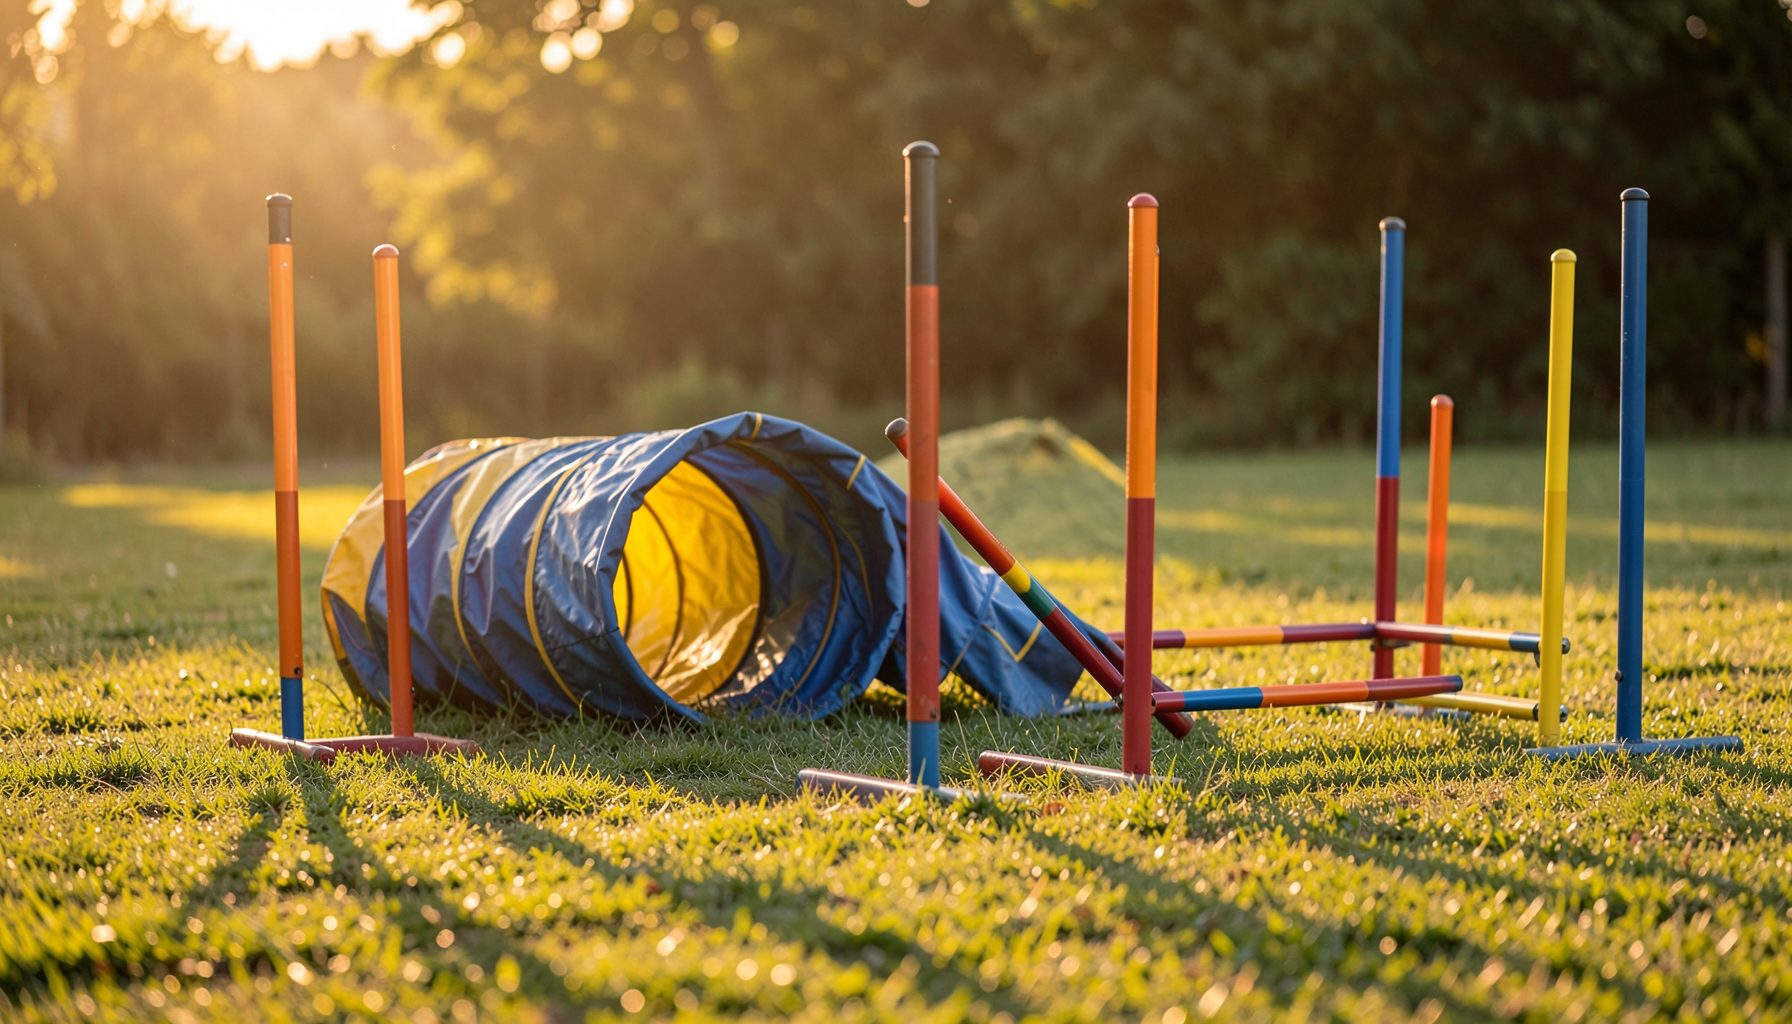
The Most Common Agility Obstacles and How to Photograph Them
Dog agility moves quickly, changes direction without warning, and places the handler and dog in constantly changing positions. For photographers, every obstacle creates a different visual problem: some demand a fast shutter speed, others require careful anticipation, and a few are best photographed from a low or unusual angle.
The goal is more than recording a dog completing an obstacle. Strong agility photography shows commitment, balance, speed, partnership, and the character of the run. A well-timed image can preserve the instant before a jump, the concentration on a contact obstacle, or the joyful release after a successful finish.
Knowing the course and the rules of the organization also helps. Equipment, obstacle dimensions, and judging expectations can vary across AKC, USDAA, NADAC, CPE, and ASCA events. Photographers covering USDAA competitions may find this USDAA agility guide useful when learning how classes and titles shape a trial day.
Read The Course Before The Run
A course walk is valuable for photographers as well as handlers. Watch how the obstacles are arranged, identify the fastest sections, and note where a dog is likely to turn toward or away from the camera. A course map can reveal natural shooting positions before the first team enters the ring.
Look for moments that combine action with a clear view of the dog’s face. A straight jump toward the camera may produce a dramatic image, while a side-on approach can show body extension and height. Avoid standing where you obstruct officials, distract a dog, or interfere with the handler’s path.
Lighting and background matter just as much as obstacle placement. Check whether the sun creates harsh shadows, whether a fence or tent falls behind the expected action, and whether spectators will appear directly behind the subject. Small changes in position can produce cleaner, more professional images.
Freeze The Energy Of Jumps
Bar jumps are among the most recognizable agility obstacles and offer many opportunities for expressive photographs. The ideal moment is often when the dog is fully extended over the bar, with front legs reaching forward and hind legs trailing behind. Burst shooting helps capture this brief phase of flight.
A fast shutter speed, commonly around 1/1000 second or faster, can freeze ears, paws, and fur. In lower light, raising ISO is usually preferable to accepting motion blur. Continuous autofocus with an appropriate tracking mode can help maintain focus as the dog approaches and leaves the jump.
Frame enough space in front of the dog to preserve the sense of movement. Tight cropping may cut off the handler, bar, or landing zone. For a more intimate portrait, photograph the dog as it lands and looks toward the next obstacle, when concentration and eye contact can create a compelling image.
Follow The Flow Through Tunnels And Weaves
Tunnels create a timing challenge because the dog disappears and reappears quickly. Pre-focus near the exit, then track the dog as it emerges rather than trying to follow it through the dark interior. The exit is usually the strongest visual moment, especially when the dog’s expression shows focus and acceleration.
A low viewpoint can make a tunnel look larger and emphasize the dog’s speed. Position yourself well outside the handler’s route and keep the full tunnel opening visible when possible. Photographing directly into the tunnel may produce a dramatic silhouette, but side angles generally reveal more detail.
Weave poles are best photographed from an angle that shows the dog’s curved body and concentration. A straight-on view can hide the rhythm of the movement, while a three-quarter angle often captures the line of poles and the dog’s face together. Use a fast shutter speed and anticipate the section where the dog’s head turns toward the next pole.
| Obstacle | Strongest visual moment | Useful position | Main camera consideration |
|---|---|---|---|
| Bar jump | Full extension over the bar | Side or three-quarter angle | Fast shutter and continuous autofocus |
| Tire jump | Dog centered inside the tire | Slightly off-axis from the landing side | Keep the complete ring in frame |
| Tunnel | Dog emerging from the exit | Low angle beside the exit | Pre-focus and watch exposure changes |
| Weave poles | Curved body between poles | Three-quarter view | Track the face through rapid turns |
| A-frame | Dog cresting or descending | Side view with full obstacle | Preserve the obstacle’s height |
| Dogwalk | Dog crossing the plank | Low side angle | Maintain focus across the long path |
| Teeter | Board tipping or dog waiting at contact | Side view from a safe distance | Time the decisive movement |
| Pause table | Dog’s alert stillness | Front or diagonal view | Use a slower moment for expression |
Show Commitment On Contact Obstacles
The A-frame, dogwalk, and teeter provide some of the most recognizable images in a competition. Contact obstacles display balance and control, so the photographer should show the dog in relation to the equipment rather than capturing only a close-up of its head.
For the A-frame, the crest is a natural peak in the action. A side position can include the entire structure and show whether the dog is climbing or descending. The dogwalk offers a strong profile when the animal is crossing the plank, while a low angle emphasizes the narrow surface and careful foot placement.
The teeter has several distinct moments: the approach, the pivot, the board’s descent, and the controlled pause at the contact zone. The pivot can be especially dynamic, but it requires anticipation. Stay clear of the equipment and never position yourself where a dog could feel crowded or distracted.
Make Smaller Obstacles Visually Clear
The tire jump can be difficult to photograph because the dog may blend into the opening or be partly hidden by the frame. Use a viewpoint that separates the dog from the background and wait for the body to be centered inside the tire. A side or slightly diagonal angle usually communicates the obstacle more clearly than a frontal shot.
The pause table offers a different kind of opportunity. Since the dog must remain still, photographers can lower the shutter speed slightly, refine composition, and focus on expression, posture, and the relationship between dog and handler. This is often a good time to create a sharp portrait instead of another speed-focused frame.
Some venues include a broad jump or a chute, depending on the organization and class. Broad jumps benefit from a side view that shows the dog clearing the full spread. For a chute, focus on the dog’s face as it exits the fabric, and be prepared for sudden movement into the next obstacle.
Choose Settings For Consistent Action
Agility photography rewards preparation. Manual or shutter-priority exposure can prevent the camera from changing brightness as the subject passes across grass, sand, or colorful equipment. Before the class begins, take test frames in the actual light and inspect details at the eyes, paws, and obstacle edges.
Autofocus performance varies by camera and background. Use a focus area that is wide enough to follow movement but controlled enough to avoid locking onto poles, fencing, or spectators. If the background is busy, a single point or small tracking zone may produce more reliable results.
Shoot in bursts without holding the shutter continuously for every team. Short sequences conserve memory and make editing faster. Keep an eye on battery capacity, card space, and changing weather, since a full day of trials can produce thousands of frames.
A Practical Shooting Checklist
The following habits help turn unpredictable runs into a consistent collection of usable images:
- Arrive early enough to inspect the ring, light, backgrounds, and photographer boundaries.
- Choose a fast shutter speed and test autofocus on a moving dog before competition begins.
- Pre-focus or anticipate the exit at tunnels, the crest of the A-frame, and the teeter’s pivot.
- Leave room in the frame for the dog’s direction of travel and include the handler when it strengthens the story.
- Vary wide action images with close portraits, contact details, and quiet moments between runs.
Review images at regular intervals rather than waiting until the end of the day. Check for exposure, focus, and unwanted distractions while there is still time to adjust. If the sun moves or clouds arrive, update settings before the next class starts.
Edit, Organize, And Deliver With Care
A useful agility gallery should be easy for handlers to search. Organizing photographs by event, club, class, handler name, and dog name helps customers locate their runs quickly, especially when several dogs have similar markings. Consistent file names and accurate metadata also make later customer support much easier.
During editing, prioritize sharp eyes, complete obstacles, natural color, and expressions that show the dog’s personality. Avoid excessive cropping that removes bars, poles, or contact zones. A balanced gallery can include action sequences, individual portraits, handler-and-dog connections, and memorable moments from the wider event.
When images are offered for purchase, clear product information and secure checkout build confidence. It is also important to explain how customer information and orders are handled through the service’s privacy policy, particularly when galleries and shopping accounts are involved.
A carefully timed photograph preserves more than a successful obstacle. It records the trust between handler and dog, the intensity of competition, and the small details that make every run distinctive. Browse event galleries through Pawprint Pictures, search by handler or dog name, and select the images that best preserve your team’s next agility achievement.