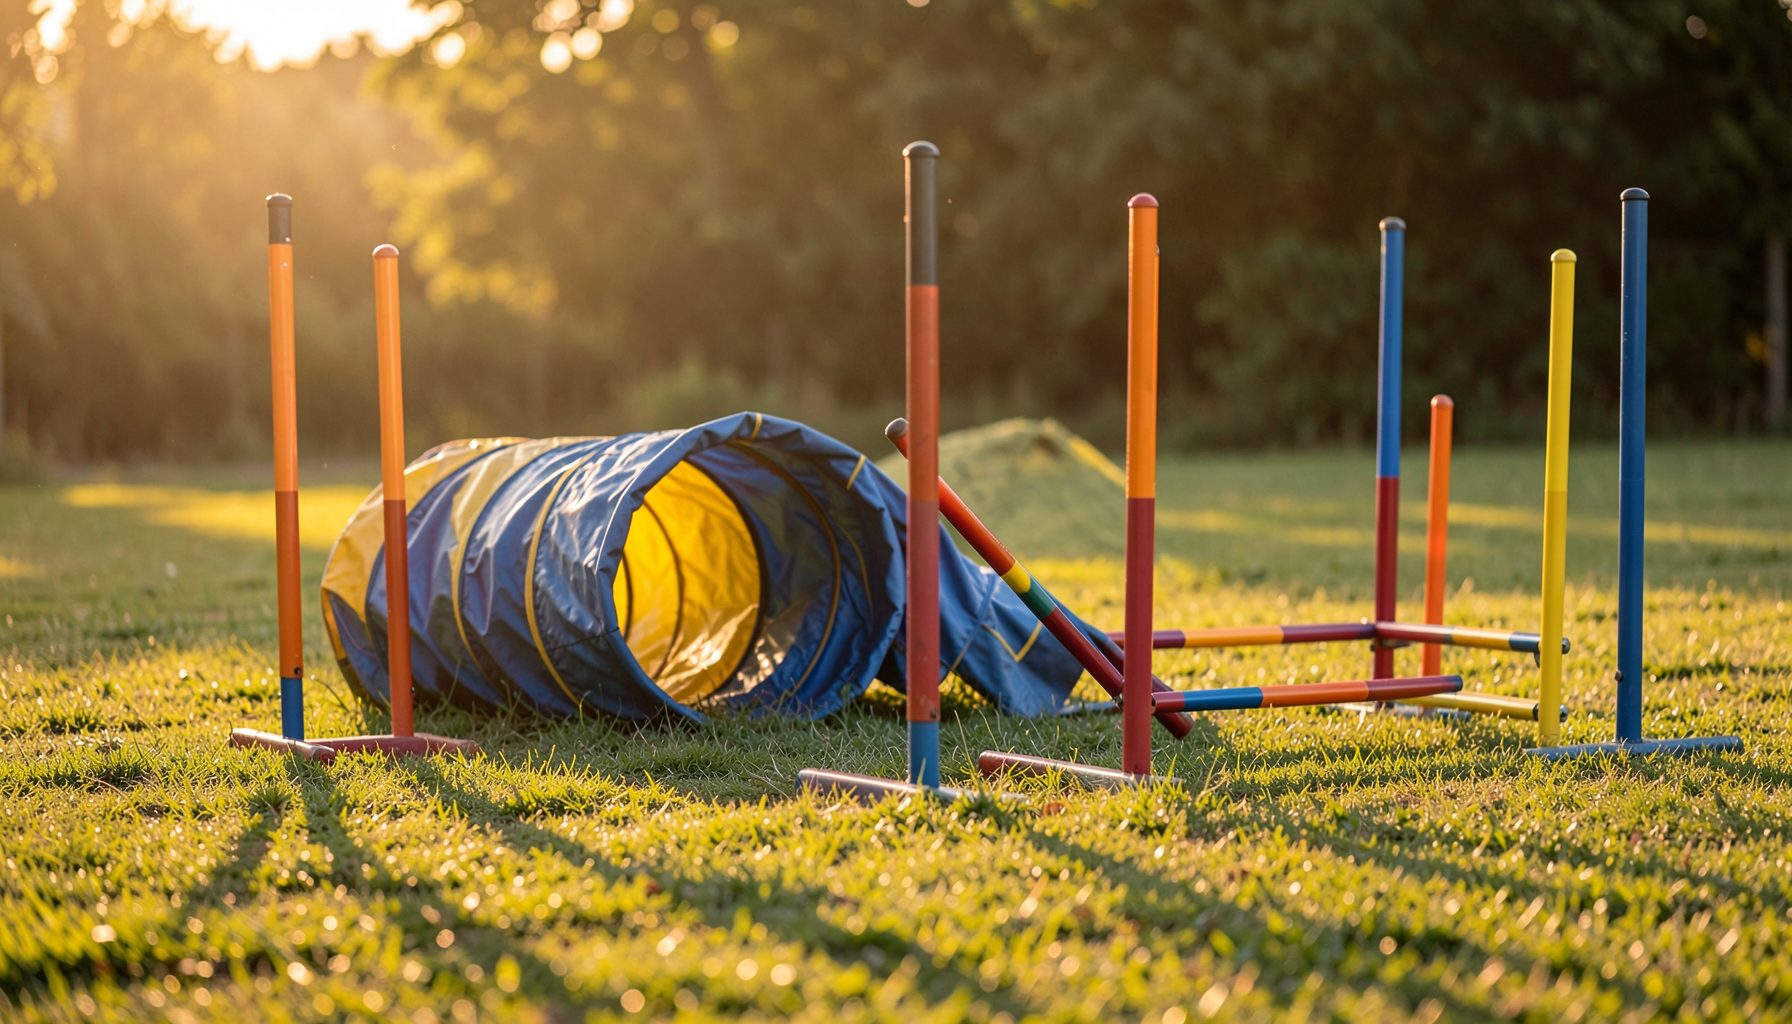
Common Dog Agility Photography Mistakes and How to Avoid Them
Dog agility photography demands more than a fast camera and a long lens. A successful image must capture speed, concentration, teamwork, and the exact moment when a dog clears an obstacle or turns toward the next one. Small errors in timing, focus, exposure, or positioning can turn an exciting run into a blurred or poorly framed photograph.
The best results come from understanding both photography and the sport. Agility courses move quickly, lighting can change across an arena, and every dog has a different stride, body shape, and running style. With preparation and a repeatable workflow, photographers can produce sharper action shots and more useful galleries for handlers, clubs, and event organizers.
Know the sport before pressing the shutter
A common mistake is photographing obstacles in isolation without learning how a run flows. A dog may approach a jump from an unexpected angle, accelerate after leaving a tunnel, or slow briefly before a contact obstacle. If the photographer watches the course map and observes a few runs first, it becomes easier to predict where the most expressive moments will occur.
Positioning should also account for the handler. The relationship between dog and person is central to agility, so avoid placing yourself where the handler consistently blocks the dog or where the background becomes distracting. Look for locations that show the dog’s face, body position, and obstacle clearly while keeping safety officials and competitors out of the frame whenever possible.
Arrive early enough to inspect the arena, identify the direction of traffic, and check whether the sun, artificial lights, fencing, or sponsor banners will affect composition. A few minutes of observation can prevent missed opportunities once the class begins.
Choose settings for motion rather than convenience
Using a shutter speed that is too slow is one of the most frequent technical errors. A dog moving at full speed may require 1/1000 second or faster to freeze paws, ears, and flying fur. Faster settings are particularly important during jumps, weave poles, and sharp turns, where even slight motion blur can reduce the impact of the image.
Autofocus should be configured for moving subjects, with continuous autofocus and a tracking area that suits the camera and venue. Single-point focus can work when the shooting position is predictable, but a flexible zone often performs better when the dog changes direction. Test the setup on a few practice runs instead of waiting for a championship round.
Burst mode helps record a sequence, but it is not a substitute for timing. Long bursts can fill the buffer, drain batteries, and produce hundreds of nearly identical files. Use short bursts around the peak action, and adjust ISO or aperture when necessary to preserve shutter speed under dim indoor lighting.
Follow the line of action
Photographers often focus on the obstacle rather than the dog’s path. This can leave the dog at the edge of the frame or cause the camera to search for focus just as the key moment arrives. Pre-focus near the expected takeoff or landing area, then keep the subject in the viewfinder as it enters the zone.
Leave enough space in front of the dog to show movement and direction. A tight crop behind the animal can make a fast run look cramped, while a little negative space gives the image energy. Keep the camera level when possible, especially for jumps and tunnels, and use the dog’s eyes as a guide for composition.
Weave poles are especially difficult because the dog’s body bends quickly and poles can hide important details. A photographer who wants to refine timing and placement can study these weave pole tips before an event. The same principles apply to other technical obstacles: anticipate the peak position, track smoothly, and capture more than one phase of the movement.
Build a reliable event workflow
Disorganized file handling can undermine excellent photography. Memory cards should be changed before they are full, batteries should be checked between classes, and files should be backed up as soon as practical. Consistent folder names that include the event, date, class, and ring make later sorting much easier.
Identification is another major challenge at club shows, trials, and training sessions. Dogs may have similar colors or markings, while handlers can appear in several classes throughout the day. Record ring information, running order, or brief notes whenever possible. These details help connect images with the correct dog and handler when galleries are published.
For photographers covering organized competitions, reviewing club shows and trials can clarify the kinds of events and gallery structures that owners expect. A clear workflow should continue from capture to editing, file naming, gallery organization, and customer support.
Match the problem to the fix
The most useful troubleshooting approach connects each visible problem with a specific adjustment. Changing several settings at once may make it difficult to understand what improved the result. Review a small sample after practice runs and make one deliberate change at a time.
Lighting and backgrounds deserve equal attention. A bright patch behind the dog can confuse autofocus and pull attention away from the subject. If moving is permitted, choose an angle with even illumination and a clean background. If the arena cannot be changed, exposure compensation, subject tracking, and careful cropping can still improve consistency.
| Common mistake | What it looks like | Practical correction |
|---|---|---|
| Shutter speed is too slow | Blurred paws, ears, or body | Raise shutter speed and increase ISO when needed |
| Autofocus locks on the obstacle | Sharp jump bar or fencing, soft dog | Use continuous AF and track the dog’s head or chest |
| Photographer stands too far away | Small subject with distracting surroundings | Use an appropriate focal length and move safely closer |
| Frame is too tight | Dog’s nose, paws, or landing area is cut off | Leave movement space and crop later |
| Exposure changes between runs | Bright or dark images in the same class | Monitor light and use manual or semi-manual control |
| Files are poorly labeled | Difficult-to-find images and wrong gallery matches | Sort by event, class, handler, and dog as soon as possible |
Edit for clarity and honest expression
Editing should strengthen the photograph without making the action look artificial. Start by selecting frames with sharp eyes, clear body position, and a meaningful moment. Remove duplicates, accidental shots, closed eyes, and images where equipment or another competitor obscures the dog.
Correct white balance, exposure, contrast, and cropping consistently across a class. Be cautious with heavy noise reduction and sharpening, which can create halos around fur and obstacle bars. Straighten distracting horizons, but preserve enough context to show what the dog is doing. A technically perfect image with no sense of movement may be less valuable than a slightly imperfect frame that conveys the partnership.
Color and black-and-white treatments should support the story rather than hide flaws. Keep the dog’s coat tones believable, especially when owners are choosing prints or other photo products. Consistent editing also gives a full event gallery a professional appearance and makes browsing easier for customers.
Use a repeatable field checklist
A short checklist can prevent avoidable mistakes when the arena becomes busy. Before each class, confirm the following:
- Check batteries, memory-card space, lens choice, and camera drive mode.
- Watch several runs to learn the course rhythm and likely action points.
- Set a shutter speed that freezes motion, then adjust ISO for available light.
- Select continuous autofocus and test tracking on the first few competitors.
- Leave room around the dog, especially in the direction of travel.
- Record class, ring, running order, and identifying details for later gallery sorting.
After the class, review a few files at full size rather than relying only on the camera’s thumbnail view. Look for focus on the eyes, motion blur in the limbs, clipped paws, and distracting backgrounds. This quick quality check helps reveal whether a setting needs to change before the next group enters the ring.
Strong dog agility photography is built through anticipation, technical control, and respect for the event. Prepare before the first run, observe how each dog moves, and treat file organization as part of the creative process. When images are sharp, expressive, and easy to locate, handlers can relive their performances and share them with their clubs.
Pawprint Pictures helps dog owners and competitors find event photographs through galleries organized by event, club, handler, and dog name across organizations such as AKC, USDAA, NADAC, CPE, and ASCA. Browse the available galleries, locate the right run, and use the secure shopping cart to order prints or other photo products that preserve the day’s best moments.