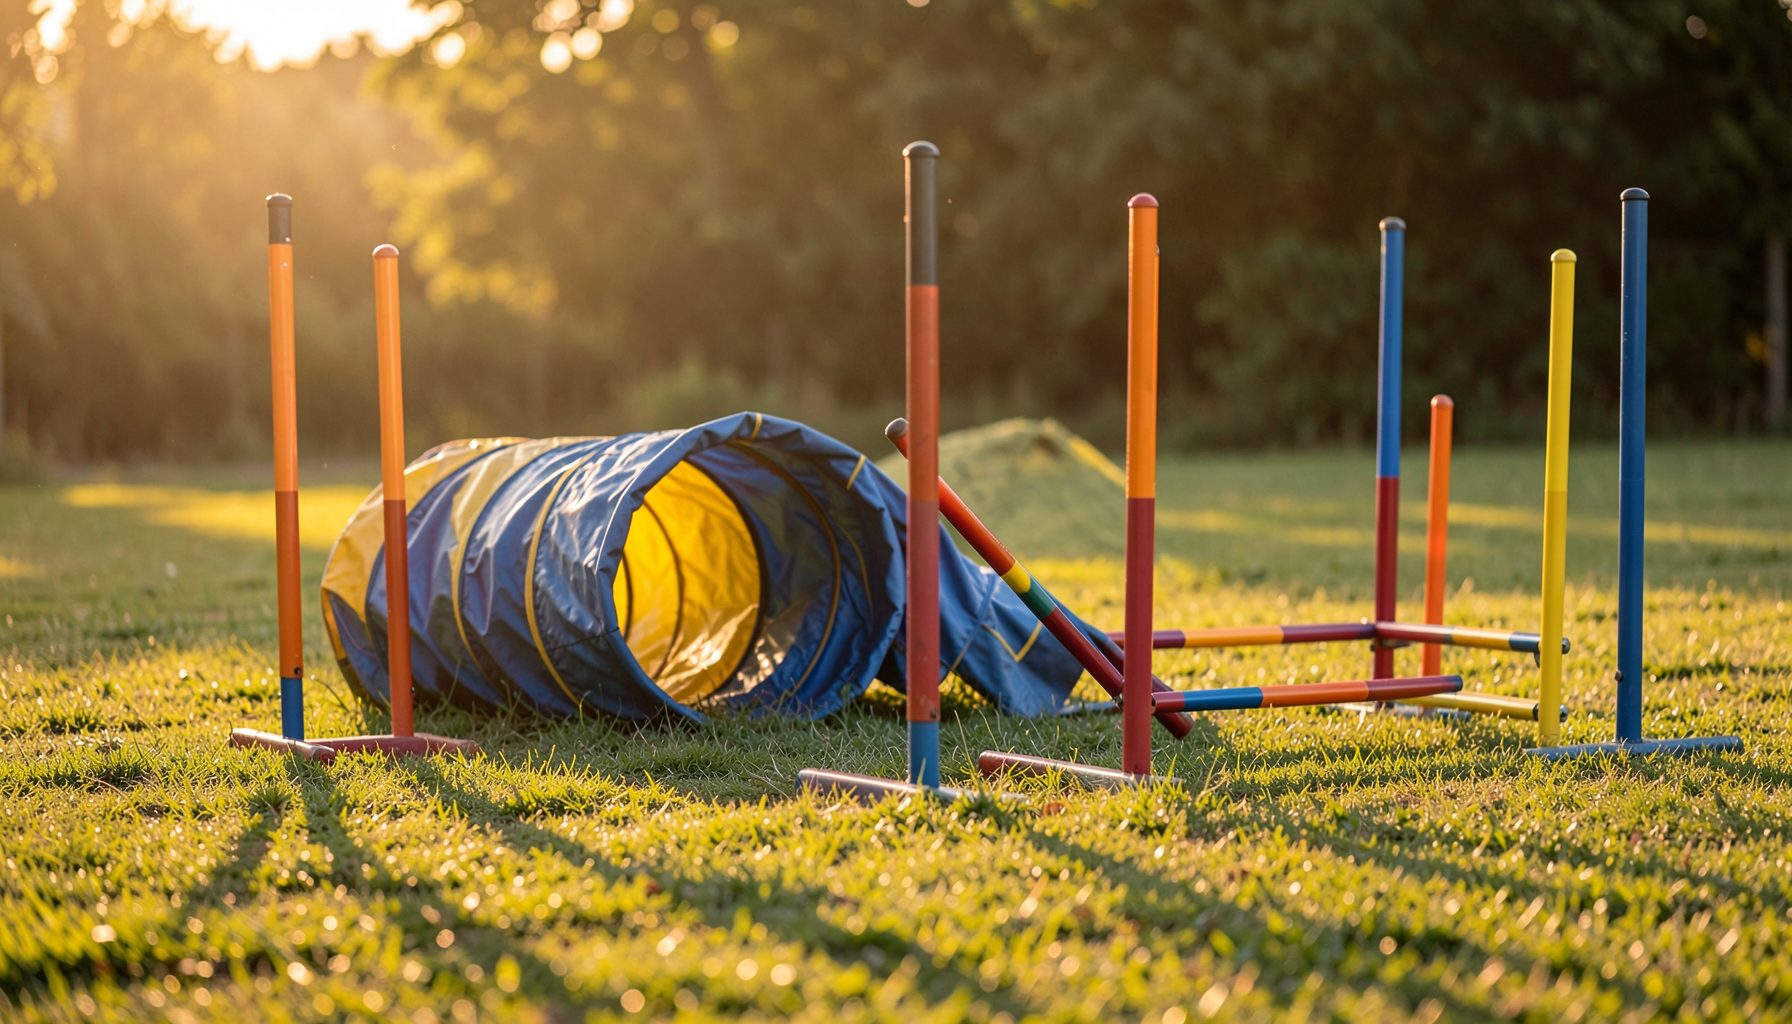
Tips for capturing the perfect weave pole photo
A weave pole sequence can produce some of the most expressive images in dog agility. The dog is low, focused, and moving with remarkable rhythm, while the handler’s body language tells another part of the story. The best photograph combines that speed and concentration in one clean frame.
Capturing it consistently requires more than pressing the shutter at the right moment. Course position, lens choice, autofocus behavior, background control, and an understanding of the dog’s rhythm all influence the final image. A few deliberate choices can turn a blurred pass into a compelling action portrait.
Whether you are photographing a club trial, a training session, or a major competition, aim to show both athletic movement and partnership. The image should feel energetic without becoming visually chaotic.
Read the sequence before raising the camera
Watch several teams complete the weaves before deciding where to stand. Notice the entry angle, the direction handlers usually travel, and whether the course design gives you a clear view through the poles. A few minutes of observation can reveal the exact moment when a dog’s head, shoulders, and front paws align attractively.
The strongest frames often come just after the dog commits to the entry or as it drives through the final poles. At the entry, the dog may show intense concentration and a sharply turned body. Near the exit, the stride can look powerful and purposeful. Avoid photographing only the middle of the sequence if the poles hide the dog’s face or compress its body into an indistinct shape.
It also helps to understand the competitor’s preparation. Handlers who are comfortable with the environment give their dogs clearer cues and more consistent movement. Pawprint Pictures offers a useful trial preparation guide for understanding the conditions that shape a successful run.
Choose a position that reveals movement
Stand far enough from the obstacle to see the dog’s full body, but close enough for the subject to fill the frame. A three-quarter angle is often effective because it shows the dog’s face, shoulder rotation, and line through the poles. Shooting directly from the side emphasizes the weave pattern, while a frontal angle highlights eye contact and expression.
Keep safety and course access in mind. Never step into a working area or distract a dog and handler. Use designated spectator or photographer positions, and be especially careful at busy trials where dogs may enter or exit the ring at speed.
Look for a clean background behind the expected action. Fences, tents, ring numbers, and spectators can pull attention away from the dog. A lower camera position may place the dog against open grass instead of a cluttered horizon, giving the image greater separation and a stronger sense of speed.
Use settings that control fast action
A fast shutter speed is essential for freezing paws, ears, and facial expression. Start around 1/1000 second and adjust upward when the light allows. Very fast dogs or bright outdoor conditions may benefit from 1/1600 second or faster. If the scene is dim, accepting a little motion in the paws can look more natural than severely underexposing the entire frame.
Continuous autofocus and burst shooting are useful, but they work best when paired with deliberate tracking. Select a focus area that gives the camera a clear view of the dog’s head and upper body. If the weave poles repeatedly interrupt autofocus, pre-focus on the line where the dog will appear and use a smaller focus area when possible.
A moderate aperture, such as f/4 to f/5.6, can provide enough depth of field for a moving dog while still softening distractions. Raise ISO rather than allowing the shutter speed to fall too low. A sharp, slightly grainy image usually has more value than a clean but blurred frame.
Anticipate the best expression
The shutter should be released before the moment you want, not after it appears. Dogs move through weave poles quickly, and camera reaction time can cost the most expressive frame. Begin tracking as the dog approaches the entry, then use a short burst as the head and shoulders become visible between the poles.
Pay attention to the eyes. A dog looking toward the next obstacle often creates a sense of purpose, while a glance toward the handler communicates partnership. Ears lifted forward, an open mouth, and a strong front-leg extension can make a frame feel especially lively. These details are easier to capture when you follow the dog smoothly instead of reacting to each individual pole.
Avoid holding the shutter continuously for the entire run. Long bursts fill memory cards, slow image review, and make it harder to identify the decisive moment. Short, timed bursts preserve attention and produce a more manageable set of images.
Match the approach to the setting
Different equipment and shooting styles produce different strengths. The right choice depends on light, access, the dog’s distance, and whether the goal is a dramatic portrait or a complete record of the run.
| Shooting approach | Strengths | Watch for |
|---|---|---|
| Long telephoto lens | Isolates the dog and compresses the poles into a clean pattern | Narrow view can make tracking difficult |
| Midrange zoom | Provides flexibility as the dog changes distance | Background distractions may remain visible |
| Low-angle position | Adds power and makes the dog appear athletic | Keep clear of the ring and avoid unsafe placement |
| Side-on viewpoint | Shows the full weaving rhythm and body shape | The poles may obscure the face |
| Three-quarter viewpoint | Balances expression, movement, and obstacle context | Requires careful timing and positioning |
| Panning with a slower shutter | Creates a strong sense of speed | More frames will show motion blur |
For photographers documenting an entire event, flexibility is often more valuable than a single dramatic setup. Browse examples of agility event galleries to see how different viewpoints, obstacle types, and course layouts can tell the story of a run.
Refine the frame after the run
Review images for technical sharpness first, then consider composition and emotion. A photograph can be perfectly focused yet weakened by a pole crossing the dog’s eyes or a handler cut awkwardly at the edge. Keep frames where the dog’s face is clear, the body has room to move, and the visual path through the poles is easy to follow.
Crop with restraint. A modest crop can remove a distracting ring edge or improve balance, but excessive cropping reduces image quality and may make the action feel cramped. Leave space in front of the dog’s direction of travel whenever possible. This gives the viewer a sense of where the dog is going.
Basic editing should support the moment rather than change it. Correct exposure, recover highlights on pale coats, lift shadows in dark fur, and add moderate sharpening. Check color carefully under indoor arena lighting, where green, yellow, or blue casts can alter a dog’s coat.
A dependable weave pole setup
A repeatable routine helps you make good decisions even when the schedule is crowded and conditions change. Before the next class begins:
- Watch a few runs to identify the cleanest angle and likely entry point.
- Set a shutter speed of at least 1/1000 second when available light permits.
- Use continuous autofocus, a suitable tracking area, and short controlled bursts.
- Check the background for signs, fencing, spectators, and harsh highlights.
- Leave space in front of the dog and review the eyes, paws, and pole placement afterward.
Write down settings that work in each venue. Indoor arenas may require a higher ISO and wider aperture, while bright outdoor rings can support faster shutter speeds and lower ISO values. This small record becomes especially useful when photographing recurring club shows or trial series.
Turn a sharp frame into a lasting memory
The most successful weave pole photograph feels immediate: the dog is committed, the handler is connected, and the obstacle remains recognizable without overpowering the subject. Technical consistency gives you the freedom to concentrate on expression and story rather than rescuing blurry files.
Keep practicing with different breeds, coat colors, and running styles. A compact dog may disappear between poles, while a taller dog may need a wider composition. By adapting your timing and position to each team, you create images that reflect the individuality of the run.
When the right frame appears, preserve it as more than a file on a memory card. Pawprint Pictures helps owners and handlers locate event photographs by competition, club, handler, and dog, making it easier to find, revisit, and order a favorite weave sequence. Capture the effort, focus, and joy of the run, then give that moment a lasting place in your collection.