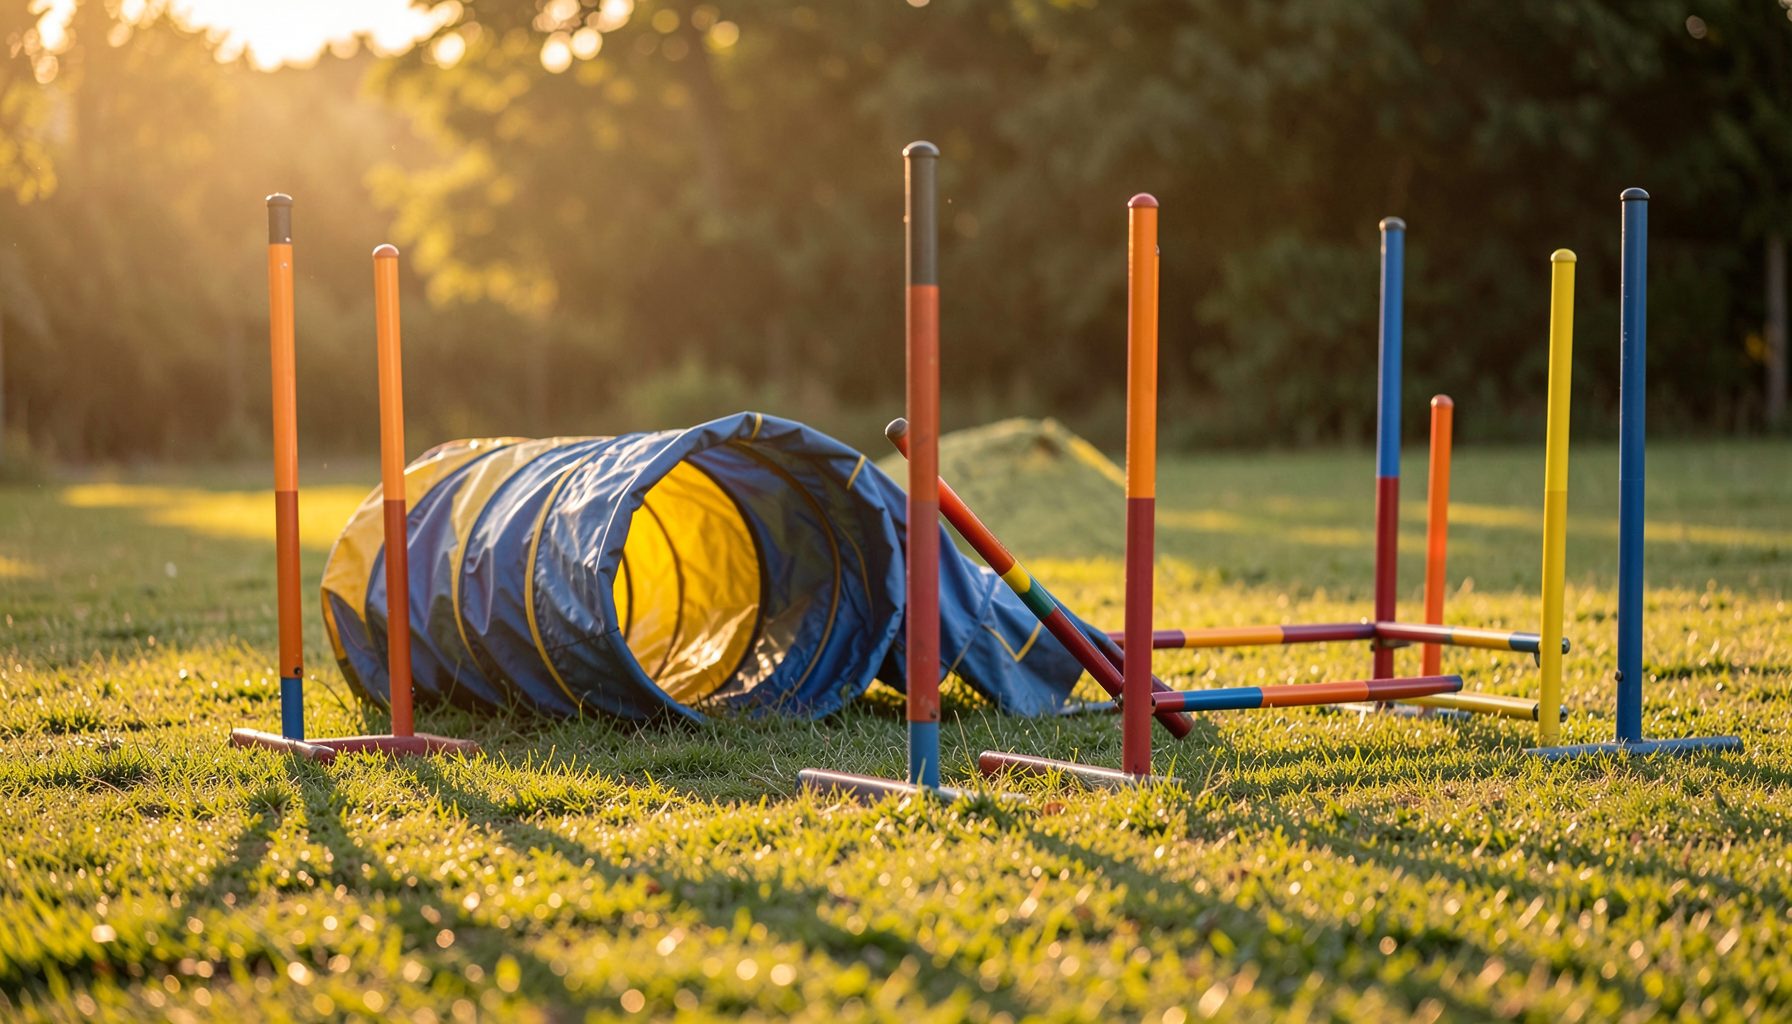
Sharp dog agility photos without blurred backgrounds
Dog agility photography combines speed, unpredictable movement, and constantly changing light. A dog can clear a jump, turn through a weave pole, or sprint toward the contact zone in less than a second. Even a small delay in shutter timing can turn a powerful action frame into a soft image.
A sharp subject with a gently blurred background usually comes from several choices working together: fast shutter speed, responsive autofocus, appropriate aperture, good positioning, and careful anticipation. The goal is not simply to freeze motion, but to make the dog’s expression, posture, and athletic form stand out clearly.
Preparation helps as much as camera technique. Reviewing a trial preparation guide can help handlers understand course flow, ring etiquette, and likely moments of action. Photographers benefit from that knowledge because it makes movement easier to predict.
Start with a shutter speed that matches movement
Shutter speed is the primary control for stopping motion. For a walking dog, 1/500 second may be sufficient, but fast agility sequences often need 1/1000 second or faster. Dogs accelerating from a start line, jumping toward the camera, or shaking off after a run may require 1/1600 or 1/2000 second to keep ears, paws, and fur crisp.
The right setting depends on the direction of movement. Side-to-side motion crosses the frame quickly and usually needs a faster shutter than movement directly toward the camera. A dog running across the ring at full speed can show motion blur even when the camera is held steadily.
Use manual exposure or a shutter-priority mode when the lighting is consistent. Check the resulting aperture and ISO rather than allowing the camera to choose settings without oversight. If the aperture begins blinking or the ISO climbs too high, adjust your exposure strategy before the next run.
Use autofocus that can follow the dog
Continuous autofocus, often labeled AF-C or AI Servo, is better suited to agility than single-shot focus. It keeps adjusting as the dog changes distance from the camera. Pair it with subject tracking or an expanded focus area so the camera can maintain focus when the dog moves slightly away from the selected point.
A single autofocus point can provide precise control, especially when the background is busy. Expanded points or animal-detection modes may be more forgiving when the dog moves unpredictably. Test the system before the event because different cameras respond differently to fast subjects and obstacles.
Aim at the dog’s head or upper chest when possible. The eyes and facial expression are usually the most important details in an action portrait. If the dog is approaching rapidly, begin tracking before pressing the shutter and keep the focus point over the head rather than waiting until the exact peak of the jump.
Balance aperture, ISO, and available light
A wide aperture, such as f/2.8 or f/4, can separate the dog from fencing, spectators, and equipment. It also lets in more light, making a fast shutter speed easier to achieve. However, very shallow depth of field can leave the nose sharp while the eyes or body become soft if the dog is angled toward the camera.
An aperture around f/4 to f/5.6 often provides a practical balance for running dogs. It gives the autofocus system a little more depth to work with while still softening a distracting background. In bright outdoor conditions, this range may allow a fast shutter without pushing ISO too high.
Raising ISO is often preferable to lowering shutter speed. Modern cameras can produce clean files at moderate and high ISO settings, while motion blur cannot be fully repaired later. Slight digital noise is usually less damaging than a blurred face or softened paws.
| Shooting situation | Starting shutter speed | Useful aperture range | Focusing approach |
|---|---|---|---|
| Slow walk or setup | 1/500 sec | f/4–f/5.6 | Single point or eye detection |
| Jump or weave sequence | 1/1000–1/1600 sec | f/4–f/5.6 | Continuous AF with tracking |
| Fast run across the ring | 1/1600–1/2000 sec | f/2.8–f/5.6 | Expanded focus area |
| Indoor trial with dim light | 1/800–1/1250 sec | f/2.8–f/4 | Continuous AF and higher ISO |
| Panning for controlled motion | 1/60–1/250 sec | f/5.6–f/8 | Continuous AF, smooth tracking |
Position yourself for cleaner backgrounds
Background blur is influenced by distance as much as aperture. Move farther from the background while staying relatively close to the dog, and the distractions behind the subject will soften more noticeably. A distant fence or row of spectators is easier to blur than an obstacle immediately behind the dog.
Look for shooting positions where the background has consistent color and minimal visual clutter. Grass, dark shade, or a distant tree line can produce a calmer backdrop than banners, equipment bags, and bright clothing. Before the run begins, scan the ring from your intended position and identify the cleanest angles.
Your distance from the dog also affects perspective. A longer lens can help isolate the subject while allowing you to remain outside the ring. Avoid standing so close that the dog fills the frame before reaching the action point. Leave room in front of the dog for movement, especially when creating a profile image.
Anticipate the decisive moment
Sharp action photography is easier when the photographer predicts where the most expressive moment will occur. Watch a few runs before photographing seriously. Notice where dogs pause, accelerate, turn their shoulders, or lift their paws over a jump. These repeated patterns help you prepare the composition and focus before the action arrives.
Burst shooting can capture a sequence, but it should support timing rather than replace it. Hold the shutter as the dog enters the ideal zone, then review whether the camera’s frame rate and buffer can handle the sequence. Excessively long bursts may fill the buffer and leave you waiting during the next important moment.
Use a comfortable stance with elbows supported when possible. If you are tracking horizontally, rotate from your torso rather than moving only your arms. A smooth follow-through keeps the subject aligned and can help produce consistent framing even when using a very fast shutter.
Choose shooting settings for the venue
Outdoor daytime trials often provide enough light for fast shutter speeds and moderate ISO. Indoor arenas are more demanding because artificial lighting can be dim, uneven, or prone to flicker. Take test images across the ring and inspect the histogram before the competition becomes busy.
Electronic shutters can be useful for quiet shooting, but some cameras may show banding under certain artificial lights or distort rapidly moving subjects. A mechanical or electronic-first-curtain shutter may produce more reliable results in those conditions. Check your camera’s behavior during warm-ups or practice runs.
A monopod can support a heavier telephoto lens without restricting movement as much as a tripod. Image stabilization is helpful for camera shake, but it does not freeze a running dog. Keep the high shutter speed even when stabilization is active.
Prepare a repeatable workflow
Create a small set of custom camera settings for common situations. One preset might use 1/1600 second, f/4, auto ISO, and continuous autofocus for outdoor runs. Another could use 1/1000 second with a wider aperture for an indoor ring. Custom modes reduce the time spent changing settings between competitors.
Photographing a complete event also requires an organized file workflow. Record the event, class, club, handler, and dog details whenever possible. Clear metadata and consistent filenames make it easier to locate images later, particularly when an event includes multiple rings and organizations such as AKC, USDAA, NADAC, CPE, or ASCA.
After the event, inspect images at full size rather than relying only on thumbnail previews. Check the eyes, nose, paws, and fur edges for true focus. When handlers need to locate their galleries, the customer search can provide a direct route to event and participant photographs.
Field habits that improve consistency
Small habits can produce a larger improvement than constantly changing equipment. Before each run, confirm the shutter speed, battery level, memory-card space, focus mode, and exposure compensation. Keep the lens hood attached when practical, and clean the front element if dust or fingerprints reduce contrast.
- Choose a clean background before the dog enters the ring.
- Use continuous autofocus and begin tracking early.
- Keep shutter speed at least 1/1000 second for vigorous movement.
- Leave space in the frame for the dog’s direction of travel.
- Review sharpness at full magnification during breaks.
Also vary your compositions. A side view can show the entire jump arc, while a lower angle emphasizes power and height. A head-on frame highlights eye contact and expression, and a wider image can document the relationship between dog, handler, and course. Each perspective benefits from the same foundation: accurate focus and enough shutter speed to stop the action.
Sharp files still need thoughtful editing. Apply moderate noise reduction at high ISO, add restrained contrast, and sharpen the subject selectively rather than sharpening the entire frame equally. Avoid excessive clarity or edge sharpening around fur, since these adjustments can create an unnatural, brittle appearance.
Browse the agility galleries to see how timing, positioning, and background control translate into finished event photographs. When your settings are prepared and your attention stays on the dog’s path, you can create action images that preserve both athletic detail and personality. Capture the run, review the sharpest frames, and make those memorable moments available as lasting photographs.