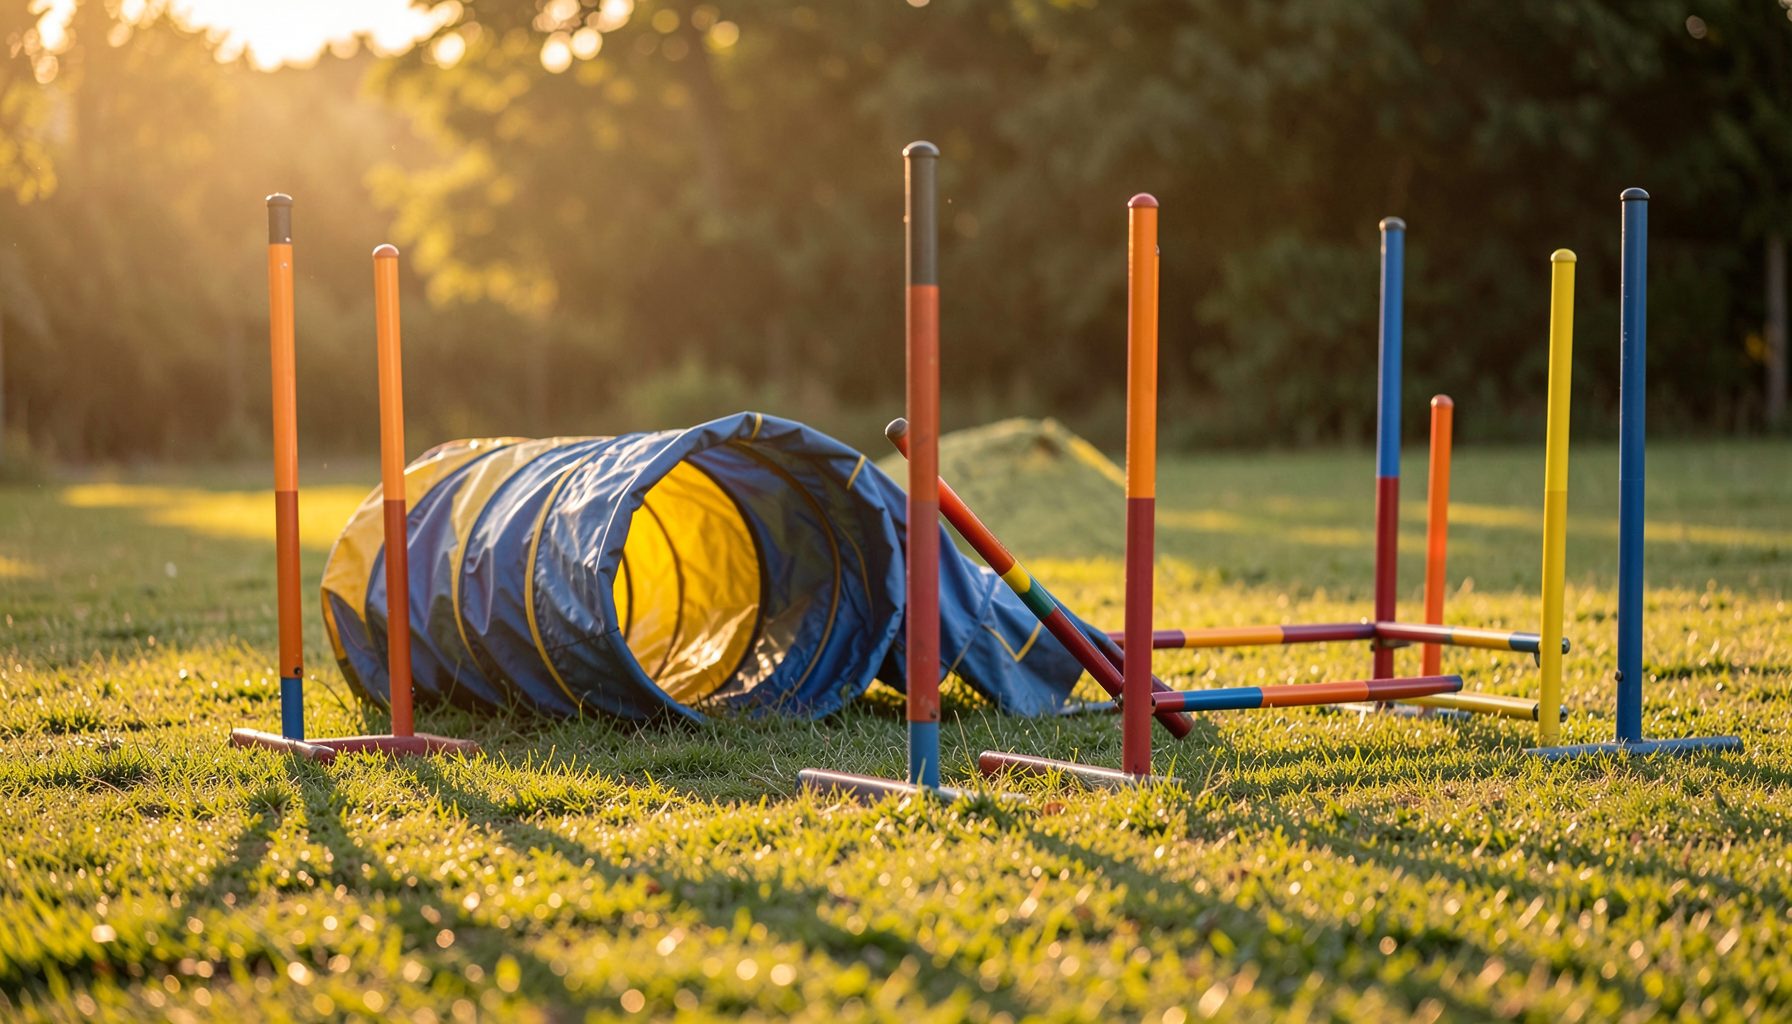
Tips for photographing small breeds on big obstacles
Photographing a small dog in agility requires more than simply tracking a fast-moving subject. A compact body can disappear against dark equipment, wide arena floors, or busy backgrounds, while large obstacles can make the dog look distant and undersized. The right position, timing, and camera settings help preserve the energy of every jump, tunnel entrance, and contact performance.
Small breeds also move differently from larger competitors. Their strides are shorter, their takeoff points can be harder to predict, and they may spend more time airborne relative to their body height. A successful action photograph should show the dog’s expression, form, and relationship with the obstacle rather than capturing an indistinct blur.
Whether you are photographing a club show, trial, or training session, preparation makes the difference. Study the course, watch a few runs, and anticipate where the dog will be easiest to see. These techniques can help you create sharper, more expressive images for handlers and owners.
Choose a position that gives the dog scale
A low camera position is often the most effective starting point for small-breed agility photography. Shooting from the dog’s approximate eye level makes the subject feel present and powerful, even when the obstacle towers above it. Kneel or use a monopod that allows a lower working height, while remaining outside the ring and following the event’s safety rules.
Avoid placing yourself so close to the obstacle that the dog fills only a small part of the frame. A slightly longer lens can compress the distance and make the dog appear more prominent against the equipment. Leave enough space in front of the dog for its movement, especially when photographing a jump approach or a fast exit from a tunnel.
Background selection matters just as much as camera height. Look for uncluttered areas, lighter surfaces behind dark-coated dogs, and darker backgrounds behind pale coats. If the course is surrounded by spectators, banners, and ring gates, change your angle rather than relying entirely on a wide aperture to hide distractions.
Set the camera for speed and detail
Fast shutter speeds are essential when photographing a small dog at full acceleration. Begin around 1/1000 second for jumps and running contacts, then adjust according to available light and the dog’s pace. A slower shutter speed may work for a controlled training exercise, but it can soften ears, paws, and facial details during competition.
Continuous autofocus with animal or subject tracking can help maintain focus as the dog moves toward the camera. Use a small or grouped focus area when the obstacle is visually complex, since automatic tracking may lock onto a bar, support, or bright patch of equipment. Burst shooting is useful, but deliberate timing generally produces stronger images than holding the shutter continuously.
| Situation | Useful starting point | What to watch |
|---|---|---|
| Jumping toward the camera | 1/1000–1/1600 sec | Eyes, front paws, and bar clearance |
| Side-on jump | 1/1250 sec or faster | Full body position and clean background |
| Tunnel exit | 1/800–1/1250 sec | Focus transition and facial expression |
| A-frame or dog walk | 1/800–1/1000 sec | Contact zone and handler connection |
| Indoor low-light ring | Wide aperture, high ISO | Noise, shutter speed, and white balance |
Small dogs often occupy fewer pixels than larger breeds, so image quality is particularly important. Expose carefully for white fur, which can lose texture quickly, and check the histogram when arena lighting changes. A slightly underexposed file is usually easier to recover than one with clipped highlights on a pale coat.
Time the moment around the obstacle
The peak of a jump is not always the best instant. A small dog may look most expressive just before takeoff, when its eyes are fixed on the bar and its body is gathered for power. Another strong moment comes immediately after the jump, when the dog stretches forward and begins its next line.
For contact obstacles, aim for moments that show both movement and accuracy. On a dog walk or A-frame, capture the dog driving toward the contact zone, touching it, or looking toward the next obstacle. These frames communicate performance more clearly than a generic running pose.
Tunnel exits demand anticipation. Focus on the opening before the dog appears, keep the camera steady, and expect the head to emerge before the shoulders. A slightly off-center composition gives the dog room to run into the frame. For more guidance on anticipating a complete event, this day at a trial offers useful insight into how an agility photographer works around changing runs and course layouts.
Make the dog’s expression visible
Facial expression gives an agility photograph its personality. Small breeds may have delicate features that are easily lost when the image is taken from too far away or when the dog is turned away from the light. Try to position yourself where the face receives even illumination, avoiding harsh shadows from the obstacle.
The handler can also shape the strongest photographic moments. A dog looking toward its next obstacle often shows concentration, while a glance toward the handler can reveal trust and partnership. When choosing between technically sharp frames, favor the image with clear eyes, alert ears, and a recognizable connection between dog and person.
Lens choice affects how much expression you can capture. A telephoto lens lets you work from a respectful distance while filling the frame with the dog. If you are uncertain which side of a run best reveals the face and body line, these best photo angles can help you evaluate the course before the action begins.
Adapt your approach to coat and lighting
Black, white, and richly patterned coats each create different exposure problems. Dark dogs can lose detail in the face and legs, especially under indoor lighting, while white dogs may blend into pale jumps or become overexposed in direct sun. Use exposure compensation cautiously and review test frames before the class becomes busy.
Indoor arenas often combine overhead fixtures with daylight from doors or windows. This can produce uneven color across a sequence of photographs. Set a consistent white balance when possible, then correct remaining color shifts during editing. Raising ISO is preferable to dropping the shutter speed so far that the dog’s movement becomes soft.
For patterned or long-coated breeds, focus on the eyes and preserve texture in the fur. Avoid excessive noise reduction, which can make whiskers and coat edges look artificial. A clean crop, moderate sharpening, and natural color usually serve the image better than aggressive processing.
Build a reliable workflow at events
Arrive early enough to walk around the ring and identify safe shooting locations. Note where the sun falls, which obstacles create attractive backgrounds, and where handlers are likely to turn their dogs. Watch several competitors before photographing a particular breed so you can learn its stride length and preferred takeoff distance.
Keep your equipment simple and dependable. Carry spare batteries and memory cards, protect gear from dust and sudden weather changes, and use a lens hood to reduce flare. During long events, take short breaks to review focus accuracy and clear unusable frames rather than waiting until the end of the day.
A consistent filing system makes it easier to find and share images later. Record the event, class, breed, handler, and dog name whenever possible. Owners searching for photographs through Pawprint Pictures benefit from galleries organized around these details, especially when many small competitors have completed the same course.
Field checklist for stronger action images
Before the run, confirm your position, background, and expected direction of travel. During the run, concentrate on one obstacle or sequence instead of chasing every movement around the ring. Afterward, inspect sharpness at the eyes, check exposure on the coat, and select frames that show both athletic form and personality.
Use this compact checklist when photographing small breeds on large equipment:
- Lower the camera to the dog’s level and leave room for movement.
- Choose a shutter speed fast enough to freeze paws, ears, and coat.
- Pre-focus or track the obstacle exit where the dog will appear.
- Look for expressive eyes and a visible relationship with the handler.
- Review images for focus, exposure, background distractions, and safe cropping.
Strong agility photography comes from observing the dog before pressing the shutter. With thoughtful positioning, responsive settings, and careful timing, a small competitor can command the frame and convey the scale, speed, and excitement of the course. Apply these methods at the next event, then organize the finished images so handlers can relive every confident leap and precise contact.