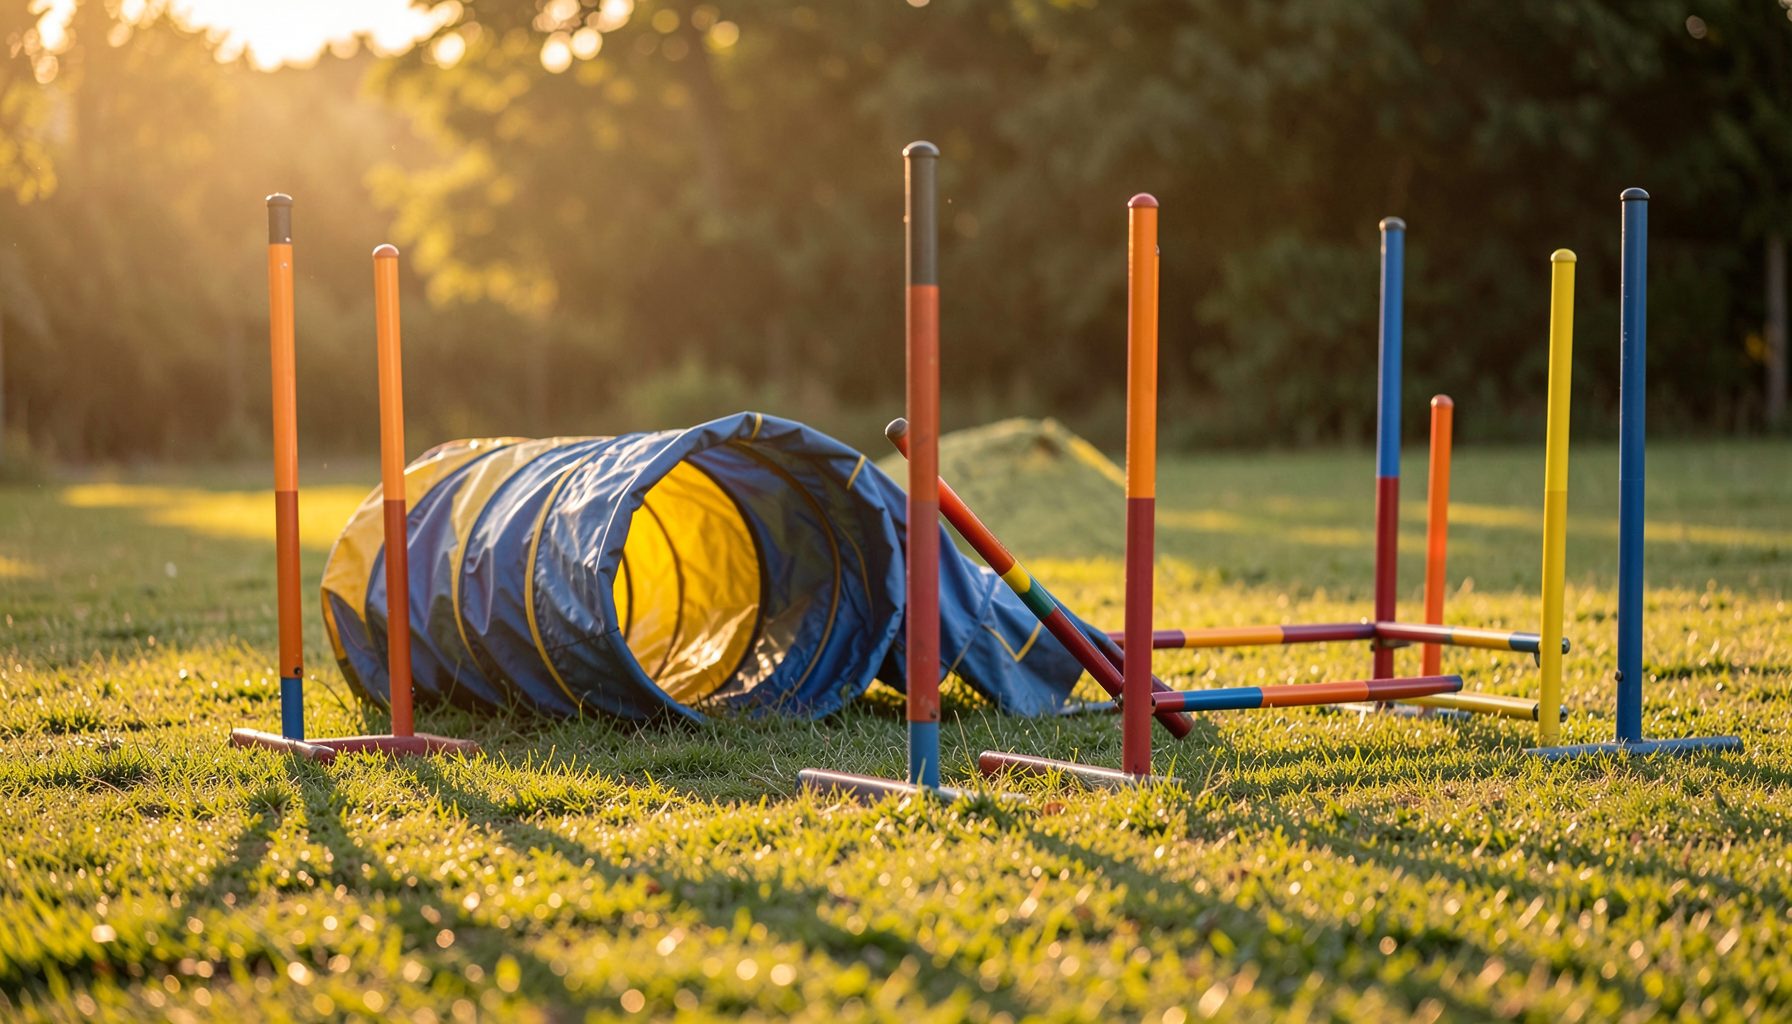
Reading your dog's drive in a single agility photograph
When you scroll through hundreds of images after a trial weekend, the photos that stop you are rarely the perfectly stacked obedience shots. They are the ones where you can feel your dog committing to the next obstacle before the shutter even clicks. A great agility photograph is a kind of frozen choreography: stride, intent, and momentum all compressed into one frame. Learning to recognise these visual cues transforms your gallery from a record of results into a story of how your dog actually works.
Drive is one of those words every handler uses and few can easily define on paper. In a photograph, drive shows up as the body's readiness to leave the ground, the ears locked forward, the shoulders loaded, and the gaze already pulling toward the next contact or jump. Whether you run at a suburban Brisbane training night or compete at the Sydney Royal Easter Show, the same physical signatures appear across venues, breeds, and height classes. Once you know what to look for, every image becomes a little coaching session.
The weight shift before takeoff
A dog that is genuinely driving will not arrive at an obstacle square and flat. Watch for the inside shoulder dipping just a fraction lower than the outside, or the inside hind leg planting deeper into the turf. This asymmetry is the body's preparation to launch in a new direction. In still images, it reads as a slight tilt, the head a touch lower than the topline, and the stride angled rather than symmetrical.
Australian agility grounds vary enormously, from the sandy loam of Perth's goat tracks to the synthetic turf in Melbourne's indoor halls, and the footing changes how this weight shift looks. On a loose surface the compression is deeper; on rubberised flooring, the push is quicker and the loading almost invisible. Either way, if your dog's centre of gravity is already moving forward and across, you are looking at real drive.
Eye line and gaze direction
The eyes tell the truth even when the body has not yet caught up. A driven dog is looking at the next obstacle, not at you, not at the photographer on the sideline, and certainly not at the handler still two strides behind. Look for a hard, fixed point of focus: the head up, the ears pricked, the muzzle aimed like a missile toward the next piece of equipment.
Photographers chasing that focused gaze often shoot from the path the dog is travelling, which is why the most arresting frames come from photographers crouched near the tunnel exit or low beside the dog walk. When the eye line matches the stride direction, the dog appears almost to be leaning into the future. When the gaze is scattered or returns toward the handler, the image usually shows a dog that has already checked out of the line.
Body compression and push
Drive is not speed alone; it is the potential energy stored in the body just before release. In photographs, this shows up as a tucked loin, a rounded back, and the hind legs gathering under the body. The classic loaded-spring silhouette appears in the two or three strides before a jump or an A-frame, and it is one of the most reliable signs of a dog that wants to work.
Pay attention to the paws too. A driven dog has visible power in the pasterns and a strong rear knuckle compression. Look at images from club trials in Adelaide or weekend shows in regional New South Wales and compare them with bored warm-up laps. The body language in the warm-up is loose, strung out, and soft. In the trial photos, the same dog is suddenly coiled, even when the stride is shorter than usual.
The handler connection
Drive does not exist in a vacuum. The best images capture the silent conversation between dog and handler across the course. Look for the handler's body angled toward the next line, the arm already extended in the cue, and the dog responding with that loaded posture we just described. The distance between them matters less than the intent both bodies are showing.
Capturing both ends of that conversation is harder than most people expect, and how to frame a shot that includes both dog and handler walks through how photographers position themselves along the course. When the timing works, the resulting image tells you immediately whether your dog is reading you or running on autopilot. A handler leaning forward with a clear arm extension usually pairs with a dog whose ears are pricked and stride is committed.
Speed indicators in the frame
Speed is the easiest clue to read and the hardest to fake. Motion blur on the paws, a slight softness in the ears, or a visible ground disturbance all signal a dog that is moving with real purpose. Static legs with a soft background tell a different story, and so do crisp paws on every frame: they often indicate a dog that is technically correct but lacking urgency.
Indoor venues in colder states like Hobart during winter will sometimes wash out subtle motion cues under bright artificial light, while outdoor summer trials on the Gold Coast produce sharper contrast and more visible foot action. When browsing galleries, scan for blur in the right places. Drive puts the blur in the paws and tail, never in the face or the eyes.
Course context and obstacle selection
A single photograph rarely shows the whole course, but it can hint at where the dog is headed. Look for the next obstacle in the frame, and watch how the dog's body is oriented toward it. If the dog is approaching the wrong piece of equipment or looking sideways toward the handler, you are likely looking at a moment of confusion rather than commitment.
Great shots often come from photographers who know the sequence and pre-position for the key combinations: the turn after the weaves, the send to the tunnel, the wrap on the far jump. Many handlers now collect their best images from each season into an agility year book so they can review their dog's growth across courses and conditions. Reading the obstacles in the frame becomes a habit quickly, and it changes which images you choose to keep.
| Event type | Typical footing | Common drive cues | What to look for in the frame |
|---|---|---|---|
| Outdoor club trial (Sydney, Brisbane) | Grass or sand | Deep rear compression | Loaded hindquarters, uneven stride |
| Indoor state trial (Melbourne) | Rubberised mat | Quick push-off | Tight tuck, sharp shoulder drop |
| Royal show (Sydney Royal, Melbourne Royal) | Mixed surfaces | High arousal, forward gaze | Ears pricked, head up, fixed eye line |
| Suburban training night | Variable | Variable, often lower arousal | Compare with same dog's trial shots |
When you lay a few events next to each other, the dogs that maintain drive across footing and pressure stand out immediately. Those are the images worth printing, framing, and revisiting long after the ribbons have been put away.
Choosing the right images to order
Once you have narrowed your favourites down to the frames that capture real commitment, a few small choices help the finished print do that work justice. Think about the image as a whole, not just the dog in isolation.
- Pick the shot where the eye line and stride direction agree, even if the pose is less textbook.
- Choose the highest resolution file available so the paw detail and ear position stay crisp at print size.
- Order a mix of contact obstacles and jumps to show the range of your dog's work.
- Include at least one handler-in-frame image so the teamwork of the run is preserved.
- Add a smaller copy for the car dashboard or the office wall, where you will see it daily.
- Check the privacy policy before sharing gallery links on social media, especially when other handlers appear in the background.
Once your favourites sit in the cart, choose a print size that keeps the eye line and paw action legible from across the room, then complete the order so the prints arrive before your next training night at the local club.