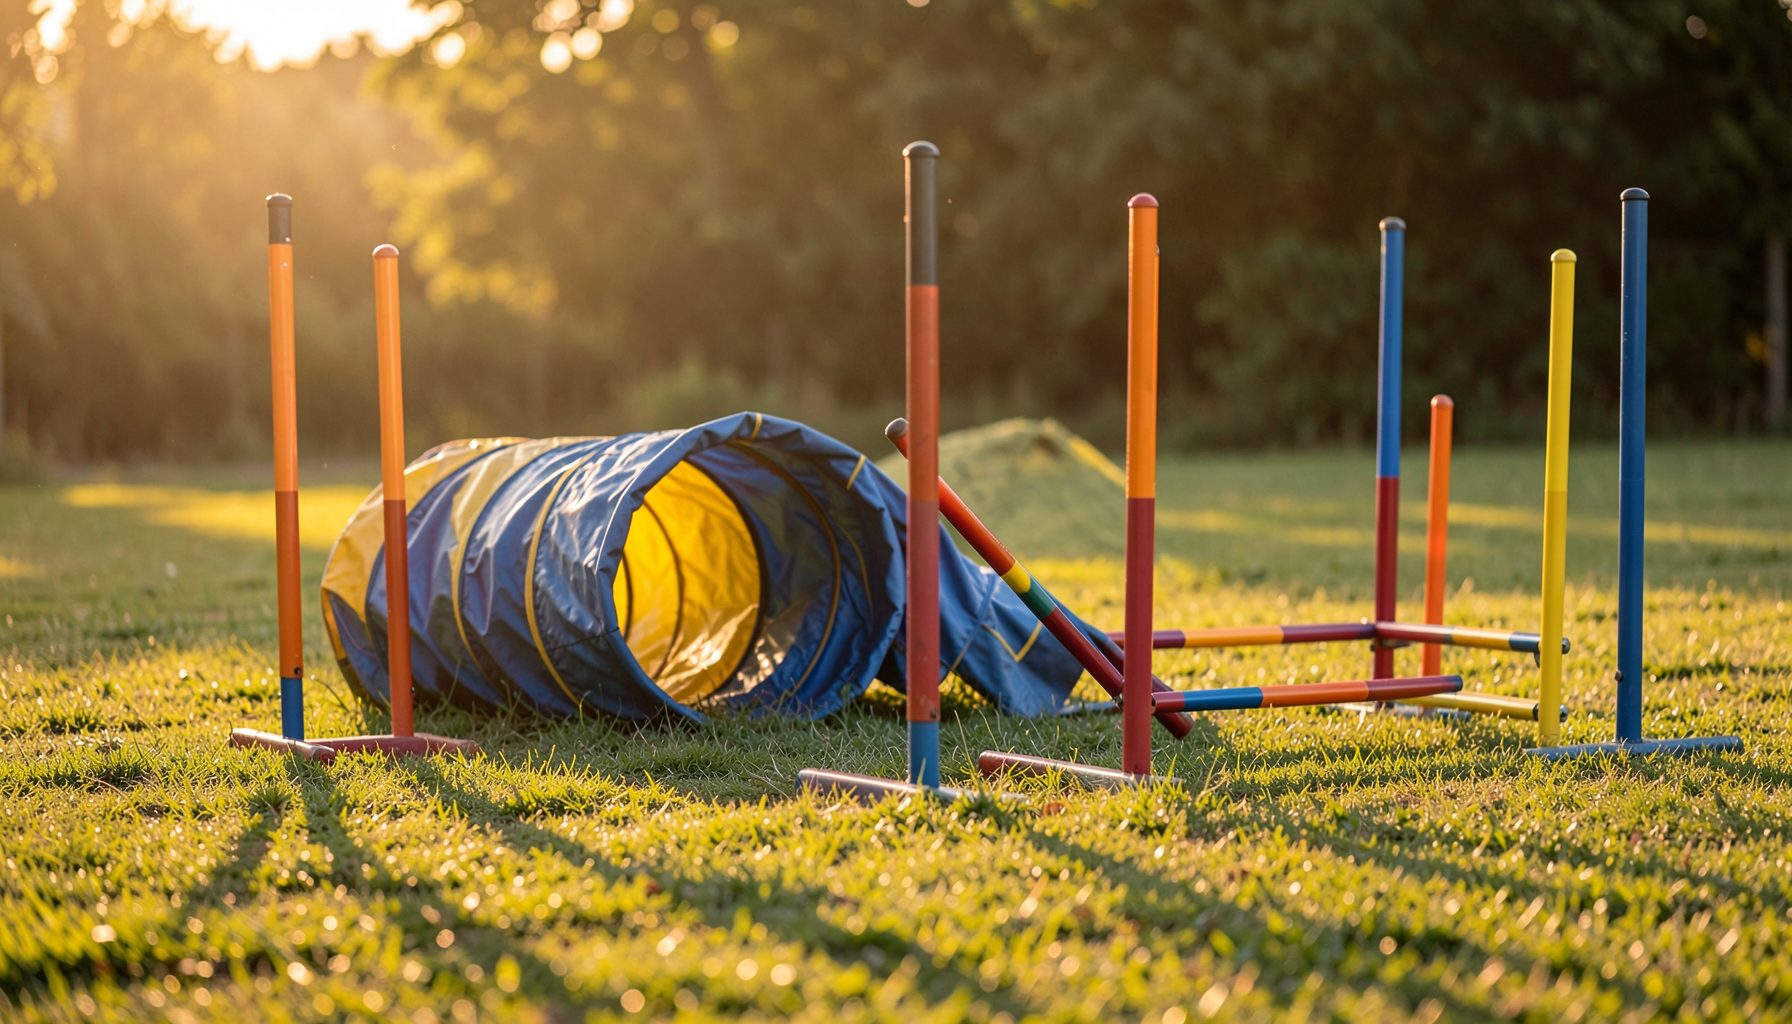
A Guide to Photographing a Dog’s Approach to Contact Obstacles
Photographing a dog near a contact obstacle requires more than pressing the shutter when the paws reach the colored zone. The approach reveals how the dog commits to the obstacle, adjusts its stride, and prepares for the next piece of equipment. A well-timed image can preserve the speed and character of a run while also providing useful material for training review.
The A-frame, dog walk, and seesaw each create different visual challenges. Their heights, angles, and movement patterns affect where the dog appears in the frame. The handler’s position, the course layout, available light, and the photographer’s access to the ring all influence the final image.
A successful agility photograph combines anticipation, safe positioning, and precise autofocus. The goal is to show the dog’s relationship with the obstacle clearly, rather than producing a tightly cropped blur of fur and equipment.
Read the approach before the dog arrives
Watch several runs before committing to a shooting position. Notice whether dogs approach the obstacle on a straight line, curve in from a tunnel, or turn sharply after a jump. Handlers may also change their path depending on the dog’s speed and experience, so the first few competitors can reveal how much room the approach actually requires.
Look for the moment when the dog’s attention shifts toward the obstacle. Ears may point forward, the head may lower, or the body may compress before takeoff. These cues usually appear before the dog reaches the ramp or plank. If you wait until the front feet touch the obstacle, you may miss the more expressive preparation phase.
The best frame often includes the dog, the full entry edge, and enough surrounding course to explain the movement. A little negative space in front of the dog makes the image feel purposeful and gives the viewer a sense of direction.
Select a safe and revealing viewpoint
Stay outside the ring and follow the event’s rules about photographer access. Never stand in a location that could distract a dog, block a judge, or create an escape hazard. A long lens allows you to work from a safer distance while still filling the frame with the approaching team.
For an A-frame, a three-quarter angle can show the dog climbing while preserving the obstacle’s height and shape. From a low position, the ramp looks more dramatic, but the dog may hide behind the edge as it begins the ascent. A slightly elevated viewpoint often gives a clearer record of the approach and the handler’s line.
The dog walk benefits from a side angle or diagonal view that includes the entry plank. For the seesaw, leave room around the pivot and the dog’s expected landing area. Avoid standing directly at the end of an obstacle, where the dog may run toward the camera and create a less informative silhouette.
Build a camera setup for fast movement
Use a fast shutter speed to freeze a dog’s head, paws, and coat. In bright outdoor conditions, 1/1600 second is a useful starting point, while faster settings may be needed for powerful breeds, jumping approaches, or harsh midday contrast. If light drops, raise ISO rather than allowing motion blur to erase the details that make the approach meaningful.
Continuous autofocus with animal or subject tracking can help, but it should be tested against the background of the course. Bright equipment, fencing, spectators, and sponsor banners can pull focus away from the dog. A small focus area or a carefully controlled tracking mode may perform better when the visual environment is busy.
Shoot in a high-speed burst, but do not rely on continuous firing alone. Begin shortly before the dog reaches the expected entry point and release the shutter as the body position develops. This creates a sequence from commitment to contact, giving you several expressions and stride positions to choose from.
| Obstacle | Strong approach moment | Useful viewpoint | Common mistake |
|---|---|---|---|
| A-frame | Head lifted toward the ramp or front feet beginning the climb | Three-quarter side angle | Cropping out the ramp and losing scale |
| Dog walk | Body extended toward the entry plank | Side or diagonal view | Photographing only the middle section |
| Seesaw | Weight moving onto the board before the pivot | Side view with landing space | Standing too close to the drop end |
| Any contact obstacle | Handler and dog aligned toward the entry | Long-lens view from outside the ring | Waiting until the contact zone is reached |
Keep the handler part of the story
The handler’s body language often explains why the dog takes a particular line. An extended arm, turned shoulder, or focused gaze can show the communication leading into the obstacle. Include the handler when doing so strengthens the narrative, especially in a wide frame that captures the team working together.
A tighter portrait can emphasize the dog’s concentration, but avoid cropping so aggressively that the obstacle becomes unrecognizable. The equipment provides context, while the dog’s eyes, posture, and paws provide the emotional detail. A balanced composition can serve both event photography and later performance review.
Use the handler’s movement to anticipate timing. If the handler is crossing behind the dog or directing a turn, the dog may alter its approach at the last instant. Pre-focusing on the entry area and keeping the camera ready through the handler’s cue can produce a more informative frame than following the dog randomly across the course.
Review contact-zone detail after the run
An approach image and a contact-zone image answer different questions. The approach shows commitment, alignment, and stride preparation. A frame at the bottom of the A-frame or dog walk can reveal paw placement, body collection, and whether the dog appears to be driving toward the target area.
To make those details useful, keep the shutter speed high and avoid excessive cropping during editing. Preserve enough of the obstacle to identify the location of the feet. When possible, photograph a short sequence rather than presenting a single isolated frame, because one image can make a moving paw position look misleading.
For a practical reference on documenting this part of a run, review contact-zone photo analysis. The same principles apply when selecting approach images: clarity, timing, and visible context matter more than dramatic blur or extreme angles.
Recommendations for consistent results
- Scout the ring before the class begins and identify one safe approach with a clean background.
- Use a fast shutter speed, continuous autofocus, and a short burst timed before the dog reaches the obstacle.
- Leave space in front of the dog so the image communicates direction and speed.
- Photograph both a wider team view and a tighter frame showing posture and foot placement.
- Review several images from the sequence instead of judging the run from one frame.
After the event, organize images by class, obstacle, handler, and dog whenever possible. Clear organization makes it easier to compare runs over time and helps owners locate the photographs they want to purchase. Services such as Pawprint Pictures arrange agility event galleries so competitors can browse images from clubs, trials, and training sessions.
Make every run easier to find and study
Large galleries can contain hundreds or thousands of photographs, particularly at multi-ring trials. Searching by handler name, dog name, or event category is often faster than scrolling through every image. If a competitor cannot immediately locate a sequence, this guide to finding large galleries offers a useful way to narrow the search.
The strongest approach photographs preserve more than a successful obstacle entry. They show the instant when the dog recognizes the task, gathers its body, and responds to the handler’s direction. With careful positioning and repeatable camera settings, photographers can create images that are exciting to view and valuable for understanding performance.
Browse your event gallery after the run, compare approach frames with contact-zone images, and select photographs that tell the complete story of the team’s movement. A well-timed image can become a lasting record of progress, partnership, and the split-second decisions that make agility so compelling.